An outline of self-installing home security systems Having a home alarm system in place is always wise as it deters invaders from breaking into your house. Professionally installed systems come with expenses ranging from $800 to $2,000 for the equipment, installation, and monthly monitoring charge. Fortunately, installing a DIY alarm system requires just some basic mechanical expertise and understanding of electronics and house wiring; you do not need to be an expert. This page aims to provide a quick overview of what one can anticipate as well as some of the factors one should take into account when putting in place a home alarm system.
DIY Home Security:
How should one begin? To choose the finest home alarm system for yourself, first, you must identify the security risks and needs your property presents before having a home alarm installed. Consider the quantity of doors and rooms that need to be locked as well as if motion sensors—door and window sensors, glass break sensors, smoke, and fire sensors— cameras, and others are needed. You also have to decide if you want to monitor the system yourself, have a security firm keep an eye on it, or have the police react to alarms—a wired or wireless system. Defining your needs and budget will help you to correctly build your system and choose your components.
Wired and Wireless
Do It Yourself Alarm Systems While in wired systems radio frequency is employed in the connection between the sensors and the control panel, low voltage cables are used wherein all the sensors are linked to the main control panel. Though the cables must be put in walls and ceilings, wired systems are non-monitored and generate fewer false alarms. Although wireless systems are simpler to install as there is no actual cable, radio interference may cause disruptions to transmissions. To maximize dependability and reduce installation complexity, hybrid systems therefore combine wireless and wired components.
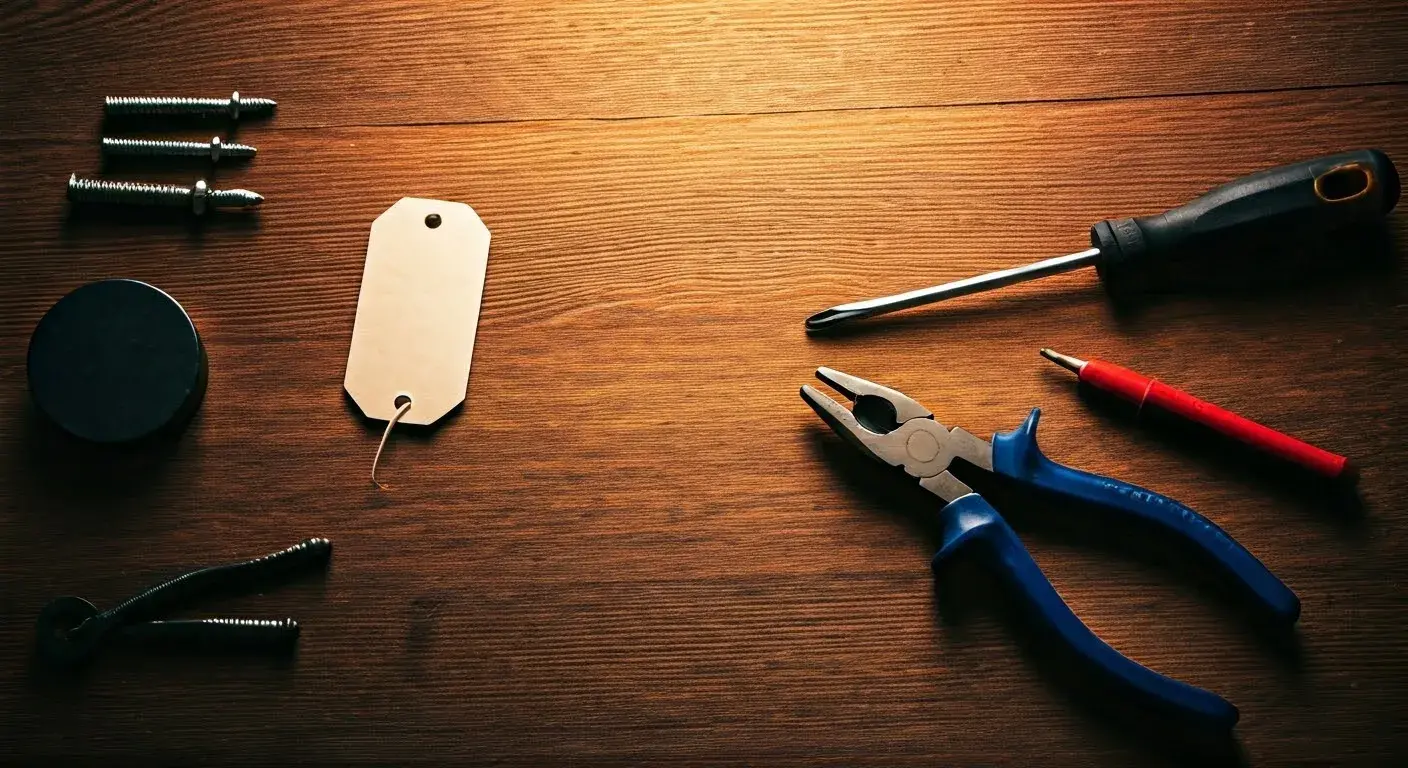
Basic Elements of the Do-It-Yourself Home Security System The main components you’ll need for a DIY home alarm include:
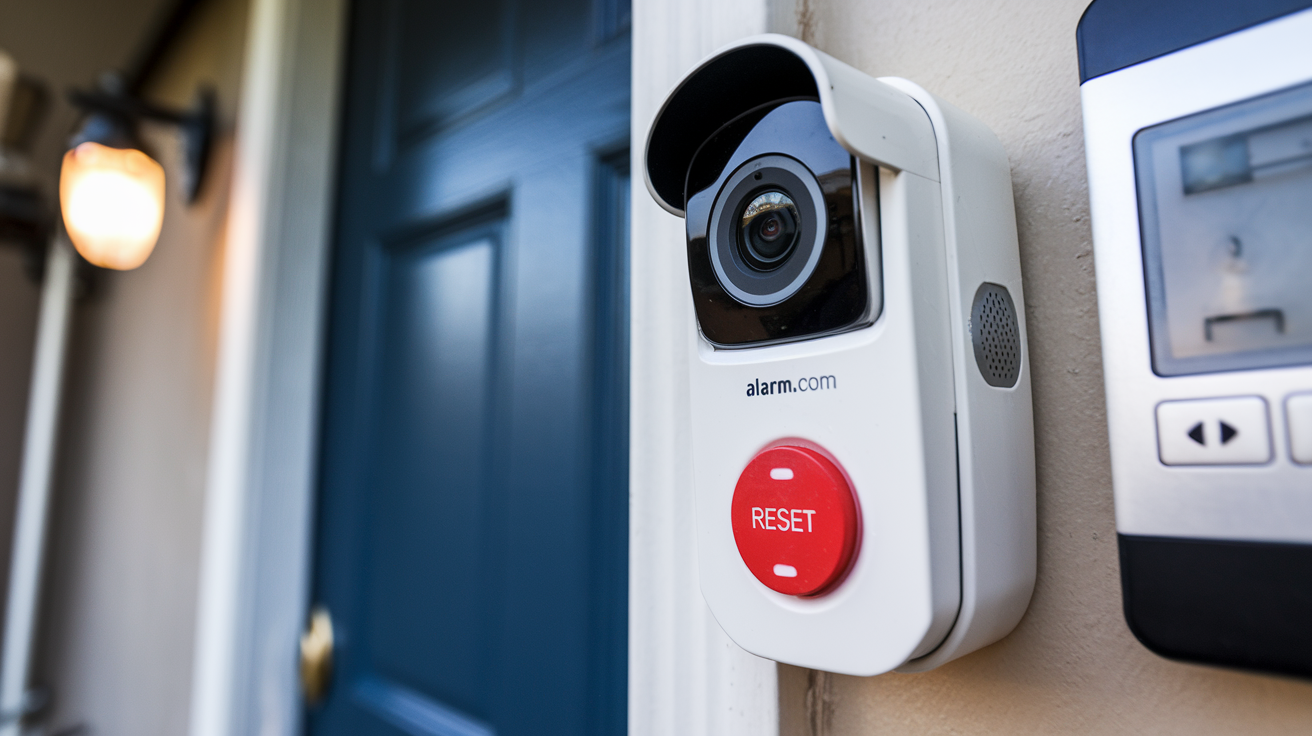
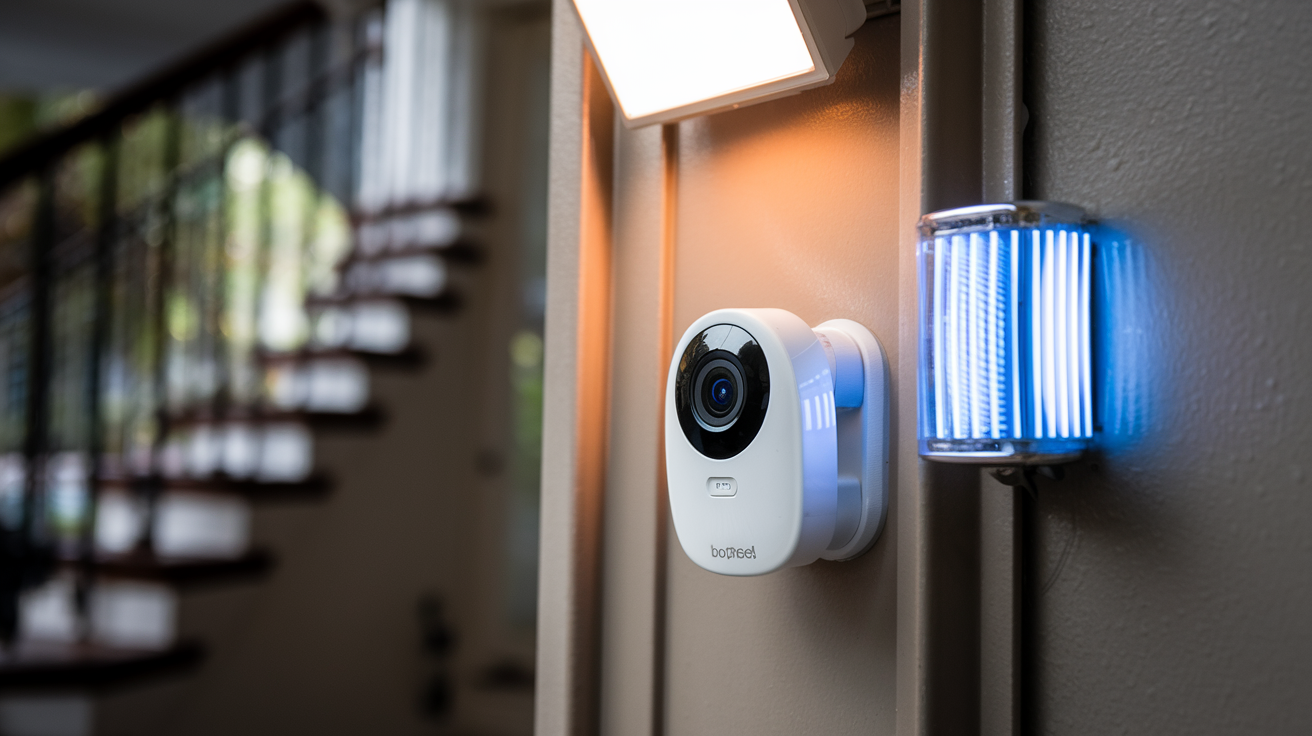
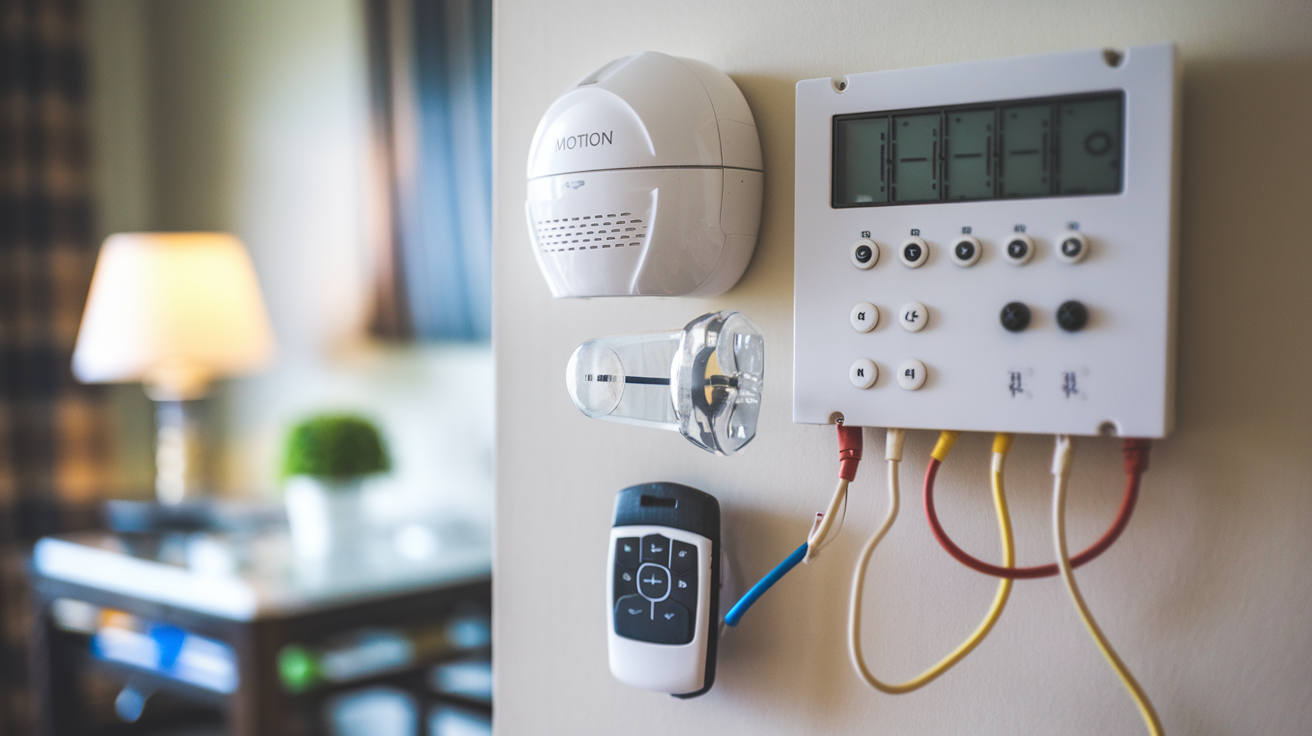
Control panel: The control brains of the system that controls the operations, sounds alarms, and interacts with monitoring services Keypad: Sited by entry doors for arching and disarming the system and other control functions Sensors: Monitor for intrusions at entry points and rooms; motion, door/window, glass break, smoke/fire. Power supply: Supplies low voltage power to the system Batteries: Supply power to the system to ensure that it can continue to function during power failure Alarm bell or siren: Sudden loud sound produced when a breach or an intruder is detected by the sensors. Communication device: Telephone handset, fixed telephone line, or network component to make a call to a monitoring service.
Other accessories are surveillance cameras, panic buttons, temperature sensors, and flood sensors. When you have defined the components, you can find alarm system kits that come in various sizes for houses or individual components that you can combine to create your ideal system.
Sensors, Wiring, and Keypads Installation will include installing all the sensors, adjusting wires and conduits, setting the control panel, and installing and programming keypads. Door and window sensors are installed with screws on the corner of the entry frames to monitor opening and closing. The combination of motion sensors should be placed in such a way that they can detect movement across doorways and between different rooms. All the sensors have their setting and or sensitivity levels which can be changed during programming and testing.
In wired systems, low-voltage power and signal cables will be required to install sensors on the control panel. Keypads are installed on interior walls near home entry doors to enable arming, disarming, and bypassing the system as necessary. All wiring must be connected to the main control panel that can be located in a closet, basement, or garage. Spend time when positioning and calibrating the sensors while testing to avoid getting false alarms.
Designing and Developing the System Upon physical installation, the control panel will require configuration and all the system elements will require programming. A majority of DIY panels are equipped with LCD menus and touchpads to guide users through the installation process. Here you will set zones, partitions, user codes, alarms, and other options. Primary testing is important to ensure that all parts of the system are functioning correctly and that they are linked to the control board. Testing of the motion sensing ranges of the Walk test and testing of all the sensor trips and alarm notifications. Be prepared to fine-tune the sensors in terms of placement and sensitivity to prevent the system from going off for no reason.
Continuation, Supervision, and Conserving of Usage Incorporate the practice of turning on the system before leaving the home and turning it off when coming back. If selecting professional monitoring services, check that alarms effectively generate notifications. It is also important to keep your DIY system in check by conducting periodical tests on components and replacing batteries that have lost charge, as well as updating firmware if there are new releases available to enhance functionality and resolve glitches.
Despite the difficulties in installation, a do-it-yourself alarm system offers ample home security with less expense than professional installation. As long as you are very detailed in your system design and spend an adequate amount of time in implementing, coding, and integrating all the elements, then there should not be any issues.
Protect your home today with ADT’s top-rated security solutions!
Call now at +1 877-470-7879 to get a free consultation and find out how you can secure your home with the best in the business. Don’t wait—ensure your peace of mind with ADT!