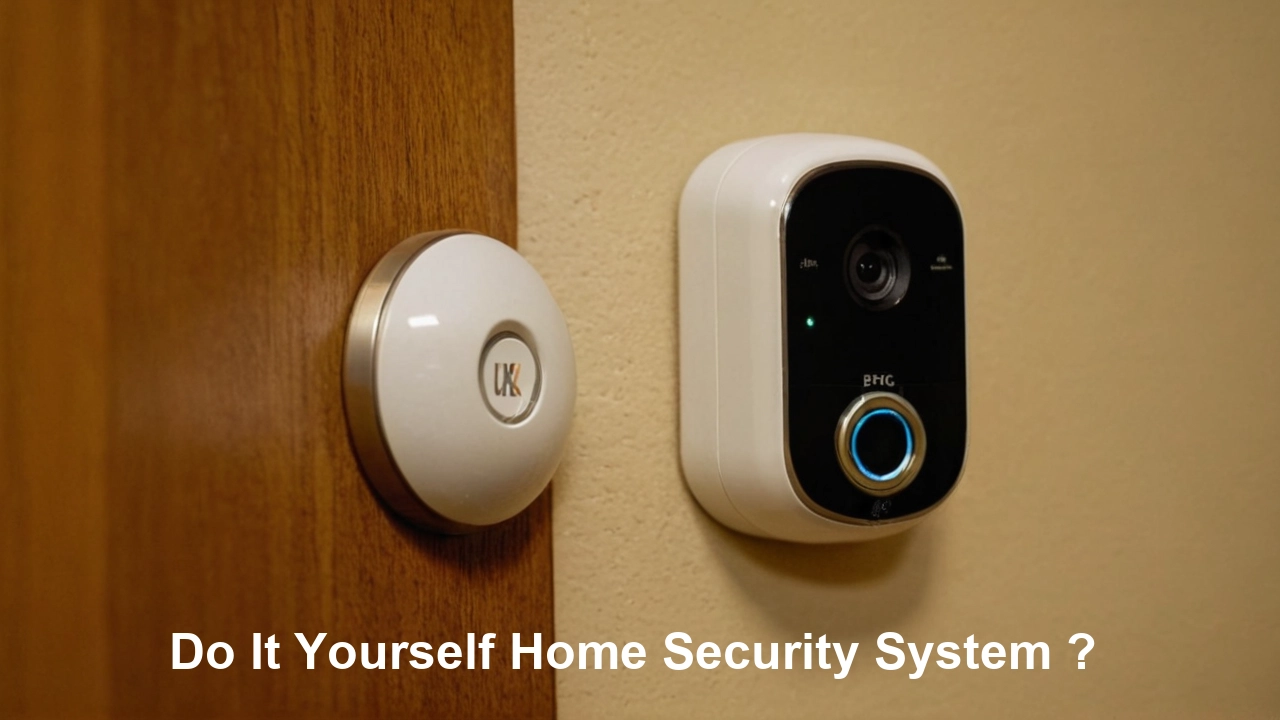
Do-it-yourself (DIY) home security systems have become somewhat well-known in a time when technology enables homeowners. Not only does building your security system let you be unique, but it also offers a reasonably priced substitute for professionally built systems. Covering important components, installation techniques, and advice for maximizing your security, this complete guide will help you navigate through the process of building a strong do-it-yourself home security system.
Evaluating Your Safety Requirements:
It's important to evaluate your particular needs before entering the DIY realm of home security. Think on your home's layout, any weaknesses, and the required degree of security.
- Dimensions and Layout of Home:
Analyze the layout and dimensions of your house to ascertain the required count of cameras, sensors, and other parts.
- Weaknesses and Entry Points:
Point out possible weak points—doors and windows—where additional security precautions could be required.
- Budget issues:
Create a budget to direct your own home improvement project. This will enable you to prioritize necessary parts without going overboard.
Parts of a do-it-yourself home security system include:
Effective design and execution of a DIY home security system depend on an awareness of its main components.
Planning Your DIY Home Security System:
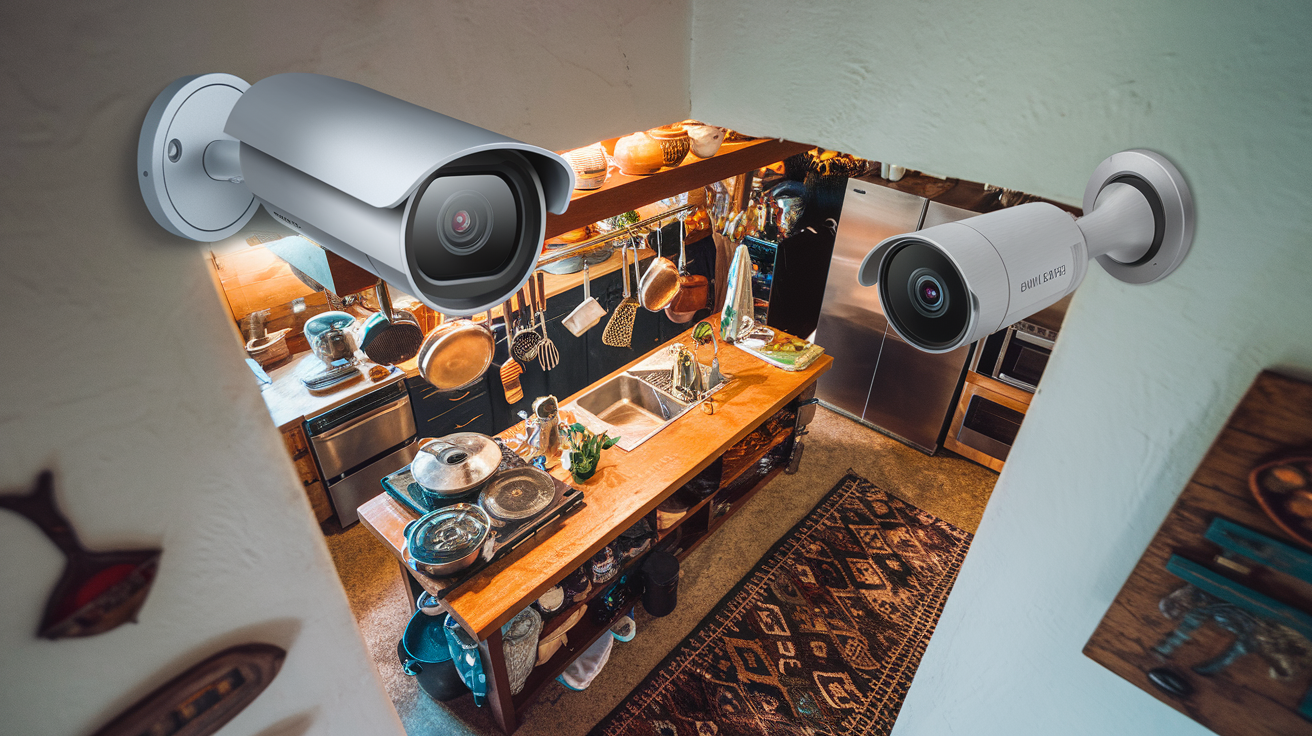
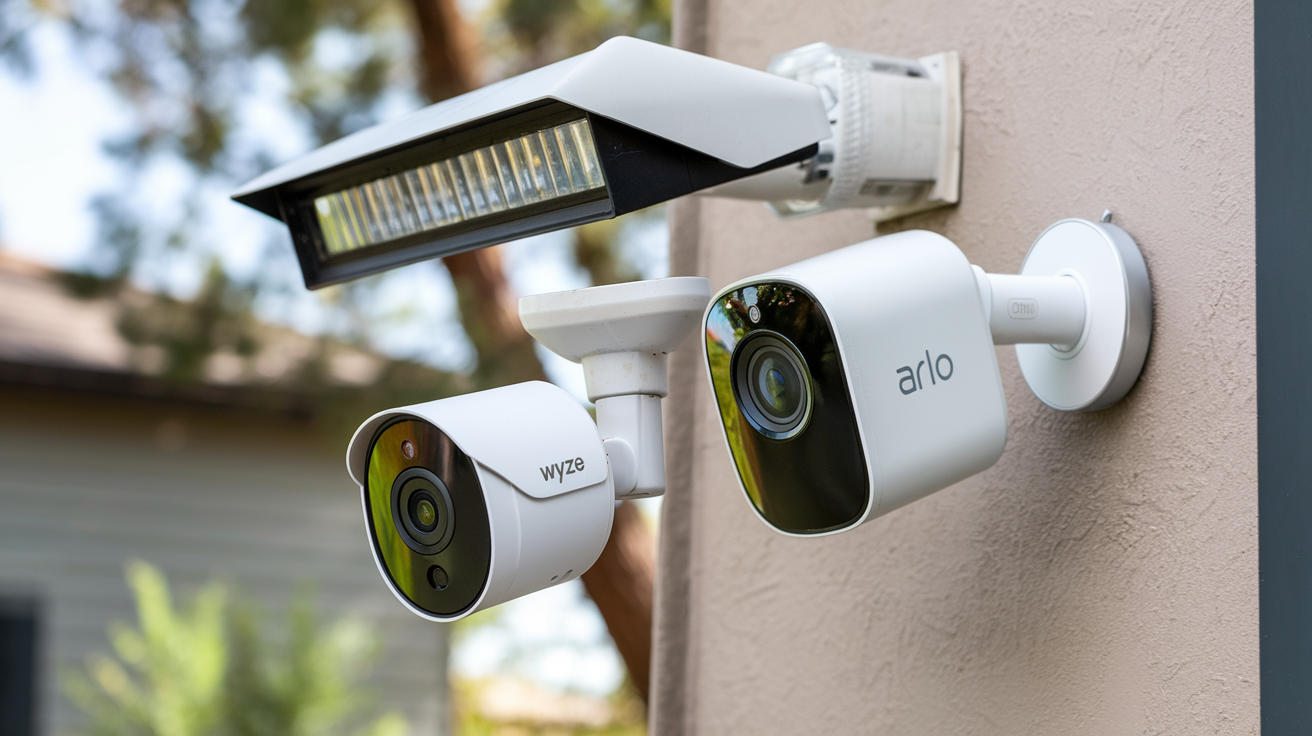
- CCTV cameras:
Select cameras that include a broad field of view, night vision, and high resolution.
Position cameras to cover high-traffic areas, outdoor areas, and entrance points.
- Motion sensors:
PIR (passive infrared) sensors track variations in infrared radiation brought on by motion.
For bigger areas, use microwave sensors using microwave pulses to detect motion.
- Sensors for Doors and Windows:
Open doors or windows set off an alert in magnetic contacts.
Install these sensors on every easily reachable door and window.
- Strategic locks:
Smart locks operated remotely via mobile apps will improve your security.
Certain smart locks connect with other home automation systems.
- intelligent lighting:
To replicate occupancy and discourage possible intruders, use smart lighting or switches.
For further security, mix motion sensors with illumination.
- alarm systems:
Depending on your taste, think about do-it-yourself alarm systems, including loud sirens or quiet notifications.
For a cost, some systems provide expert monitoring services.
- hub for smart homes:
Center control of your security devices using a smart home hub.
Popular hubs are SmartThings, Hubitat, or Home Assistant.
Installation Steps for DIY Home Security:
Let's look over the installation instructions for every component now that you have designed your own home security system.
- Installing Security Cameras:
Follow manufacturer instructions to place security cameras at intended locations by using their provided mounting systems.
Install cameras with stability in mind using manufacturer-provided hardware, which includes components for weather protection in case of outdoor use.
- Setting Up Motion Sensors:
You should follow manufacturer directions to install motion sensors by using suggested heights and orientations.
Users should modify sensitivity controls to stop their security devices from sending inaccurate alerts because of pets or moving items.
- Attaching Door and Window Sensors:
Follow the manufacturer's recommendations to mount magnetic contacts on doors and windows.
You must check sensor operation after proper installation.
- Installing Smart Locks:
People can update their security by using smart locks instead of traditional ones while also adding retrofit devices for smart locks to their locks.
Set up smart locks on the smart home hub by using the mobile application for configuration.
- Integrating Smart Lighting:
You must substitute all your regular bulbs with smart bulbs while also installing smart switches that work with your selected hub.
The system should automate when lighting activates using security-defined rules.
- Setting Up Alarm Systems:
Place the alarm system control panel where all users can access it within a central area.
Analyze the working state and response time of the alarm system by performing a test run.
- Connecting Devices to the Smart Home Hub:
The process of linking electronics to the Smart Home Hub proceeds through the mobile application interface.
Each device requires a connection to the central hub through the instructions provided by the hub administrator.
Establish automated protocols with the guidelines for integrating various devices.
Advice for Maximizing Your Own Customized Home Security System
There are several steps to enhance the effectiveness of your DIY home security system that you should consider implementing.
- Regularly Test and Maintain:
Regular testing of your system will help you detect issues so you can respond immediately.
Sensors and cameras should receive updated batteries when their power starts to deteriorate for optimal system operation.
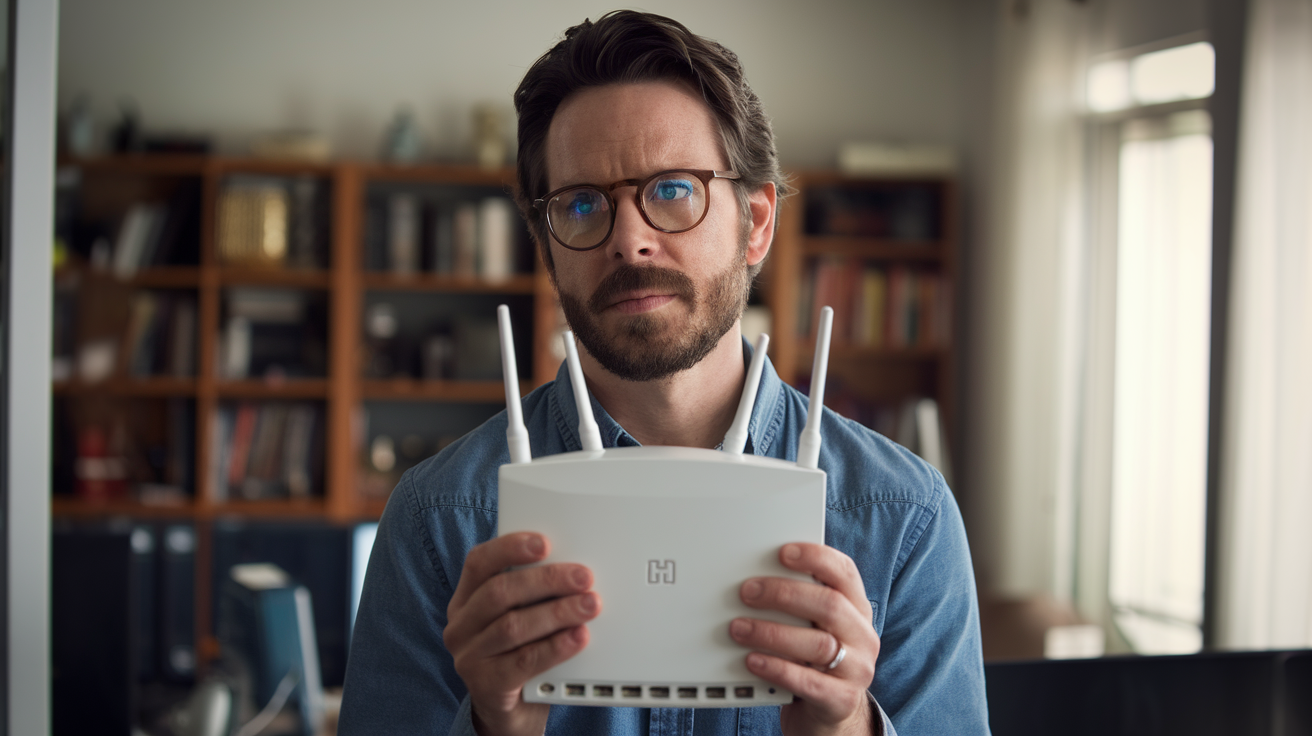
- Secure Your Wi-Fi Network:
Your security system requires secure network passwords to block unauthorized users from accessing the system.
Maintain the latest firmware version on all linked security components.
- Utilize Mobile Apps:
The apps linked to your security devices provide you with the capability to monitor and control your system remotely.
The system sends instant messages with alerts to your mobile phone.
- Integrate with Home Automation:
The system requires evaluation for extra home automation functionality by testing connectivity with smart thermostats alongside doorbell cameras and smoke detectors.
Homeowners should build their own automation sequences to maximize convenience along with security benefits.
- Consider Professional Monitoring:
The monitoring option from professional experts exists as an additional service that users can activate through their DIY security devices.
Assess both costs and advantages of professional monitoring according to your personal choice.
DIY Home Security Budget Concerns:
A DIY home security system's price is among its main benefits. To make sure you maximize your investment, though, you must carefully budget.
- Early expenses:
Find out how much buying sensors, smart locks, security cameras, and other parts would cost overall.
Think about grouping the manufacturer's given discounts or packages.
- Monthly costs:
Certain do-it-yourself systems could charge optional monthly fees for expert monitoring services.
Consider any ongoing expenses connected to extra features or cloud storage.
- Future Savings:
Calculate the long-term expenses of a do-it-yourself system against expertly installed substitutes.
Particularly if you can do the installation yourself, DIY systems usually yield notable savings.
Conclusion:
Creating a do-it-yourself house security system lets homeowners take charge of their safety and customize the configuration to fit certain requirements. You can design a thorough and reasonably priced security solution for your house by determining your security needs, choosing the correct parts, and following the installation guidelines described in this book.
Ensuring the continuous performance of your own do-it-yourself system depends on regular maintenance, testing, and tuning. To maintain your house security ahead of possible hazards, be educated on updates from device manufacturers, security best practices, and developing technologies.
Apart from giving you peace of mind, a well-designed do-it-yourself home security system helps to create a safer and more secure living space for you and your family. The DIY strategy lets you keep on top of home security as technology develops without sacrificing budget control.
