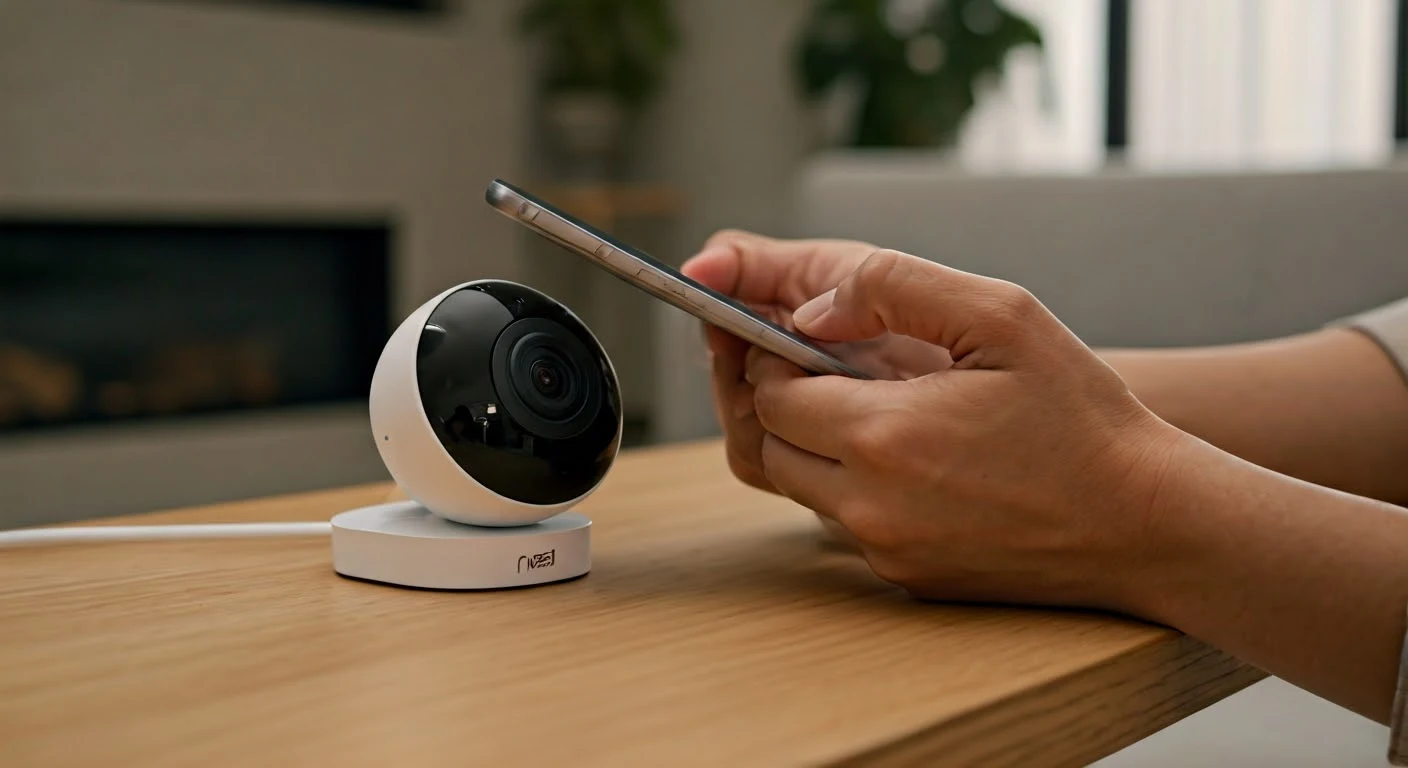
Your ADT Nest Camera needs a stable WiFi connection to work well. If you have changed internet providers, updated your WiFi password, or faced connection issues, this guide is for you. We will show you how to easily change the WiFi network on your Nest Camera. This will help it fit perfectly into your home security setup.
Preparing Your ADT Nest Camera for WiFi Change
Before we start the instructions, let’s get your ADT Nest Camera ready for a smooth WiFi change. First, check that your camera is close enough to your WiFi router. A strong WiFi signal is important for smooth live streaming and recordings.
Next, write down your new WiFi network name (SSID) and password. Having this information ready will help speed things up. Also, make sure your ADT app is updated to the latest version. Updates to the app can fix bugs and improve how your device connects.
Ensuring Your Camera is Compatible
Most ADT Nest Cameras, including the Nest Cam, can work with WiFi changes. Still, it's smart to check if your camera is compatible, especially if you have an older Google Nest model. You can find this info on the back of the camera or in the product manual.
If your Nest Doorbell or camera works, check your update settings in the app. Turning on automatic updates can help you avoid connection issues later. This way, your camera will always have the newest software.
Lastly, make sure you are using the ADT app or the Google Home app to manage your camera. The steps to change the WiFi network may be a bit different depending on which app you use.
Gathering Necessary Information Beforehand
Having all the needed information handy will help make the process easy and quick. First, find your new WiFi network name (SSID) and password. You can usually see this on a sticker on your router or in the papers your internet provider gave you.
Make sure that you have written the password correctly to prevent any connection problems when you set it up. It's simple to accidentally type a wrong letter, so getting it right is important. Think about saving this information safely in a password manager or an encrypted note. This way, you can find it easily later.
Steps to Change WiFi on Your ADT Nest Camera
Now that you have set up your camera and collected the needed details, let's change the WiFi network. The steps below will guide you clearly through this process, no matter how skilled you are with technology.
Keep in mind that the exact process may slightly differ based on whether you are using the ADT app or the Google Home app to manage your camera. Don't worry; we will explain both ways to help you.
Accessing the Camera Settings through the ADT App
Begin by opening the ADT Mobile app. Make sure you are logged into your account. If you have more than one Nest product, including your Nest thermostat, find the camera you want to change.
After you select the Nest camera, go to the settings menu. You can usually find this option by looking for a gear icon or by tapping on three dots on the app home screen. In the settings menu, look for the WiFi settings. The name might be slightly different but should be about network or connectivity.
You will see a list of WiFi networks here. Choose your new network from the options and move on to enter your credentials.
Selecting the New WiFi Network and Entering Credentials
If you're setting up your camera using the Google Home app, the steps are easy. After going to the camera settings, you will do the following:
- Select WiFi: Find the option to change or update the WiFi network.
- Choose Your Network: The app will show you a list of available WiFi networks. Pick your new WiFi network (SSID) from this list.
- Input Password: Type in the password for your new WiFi network. Check it carefully to avoid mistakes.
- Save or Connect: Press the "Save" or "Connect" button to start connecting to your new WiFi network.
Your camera will take a little time to connect. Once it is connected, you will see a message in the app. You can now have a good and smooth security check with your ADT Nest Camera using the new WiFi network.
Conclusion
In conclusion, changing the WiFi on your ADT Nest Camera is easy. This helps keep your camera connected and working well. Just follow the steps above to update your camera's network settings. Before you start, make sure you have all the needed information ready. You can get to the camera settings through the ADT app to make it smooth. It’s important to keep your camera connected for the best security. If you have any problems, check the FAQs or reach out to customer support for help. Your home security matters, and keeping your camera linked is key for it to work effectively.


