Security cameras are used to monitor homes or business premises to enhance safety and security when installed. Today, you are likely to find amazing DIY surveillance cameras that are relatively cheap and very easy to install. Below is the process of installing security cameras correctly:
Assess Your Needs However, there are certain factors that you need to consider before you can purchase and install security cameras. Consider the area size and if you require coverage indoors or outdoors; lighting conditions, number of access points; and specific areas of interest like gates. This will assist in making other important decisions such as the type of cameras to use, the number of cameras required, the resolution of the cameras, and the location of the camera mounts.
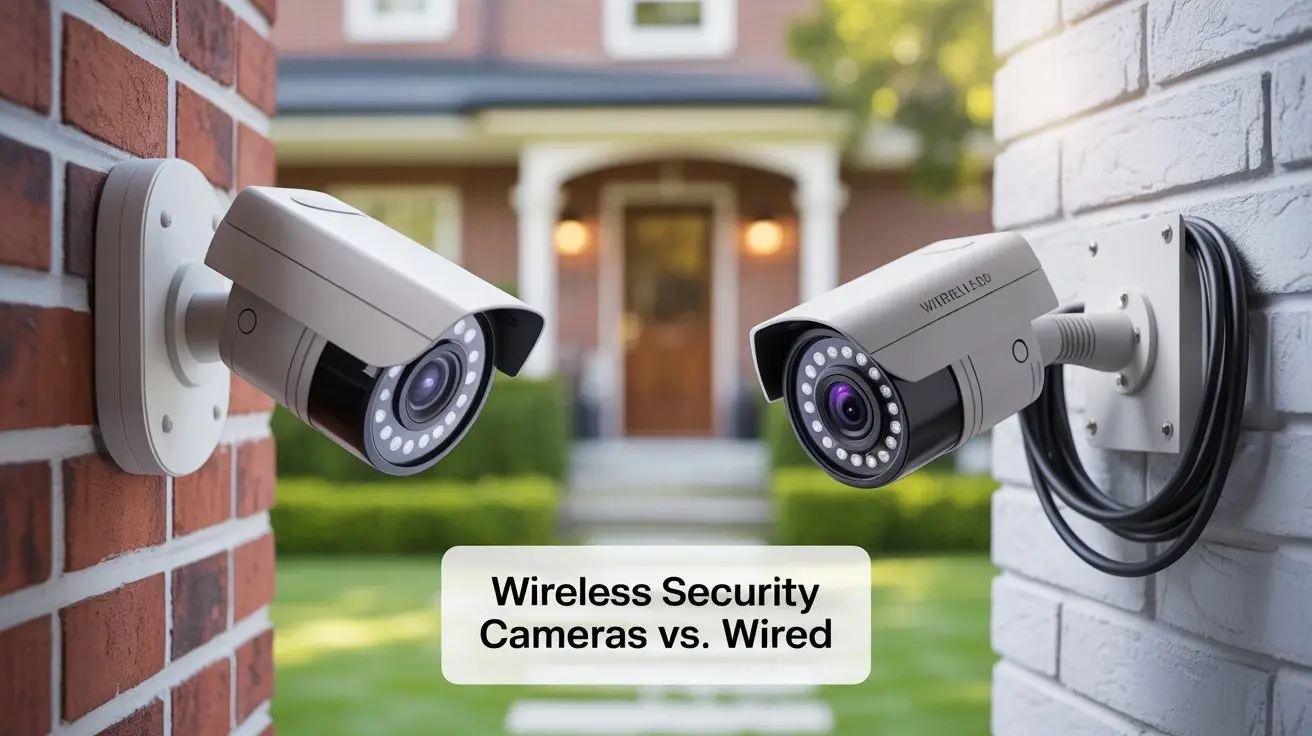
There are wired or wireless cameras. Best Security Cameras can be categorized in terms of how they are connected namely wired security cameras and wireless security cameras. While wired cameras are physically attached to a recording and power source through cables, wireless cams transmit through wifi and are operated through batteries or sockets. Wired systems typically offer better video quality and performance than wireless systems that are more convenient to install.
For small spaces or short-term monitoring, there are easy-to-install wireless cameras that can be powered by rechargeable batteries or a plugin power cord. They are very easy to set up. For larger areas or stationary use, PoE security cameras that are wired to an NVR for recording and storage should be used for wiring purposes for the easiness of installation and integration.
Determine Camera Locations Once you have identified the kind of cameras that suit your needs, then look for strategic places to install them. Make sure that the cameras have an unhindered view of the area you wish to monitor and that nothing obstructs the camera’s view. Mount cameras at vantage points such as doorways, exits, and any other area that the intruder would think twice before entering. Do not place cameras in front of a direct or bright light source which may compromise the quality of the video.
Check Connectivity, Cabling Needs When using wired cameras, position your NVR near sources of electrical power and the network connection ports for all cameras. Explain any structural constraints that may limit the choice of cable routes and distances between the cameras and the NVR while ensuring neat cables that connect the cameras to the NVR. If you are going to use PoE cameras, then you will also require PoE switches or PoE injectors.
On WiFi cameras, conduct signal tests at all camera locations to confirm a strong internet connection with minimum speeds of 2 Mbps for smooth streaming and recording. Ensure that home router placement also ensures that there is adequate WiFi coverage in all the needed areas. Also, check permissions and access rights if using a workplace or third-party network.
Install Cameras Securely Before placing the cameras, consider whether you prefer covert surveillance, which is placing cameras in inconspicuous areas; or overt surveillance, where cameras are conspicuously placed and act as a crime prevention tool. Almost all cameras feature basic fixing brackets, screws, anchors, and adapters as part of the packaging. As per package instructions, ensure that the cameras are firmly fixed on surfaces that cannot be easily removed such as walls ceilings, or shelves. Avoid vibrations.
Optimize the field of view by tilting the camera. For outdoor installations, the cameras and the wiring should also be protected from the harsh weather and the cameras should also be placed at a good height so that they cannot be easily tampered with. Run feed cables cleanly through walls and ceiling, if they need to have holes drilled. Place ‘warning surveillance camera at the end of the cable’ signs.
Connect Cameras to NVR To connect wired cameras, connect the Ethernet cables from the camera location to the NVR, switch, or recording device, leaving some slack for possible repositioning. This means that in PoE cameras, the cables used are used to both supply power and transmit the video signals. Otherwise, separately connect power wires If not compatible with PoE. Screw some of the cables to the NVR ports, or a switch or ports in a surge protector. This feature simply involves pushing the wire to the terminal and then twisting it to make a secure connection.
In the case of wireless cameras, turn the cameras on and connect them to the secured wifi network using either the smartphone application or by using a QR code on the specific camera depending on the model of the camera. Include a camera option on the app dashboard. Wireless cameras should have their antennas placed in the right location for maximum signal reception.
Configure System Settings Connect the cameras to the smartphone/tablet app or computer browser dashboard as per the instructions given by the manufacturer's software. Optimize the settings of resolution or frame rate depending on the storage and connectivity capabilities for better image quality. Adjust the motion detection sensitivity to avoid false alarms.
Make proper and accurate labeling of recorded footage files with date/time. Complete centralized storage settings for your NVR, cloud account, or device storage as per the system type. Record options include setting its modes, duration, and schedule based on its specific functionality and the legalities of your country. Allow push and email notifications for motion or any other activities.
Install Warning Signage Post conspicuous warning signs of surveillance cameras to meet legal requirements and discourage unlawful activities. Some of the wordings include - “Business Premises Under Video Surveillance”, “Closed Circuit Television Used”, “Cameras Record Around-the-Clock” etc Do check the legalities of installing concealed cameras such as in private property and other places in your state.
Test Cameras for Functionality After the cables have been connected and all the settings have been set, test practicality by activating motion sensors and examining whether the cameras record appropriately with high quality. Trial the live remote access to the feeds and check the recordings of the events that happened before. Make sure that cameras are switched off and on at particular times and in the particular mode that has been configured. Occasionally, there might be a need to adjust the placement of the final camera or fine-tune other settings before normal operation can commence.
Regular System Maintenance Occasionally test the cameras by setting motion detection for a few seconds. Review sample footage to ensure video quality is satisfactory. Some outdoor cameras may be covered by dust or spider webs that require cleaning. Inspect cords and cables for bites, nicks, and loosening connections and repair as necessary. Format hard drives as they fill up based on recording schedule and retention requirements. Even though tech failures are somewhat of an exception, they can occur unpredictably therefore constant system supervision is recommended.
We believe that through this comprehensive guide on how to install security cameras correctly, you are equipped with enough information about how to go about it to meet the unique requirements of a given site whether for residential or commercial use. Consider where you want cameras, what connections they will have, how storage will work, how remote access will be handled, and visibility concerns when putting together the best video surveillance system that meets your specific safety needs.
Protect your home today with ADT’s top-rated security solutions!
Call now at +1 877-470-7879 to get a free consultation and find out how you can secure your home with the best in the business. Don’t wait—ensure your peace of mind with ADT!


