How to replace a battery for an ADT fire alarm system?
If your battery requires charging, the process is as follows. When you have some knowledge of your alarm system, a new 9-volt battery, screwdrivers, and other related tools, then you don’t have to spend long hours replacing the old battery with a new one. This will help maintain the integrity of your fire alarm and guarantee that it can detect fires or smoke as it should.
Find out the make and model of the ADT alarm system.
That is installed in your home. Most ADT alarm systems commonly require 9V batteries; you need to check which battery is correct for your alarm panel by checking the user manual. Usually, a 9V alkaline battery is used but, any other type of battery that delivers a similar voltage is appropriate for most installations. Please make sure that you have your new 9-volt battery for the final steps outlined below.
Find where the Alarm Panel Box is ADT alarm
which is located in the main alarm panel box where the alarm is installed. This metal box is commonly found to be sited in a central point in your home, popularly in the basement, hallway, store room, or main floor level. In case you have been struggling to locate the panel box, you can use the wires extending to the other sections of your house where the individual alarm sensors are fixed. These wires will lead back to the central alarm panel box Some of these wires will connect to other wires while others will connect directly to the central alarm panel box.
Prepare Your Tools To open and service your alarm panel without causing any harm to yourself or damaging your alarm, it is recommended that you have the following with you. Before starting the process, make sure that you have assembled a Phillips head screwdriver, needle nose pliers, a flashlight, and a step stool or a ladder. It is not necessary to use each tool, but the presence of such tools at hand can improve the situation. The main and probably the only essential tool is a small screwdriver that you need for the removal of the panel cover. The pliers can also assist you in removing old wires or properly holding any components should it be required. The flashlight also comes in handy when trying to peer at the internal panel since the ladder also provides a way to reach upper-mounted boxes.
It is advised that the operator should open the panel cover with a lot of ease. When you are carrying out any activities around the alarm panel box it is important to ensure that the ADT system is on hold or stopped so that it does not trigger an alarm. You should be able to view a button that will assist you in turning off the alarm. Next, find several tiny screws, which might be installed on the side or at the top of the panel box cover. These are the screws you need to turn very delicately using your screwdriver to ensure that they are fully unscrewed so that you can get into the box. You should ensure that you do not drop any screws inside the box when the cover is off.
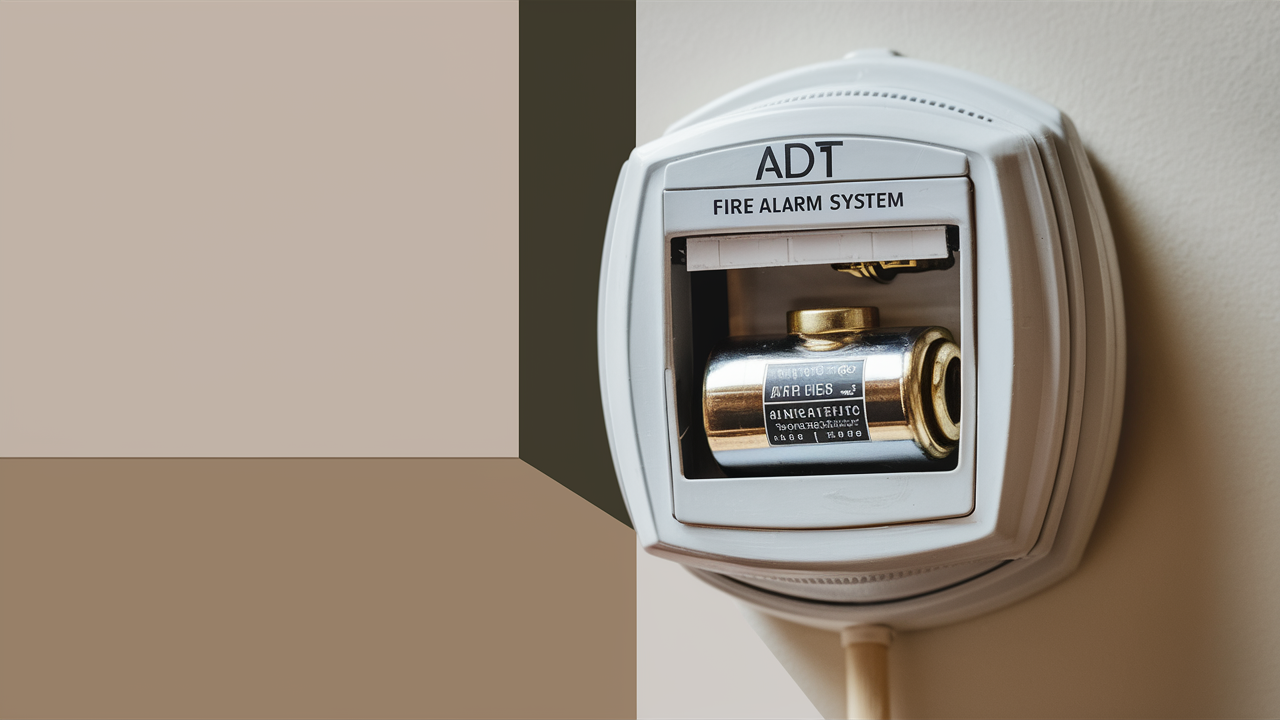
Locating the Battery and Recognizing the Wires Finally, point your flashlight at the parts of the panel you wish to inspect. Most of the time you will find a circuit board, a mass of wires, and a battery although it is often enclosed in a holder or bracket. The model number of the battery and other details will be written on the outer side just like the one shown below: Find out the orientation and the type of battery; most ADT alarms require 9-volt batteries either in the horizontal or the vertical orientation. Some of the wires or connectors are directly connected to the battery from the alarm panel, make sure to note down those wires. There you will have to unplug and then plug back in all whilst ensuring that you do it safely.
Disconnection and Battery Disposal Disconnect and removal of the old battery are also crucial to ensuring that the car does not short circuit and also to avoid the battery getting spoilt. Next, take the needle nose pliers hold them down, and take out the wires which are connected to the terminals of the battery. Pull with some force slowly to take them off without causing harm to the wires. Then look to check if the battery is secured in a bracket or holder by a clip. There may be an additional spring clip or a special battery holder. Find out how the battery is held in place, attempting to grip the bottom of the battery with your pliers or fingers when the wires are disconnected. Take it out of the container or brackets gently, if possible, turn it up or to the side so that it releases. Some batteries will automatically switch off when you remove the last cell, so if this is the case, leave the old battery disconnected, but do not allow any contact between the positive and negative terminals.
Solder Wires to New Battery The matter being clear, install the new 9-volt battery in the panel, which can be done either vertically with the help of the battery holder or horizontally by placing it right on the battery shelf. If there are any clips or fasteners that have been removed during the process, make sure to reattach them to ensure that the battery stays securely mounted. then strip the wires that you disconnected from the old battery and join them to the terminals of the new battery you just bought. Often, these wires only come in contact with the positive and negative terminals by snapping or clipping on them firmly. Be very cautious not to allow the wires that were exposed to come into contact while replacing the battery.
Reinstall the Panel Cover and Test the System Now, with the new battery placed in its rightful position, it is time for you to finish. Reattach the top part of the alarm panel box, and ensure all the screws are well tightened using your Phillip screwdriver. Surrender or deactivate your ADT fire alarm system if it is on hold or in standby mode. It is tested for its functionality by pressing test buttons and subsequently checking if all the Individual sensors activate the alarm. It is recommended that full smoke or fire tests are not performed immediately after exchanging the lithium battery as the system needs some time to recognize the new power source and this can take between 5 to 10 minutes.
To ensure that your ADT system continues to work properly, it is recommended that the battery be replaced at least once every year. Batteries slowly discharge minute amounts of power and at some point, the battery is no longer capable of powering the equipment. It is recommended to test them every week but install new batteries every year; this is an added measure toward fire safety for the building. Given the relevance of a fire detection system, it is only reasonable to spend several minutes of our time on the battery change to have a proper, enduring performance, instead of constantly facing problems.
Protect your home today with ADT’s top-rated security solutions!
Call now at +1 877-470-7879 to get a free consultation and find out how you can secure your home with the best in the business. Don’t wait—ensure your peace of mind with ADT!


