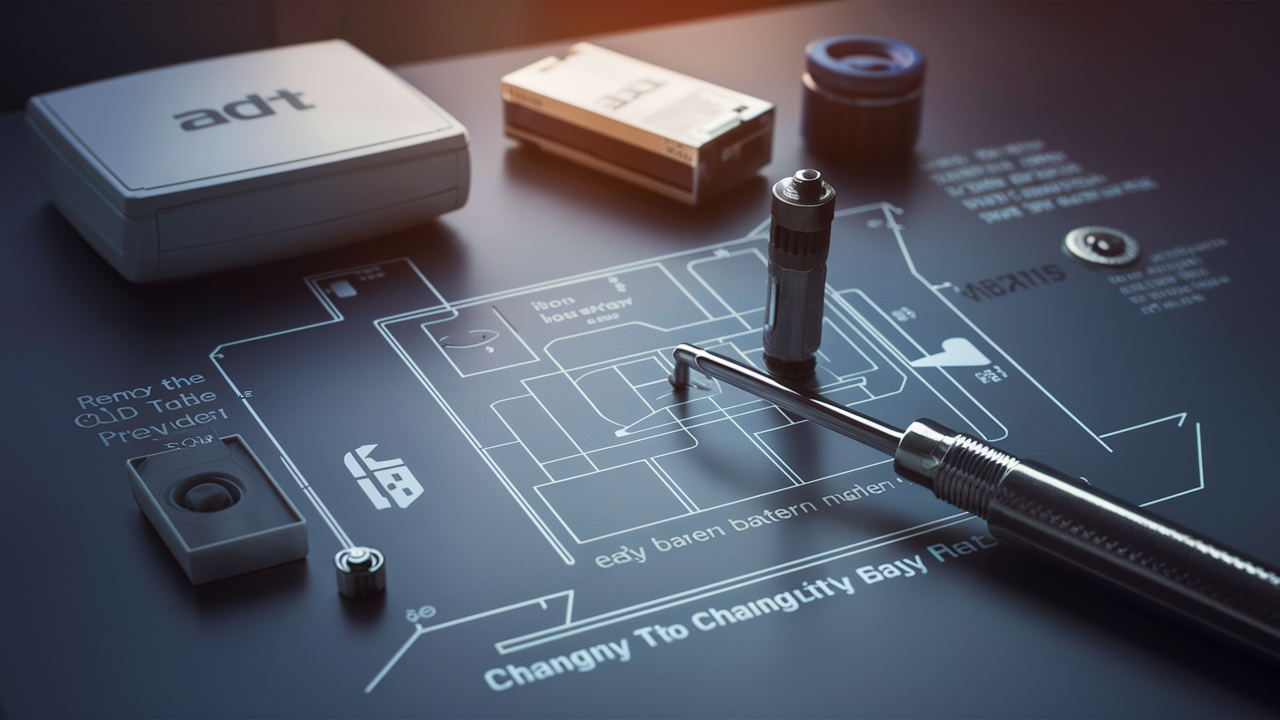
Once you have an ADT alarm system in your house or your business place, you have to ensure that you know how to install the right battery when it is low on power. A basic ADT alarm system is dependent on a fully-charged backup battery to ensure the alarm continues to function during a power outage. If the battery fails, your alarm system will not even work appropriately to identify the intruder or fire. For this, you only require a screwdriver and a few guidelines on how to replace the ADT alarm battery that has expired.
Before Getting Started
There are some crucial factors that you must always bear in mind when you are preparing for the battery swap. The first step that you have to take is to acquire a new battery that is suitable for the control panel you are using. ADT systems usually contain 12V sealed lead acid batteries. The battery normally comes with wires and/or a connector that is correctly wired to integrate your current system. Please do not remove the old battery until you have found one that is suitable to replace it with.
This is also a good idea because it is best to inform ADT that the battery is going to be changed soon. They can put your system on test mode and this allows them to disarm your system when pulling out the existing battery. This helps avoid false alarms, and thus sparing you the embarrassment of mobilizing authorities to your location unprovoked. ADT approval to service equipment must involve identifying your account information and security code when calling support.
Safety Precautions
Nevertheless, while working with electronics, it is important to observe measures to avoid the chances of being electrocuted or forming a short circuit. Always switch off the ADT alarm system when you are at the main control panel and ensure that you remove the old battery. It is also important to do away with any ornament or metal accessorial on your person to reduce the possibility of electric shock or sparks if one is involved in the process.
Other equipment that should be readily available include protective gear like gloves, goggles, and insulated tools. It is proper to make sure that there are no fluids or particles in the vicinity of the control box and battery compartment when operating the system. An important rule that should never be violated is the proper attention when making any connections or disconnecting the wires associated with the battery replacement.
Locating the Battery
These ADT alarm control panels are normally placed near the door that is used by ADT installers to gain access to any given premises. In a home, this metal control box is located in a basement, utility closet, or garage. There will be a door on the panel that you can unlock to access the battery, which is often located at the bottom of the toolbox or on a shelf of the box. ADT alarm panel is typically situated in a communications room, electrical room closet, or another protected indoor area in commercial facilities.
Once you open the control panel, you will find the existing battery in the shortest time possible. In most of the original installations, ADT alarm equipment employs a size 12V battery, typically of 7 to 12 Ah capacity. This product is commonly an inverted ‘U’ shape whose two ends are equipped with connectors and wires protrude from these connectors. To find the positive and negative batteries, and the disconnect points will require you to follow those wires. There should also be a slot of some type either molded of plastic or of metal that is used to hold the battery in place, this strap will have to be removed to extract the battery.
Pulling out the key and Detaching the Dead Battery
Once your system has been written to test mode, and you are all geared up with your safety gear, it becomes possible to go ahead and remove the tired battery. First, locate where those wires from the top post of the battery are connected to. This will typically be in the form of a connector linking the battery to the alarm wiring. At this connector, be very gentle while disconnecting it and it is also recommended that one should avoid coming into contact with the exposed areas of the connector.
The third step involves the detaching of the strap or bracket which was used to secure the battery in place in its compartment. The wiring is now free and the restraint is off, move the battery up and out from the unit being cautious not to strain the wires that are still connected. The battery will be heavy; therefore, make sure you have a firm grip on it and lift it with your legs during the transportation from the control box. Arrange it out of sight without stressing the lead wires or subjecting them to a great deal of pressure.
Installing the Replacement Battery
When all the old batteries have been pulled out and disposed of, the new ones can be installed and made ready for use. First of all, check that the new battery in your case is the same size as the old one and has the same voltage and connectors or is compatible with your ADT equipment according to the ADT standards of your equipment. Place the new battery back into the control panel compartment so that its position can be slid down while the top wires are directed.
Connect the cable at the end of the wires of the new battery to the alarm wiring in the right polarity. Ensure the connector does not disengage without the need to do so through some form of locking mechanism. Then you need to snap the replacement battery into the battery hold-down bracket or strap where the original battery should be. Screw the new battery in place until well secured by the restraint and firmly fixed to the control panel housing.
After installing, pull moderately on both the battery wires to ensure everything is well fixed and connected with no looseness. Ensure that there is firm contact between mating elements such as wire terminals to avoid loose connections that might result in poor connection. Where necessary to do so, verify that protective terminal caps are installed correctly. It was important to make certain that no wires or conductors could touch or short-circuit against the control panel or the box walls.
Once the new battery is wired and firmly in place, you can now put a lid on the control box. To close a panel, twist any screws or latches back into position. Telephone call ADT to turn the system off from the test mode. Your ADT alarm should power up normally with a green or blue light if the alarms are functioning properly. A new battery should be connected and charged for at least 24 hours before the system can be depended upon for backup protection in the event of a power failure.
Performing Regular System Checks
To ensure your ADT alarm is working well after the battery change, you must check it occasionally and test it. Some batteries may come with an LED indicator light that should be checked monthly to determine the condition of the battery. This confirms that the battery has adequate charge. Also, it is advisable to conduct system tests by bringing the alarm to its test through simulation. To ensure that motion detectors and door and window sensors are functioning and notify the appropriate agency, turn them on.
Change the backup battery of your ADT alarm every 3 to 5 years because it is a crucial component in the system and when it fails it will mean you don’t have backup power to support the alarm in the event of a power blackout. If purchasing batteries in a store, make sure to get the ones that are specifically designed for use in ADT systems to avoid getting incompatible ones. Adhere to the steps indicated here when changing the battery while ensuring that you take all the necessary safety measures to prevent any mishaps during the replacement process. When maintained correctly, the batteries of the ADT alarm will provide the needed protection and comfort to the users regardless of the situation.
Protect your home today with ADT’s top-rated security solutions!
Call now at +1 877-470-7879 to get a free consultation and find out how you can secure your home with the best in the business. Don’t wait—ensure your peace of mind with ADT!


