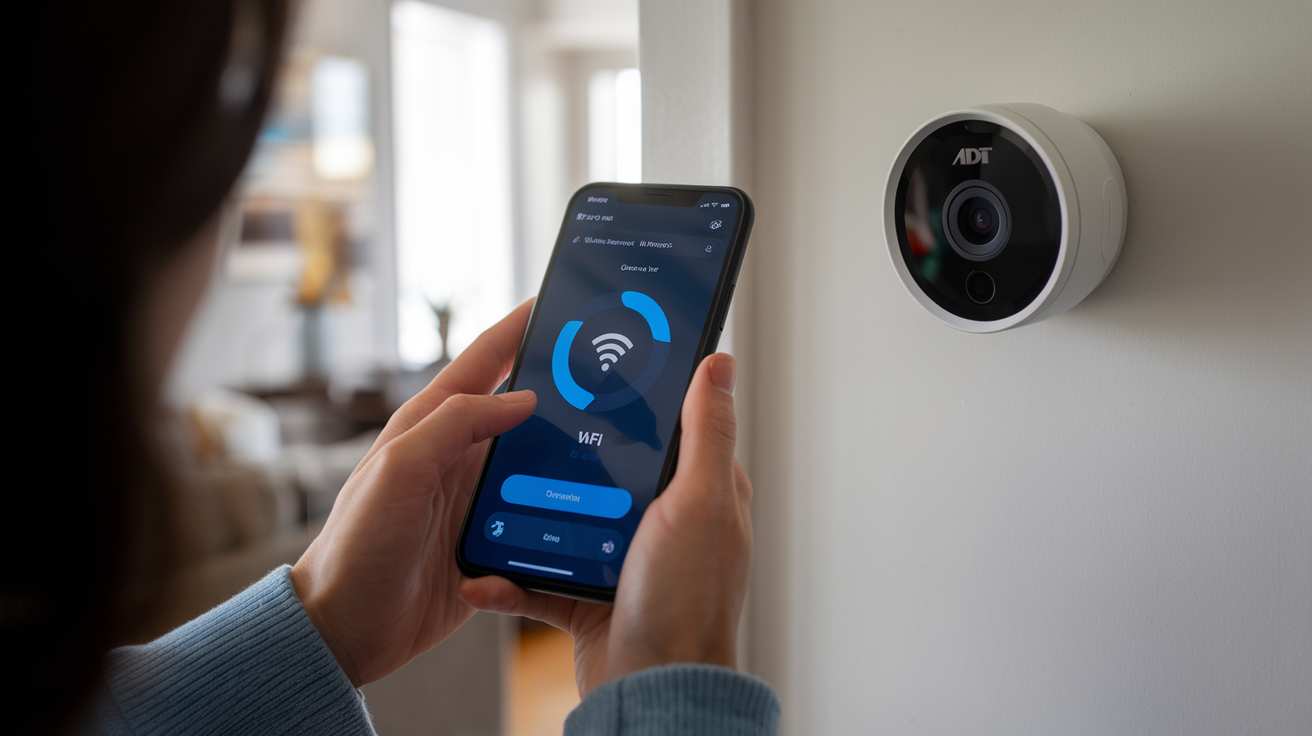
Having trouble updating the Wi-Fi on your ADT Nest Camera? Whether you've upgraded your internet service, replaced your router, or simply updated your Wi-Fi credentials, reconnecting your camera to the new network can feel daunting. But don’t worry—this guide will walk you through every step to ensure your ADT Nest Camera stays connected and operational.
Why Changing the Wi-Fi is Necessary
Your ADT Nest Camera relies on a strong Wi-Fi connection for live streaming, storing footage, and sending notifications to your device. If you've recently changed your Wi-Fi network name (SSID) or password, or moved your camera to a new location with a different network, it won’t be able to connect until you update the settings. Without this adjustment, your camera won’t work as intended, leaving gaps in your Smart home security system.
Here’s how to get your Nest Camera connected to the right network quickly and easily.
Preparation Before Changing the Wi-Fi
Before jumping into the steps, ensure you have the following ready:
- Your new Wi-Fi name (SSID) and password
- Access to the Google Home or Nest app (depending on your setup)
- Your phone or tablet connected to the same Wi-Fi network you're switching your camera to
- Stable power for the camera while you’re reconfiguring
Having these things prepared will make the process faster and less stressful.
Step-by-Step Guide to Changing the Wi-Fi on Your ADT Nest Camera
Step 1: Open the Google Home or Nest App
The first step is launching the app you use to control your ADT Nest Camera. For most newer Nest Cameras, the Google Home app will handle the device setup. However, if your camera is part of the earlier Nest ecosystem, the Nest app might still be applicable.
Confirm which app your device is linked to by referring to your camera’s manual or product guide.
Step 2: Select the Camera You Want to Update
Once the app opens, you’ll see a list of devices connected to your account. Navigate to your ADT Nest Camera and select it from the list.
Step 3: Disconnect Your Camera from the Current Network
You’ll need to remove the camera from the old network connection before adding it to the new one. Here’s how to do it in two common scenarios:
- Google Home app:
- Tap on your camera to open the device settings.
- Select Wi-Fi Settings, then choose Forget Network.
- Nest app:
- Navigate to your camera, tap the settings icon, and locate Wi-Fi Options.
- Select Forget This Network.
Your camera will now disconnect from the current Wi-Fi.
Step 4: Factory Reset (Optional)
If your camera doesn't give you an option to switch networks directly, you may need to perform a factory reset. A factory reset will erase all prior network settings and allow you to set up the device on the new Wi-Fi network.
To factory reset your ADT Nest Camera:
- Press and hold the reset button on the back of the camera for about 10 seconds (or until the camera’s indicator light flashes).
- Follow the on-screen prompts in your app to start the reinstallation process.
Check the user manual or online resources for model-specific instructions if your camera doesn’t have a visible reset button.
Step 5: Reconnect the Camera to the New Wi-Fi
Once disconnected or reset, go back into the app and follow these steps to connect to the new network:
- Tap the Add Device or Set Up Device option in the app.
- Follow the device setup instructions on your screen.
- When prompted, select your new Wi-Fi network and enter the password.
- Wait for the app to confirm that the connection was successful.
This step can take a few minutes, depending on the speed and stability of your Wi-Fi. Make sure your phone or tablet remains close to the camera during the process.
Step 6: Test the Connection
Once the camera reconnects, ensure it’s functioning properly by checking features like live view, motion detection, and notifications. If everything looks good, you’re all set!
Troubleshooting Common Issues
If you encounter any issues while changing the Wi-Fi, here are some fixes to try:
- Camera Won’t Connect to the New Network
- Confirm your Wi-Fi credentials (SSID and password).
- Ensure your camera is within range of the Wi-Fi router.
- Check that your Wi-Fi network supports the 2.4 GHz frequency since some Nest Cameras may not work with 5 GHz networks.
- App Freezes During Setup
- Close the app, reopen it, and try the process again.
- Restart your phone and ensure it’s connected to the same network you’re trying to configure the camera with.
- Wi-Fi Signal Too Weak
- Move your router closer to the camera.
- Use a Wi-Fi extender to improve signal strength.
If issues persist, contact ADT or Google Nest Support for additional guidance.
Benefits of Keeping Your Camera’s Wi-Fi Up-to-Date
Regularly maintaining the Wi-Fi connection on your ADT Nest Camera ensures uninterrupted service and maximum effectiveness. Here’s why this matters:
- Real-Time Alerts: A strong connection ensures you receive instant notifications for motion or sound detection.
- Continuous Recording: Stable Wi-Fi guarantees uninterrupted footage storage if you use cloud backup features.
- Peace of Mind: Knowing your camera is always connected allows you to monitor your home confidently, whether you’re there or miles away.
Final Thoughts on Updating Your Wi-Fi
Changing the Wi-Fi network on your ADT Nest Camera doesn’t have to be complicated. With a little preparation and following the steps above, you’ll ensure your camera stays connected and your home remains well-secured.
If you’re planning major Wi-Fi upgrades or moving to a new home, take these steps in advance to avoid lapses in coverage. A well-connected camera is key to maintaining peace of mind.
