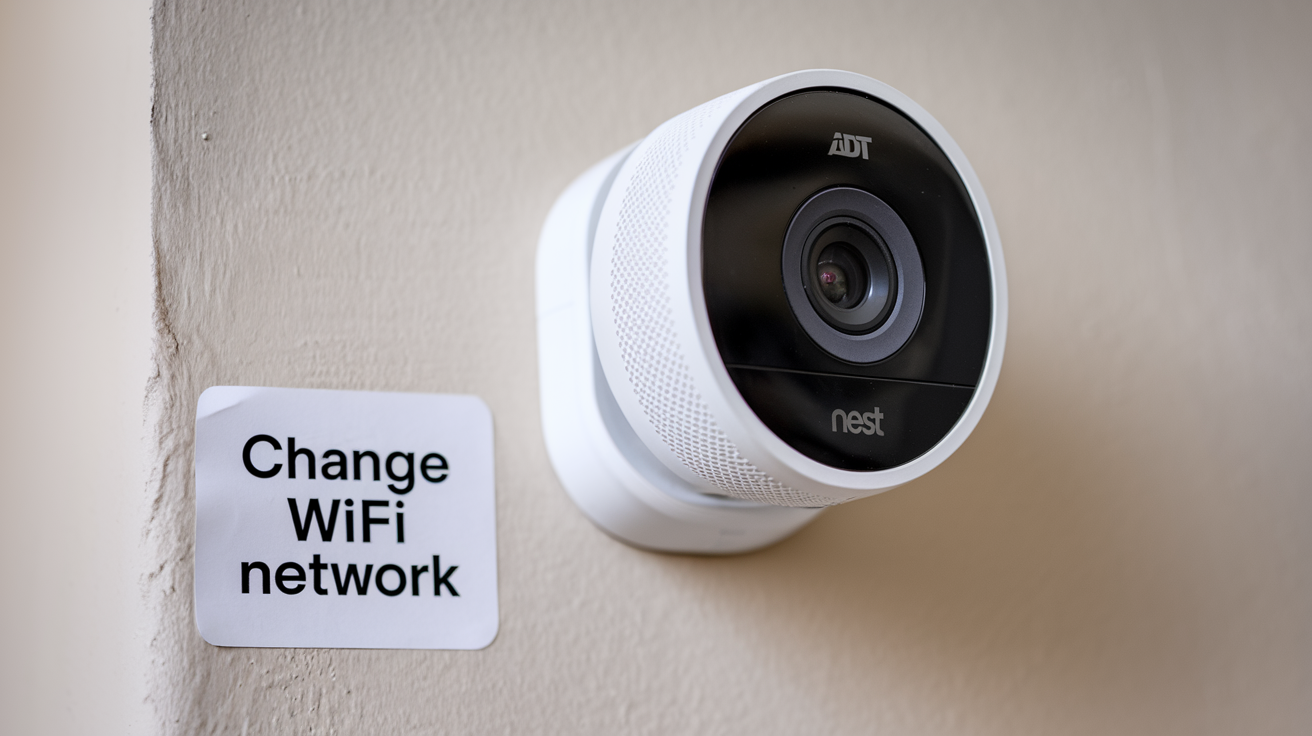
If you've recently upgraded your home WiFi network or switched to a new internet provider, you might need to reconnect your smart devices to the new network. Your ADT Nest Camera, like most smart devices, relies on a stable WiFi connection to function properly. Changing the WiFi network might seem challenging at first, but with the right instructions, it's a simple task.
This guide will walk you through the process step-by-step so that your ADT Nest Camera is back online in no time. Whether you're troubleshooting connectivity issues or setting up a new network, we've got you covered.
Why Does Your ADT Nest Camera Need WiFi?
Before we jump into the how-to, it’s essential to understand why your camera needs WiFi in the first place.
WiFi is what powers your ADT Nest Camera’s real-time video streaming, motion detection alerts, and cloud storage for recordings. Without it, the device can’t send updates to your Nest app or provide you with security features. That’s why it's crucial to have your camera connected to a reliable network.
Step-by-Step Guide to Changing the WiFi on Your ADT Nest Camera
Follow these steps to seamlessly change the WiFi network on your ADT Nest Camera:
Step 1: Open the Google Home or Nest App
The ADT Nest Camera is managed through either the Google Home app or the Nest app, depending on the specific model you own. If you’re not sure which app to use, check your camera’s user guide or visit ADT Support.
- Open the app you use to manage your camera.
- Log in with the same credentials you used when setting up your Nest Camera.
Step 2: Locate Your Nest Camera
Once logged in, find the camera that needs a WiFi update:
- Navigate to the "Devices" or "Cameras" section of the app.
- Tap on the specific camera you’d like to update.
Step 3: Choose "Remove Device" or "Forget Network"
Unfortunately, there isn’t a direct "change WiFi" button in the app. To connect your Nest Camera to a new network, you must first remove or reset the network configurations:
- Locate the settings menu for the camera.
- Tap "Remove Device" or "Forget Network." This step disconnects the camera from the previous WiFi.
Important Note
Once you remove the device, you’ll need to set it up again as if it were new. Don’t worry—your app will guide you through it!
Step 4: Reset Your ADT Nest Camera
To ensure a smooth reconnection to the new network, reset your camera:
- Locate the reset button on your Nest Camera. It’s typically a small button on the back or bottom of the device.
- Hold down the reset button for 10-15 seconds or as directed in the user manual.
- Release the button once the camera’s light indicator flashes. This signals that it’s ready to reconnect.
Pro Tip: Ensure the camera is plugged in and powered throughout the process to avoid disruptions.
Step 5: Reconnect to Your New WiFi Network
Now that your device is reset, it’s time to add it back to your app and connect it to the new WiFi:
- Open the app and select the "Add Device" or "+" option.
- Follow the on-screen instructions to complete the setup. The app will prompt you to select your new WiFi network and enter the password.
- Once connected, the camera should blink green or another color, depending on your model, indicating a successful WiFi connection.
Step 6: Test Your Camera
After reconnecting:
- Check the live feed in your app to ensure the camera is functioning correctly.
- Confirm you’re receiving alerts and notifications as usual.
If everything checks out, your Nest Camera is now fully operational on the new WiFi network.
Troubleshooting Common Issues
If you run into problems while changing the WiFi on your ADT Nest Camera, here’s how to troubleshoot:
Issue 1: Can't Find the Camera in the App
Ensure that:
- Your camera is powered on.
- The reset process was completed properly.
If the issue persists, restart the app or reinstall it.
Issue 2: Unable to Connect to the New Network
Check the following:
- Is your phone connected to the same WiFi network?
- Have you entered the correct WiFi password?
- Is the new network’s band supported by your camera? For example, older models may require a 2.4GHz band only.
Issue 3: Camera Still Won’t Connect
If all else fails, reset the camera and app, then start the process from the beginning. You can also contact ADT customer support for expert assistance.
Best Practices for Maintaining Connectivity
To ensure your ADT Nest Camera stays connected and performs optimally:
- Opt for a high-speed internet service with good coverage across your home.
- Place your camera within range of your router to minimize interference.
- Consider a WiFi extender if you experience weak signals in certain areas.
Ensure Your Security with a Stable Connection
A functional WiFi connection is the backbone of your ADT Nest Camera’s operations, ensuring your home stays protected 24/7. By following these steps, you’ll have your camera back online in no time, staying connected to monitor your home effectively.
If you found this guide helpful, share it with fellow Nest users! For more tips and troubleshooting advice, explore additional resources on our blog or reach out to our
