How to Connect a Security Camera to Wi-Fi: A Simplified Guide
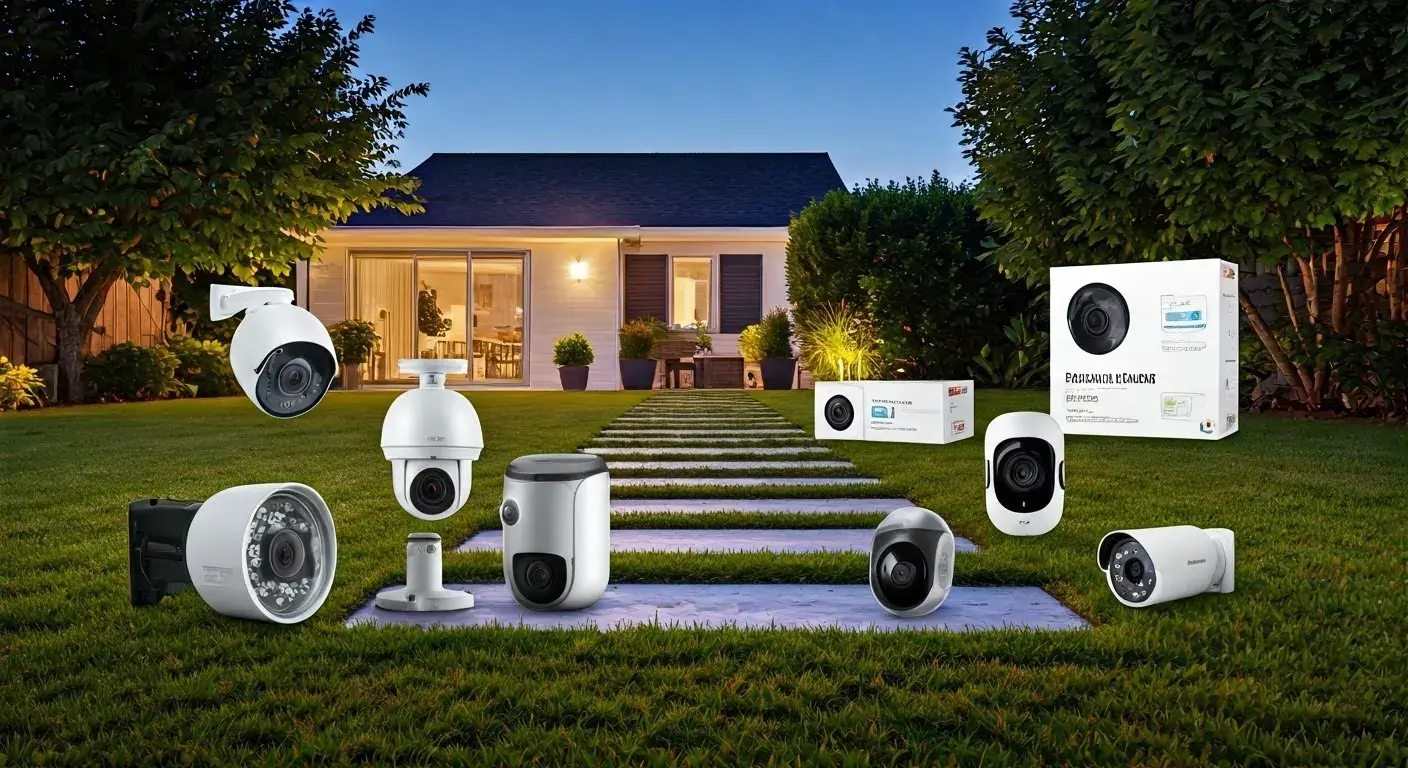
More people are now installing security cameras in their homes or business premises because of the decreasing costs of equipment and the convenience that the system offers With the availability of wireless connectivity modes such as wireless Fidelity or Wi-Fi, it is easier to install security cameras without having to drill holes on walls and ceilings to route the cables As for the old-type cameras, they can only be connected through coaxial cables or LAN cables.
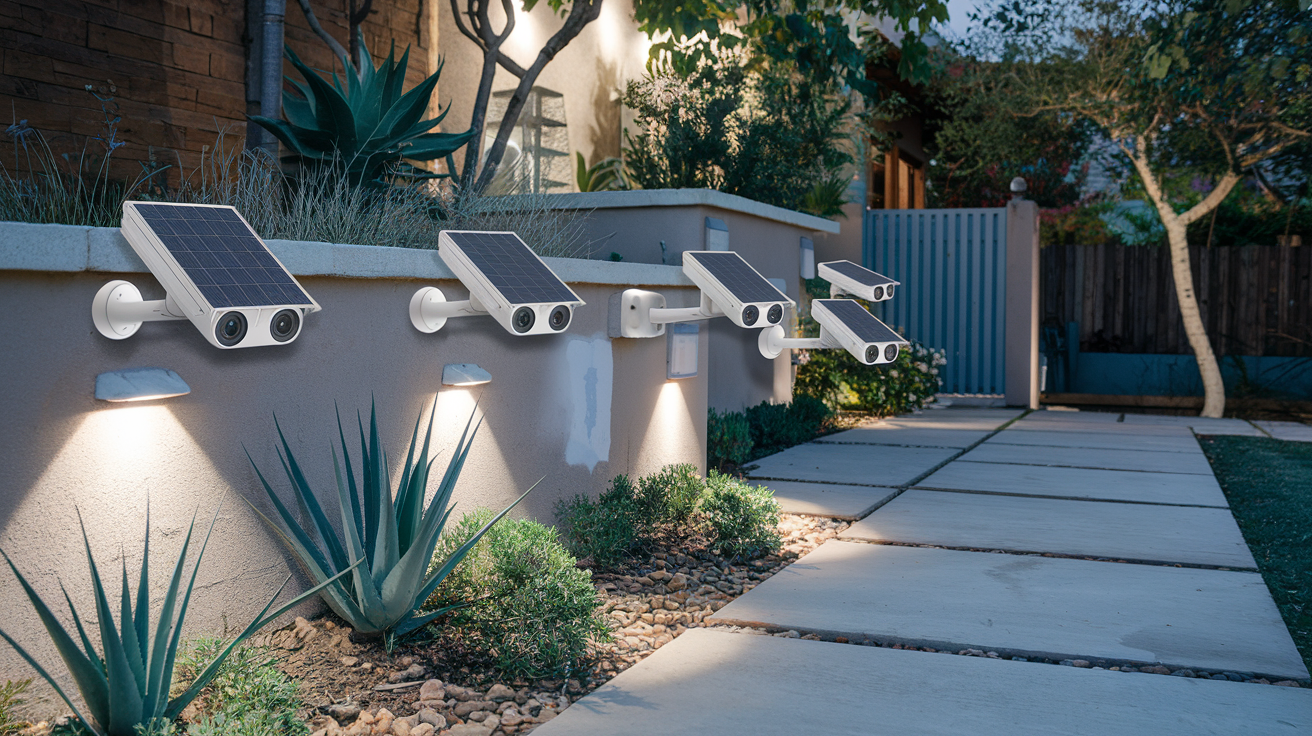
Wireless security cameras are fundamentally similar to wired cameras, but have the advantage of not requiring cables and can therefore be installed almost anywhere. However, there are some fundamental requirements that should be grasped before installing wireless security cameras. This article offers a detailed procedure and the things that one needs to check when setting up security cameras to a particular Wi-Fi network.
Requirements Needed Before Connecting Security Cameras to Wi-Fi
To embark on the process of installing security cameras that should be connected to a Wi-Fi network, there is something that you should consider first of all. These include:
-
Wi-Fi Coverage: Find out whether the area where you want to install the wireless security camera is well covered by Wi-Fi router signals. A point worthy of note is that the camera requires fairly good Wi-Fi signals for it to be able to stream videos seamlessly without interruption.
-
Security Camera Compatibility: Also, make sure that the particular model of the security cameras you have bought is conducive for Wi-Fi use. The supported wireless standards should be listed as part of the product specifications. The majority of the contemporary Wi-Fi security cameras are compatible with IEEE 802. 11 b/g/n wireless protocols.
-
Password Credentials: Ensure you have the SSID (Wi-Fi network name) and Wireless password close by before switching on the security camera for wireless configuration. This is necessary to link each other additional device to the wireless LAN.
-
Wi-Fi Router Security Type: See if your home/office Wi-Fi router utilizes WPA/WPA2 with PSK or older WEP security encryption. This will be necessary for the security key to be inputted.
Once you have checked these basic prerequisites, follow the step-by-step procedure below to connect the Wi-Fi security camera:Once you have checked these basic prerequisites, follow the step-by-step procedure below to connect the Wi-Fi security camera:
How to Connect Security Camera to Wi-Fi
Follow these key steps to add wireless security cameras to your existing Wi-Fi network:Follow these key steps to add wireless security cameras to your existing Wi-Fi network:
-
Check Camera Ports: Remove the new security camera’s packaging and look for the ports that would be available for connection. Typically, most Wi-Fi cameras have a reset button, power port, an antenna port, among other features. Some models also come with an Ethernet LAN port for the wired connection.
-
Power On Camera: Insert the power adapter cable into the security camera and plug into an electrical outlet. It will take the camera 30 seconds to warm up once switched on if battery operated.
-
Enable Wi-Fi On Camera: Consult with the product manual and turn on the Wi-Fi module on the security camera. This is not possible for now but there will be option for this in Settings once camera has booted up.
-
Open Router Admin Interface: The first step is to type the default gateway IP address in the address bar of your internet browser to access the admin interface of your Wi-Fi router. This can be seen on a connected computer or smartphone.
-
Disable Firewall Temporarily: Only in the wireless router admin interface, turn off the firewall for some time. This make it easy to add new device to the Wi-Fi network.
-
Look for Wireless Network: When the security camera web/mobile interface is newly started, go to the network settings tab. Look at the list of available wireless networks and your SSID should be visible here.
-
Select Right Network: After scanning the available network, select the correct SSID that you would want your camera to connect to.
-
Enter Wireless Password: When you choose connect on that wireless network, a dialog box with a message wireless security key will be displayed. Type the correct password for the Wi-Fi in the field and connect to the network.
-
Confirm Connectivity: If the right format of the credentials is input then the wireless camera will display connection successful. If you can see the computer or devices on the Wi-Fi network you are connected to check the live video feed.
-
Re-enable Router Firewall: Return to the wireless router admin page and continue to disable the firewall options . This will lock your network after the devices are configured.
So using these above mentioned simple 10 steps you can easily configure the new Wi-Fi security camera to an existing wireless network. Most of the modern-day cameras can provide a live feed as soon as they are set up slightly above as explained above. Other camera settings can be changed from the camera web portal or the mobile application without any hassle.
Solutions and Advice Regarding Security Camera Wifi Connection
Here are some useful tips to ensure reliable operation of your Wi-Fi enabled security cameras after completing wireless setup:Here are some useful tips to ensure reliable operation of your Wi-Fi enabled security cameras after completing wireless setup:
-
Ensure that you orient your antennas in the right manner to allow for optimum signal strength to your router.
-
Replacing home router if multiple cameras cause bandwidth issues
-
Set the automatic reconnect facility in the camera in case of any Wi-Fi disconnection
-
Specify permissions to receive notifications of any issues with the camera.
-
Occasionally look for new firmware releases that enhance the device’s stability.
-
If signal levels still remain poor, it is important to consider other access points.
As most security cameras are connected to Wi-Fi to avoid long wiring, attention should be paid to ensuring that video quality is not affected. As long as an individual has proper home Wi-Fi networks and above connectivity best practices, wireless security cameras could offer the same reliability as wired cameras.