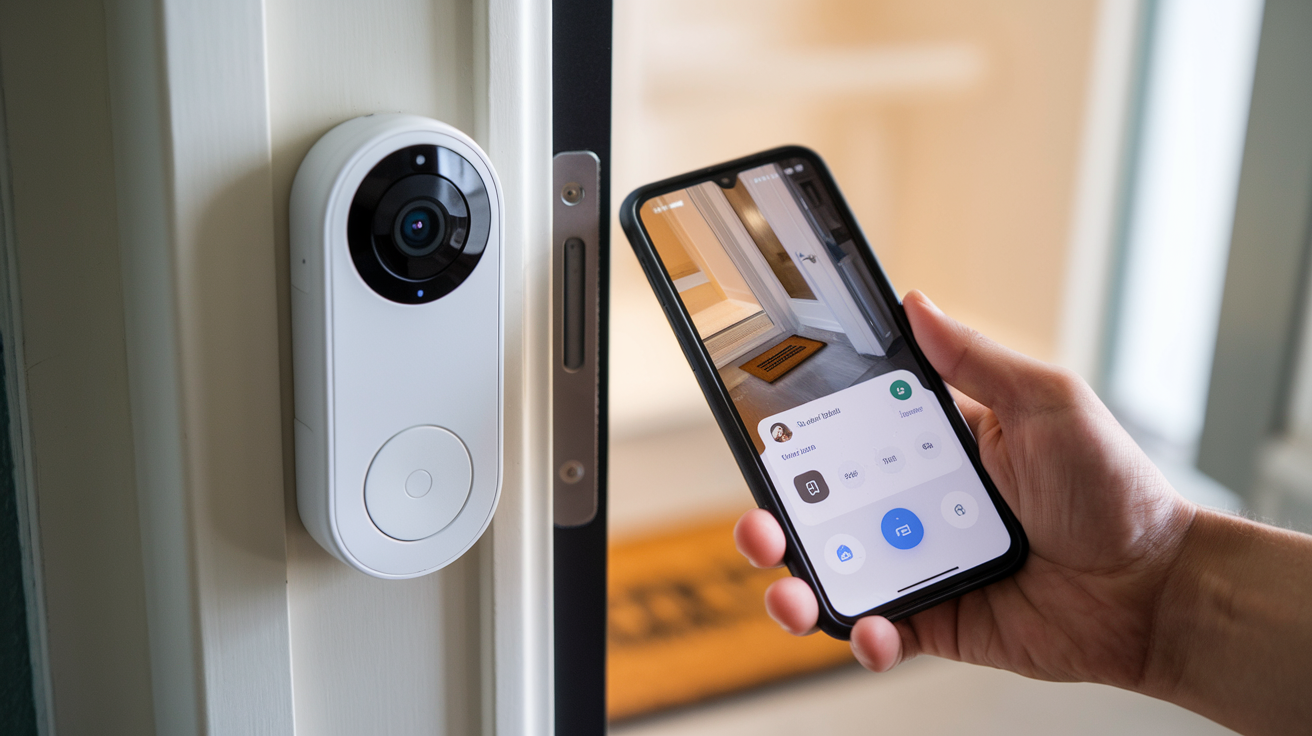
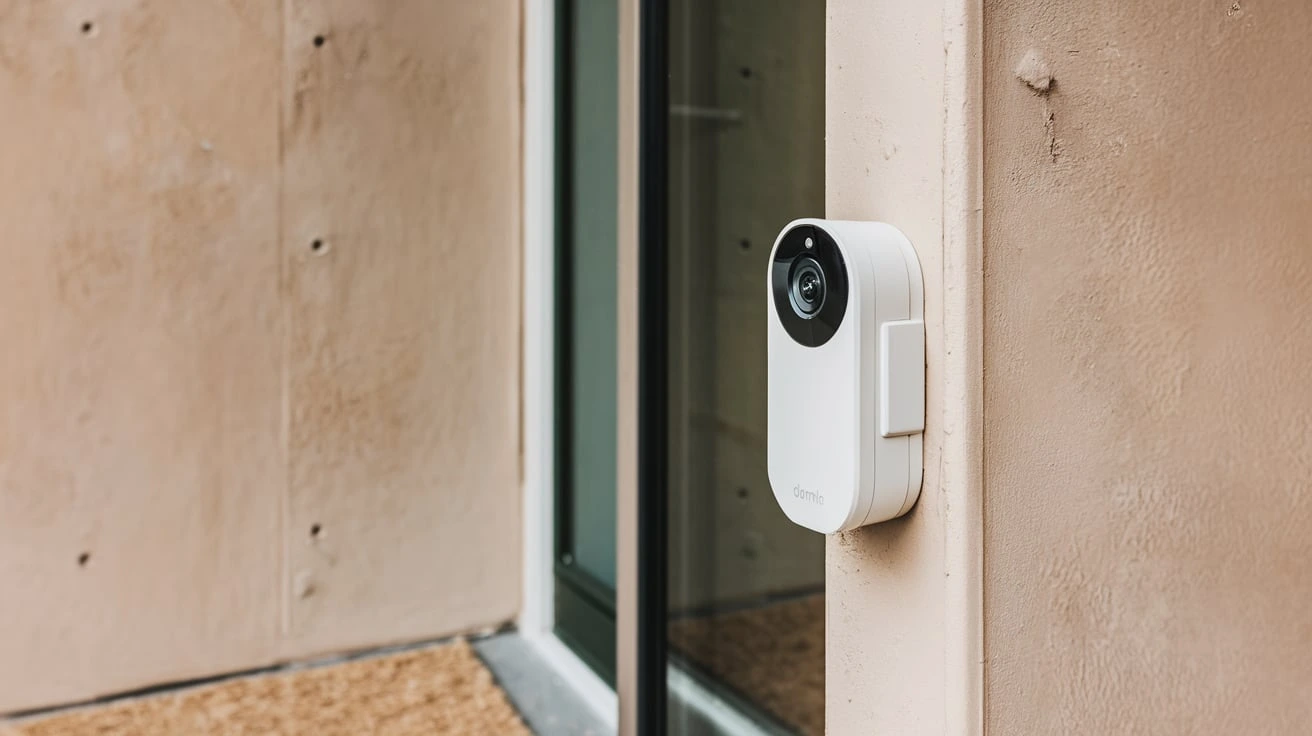
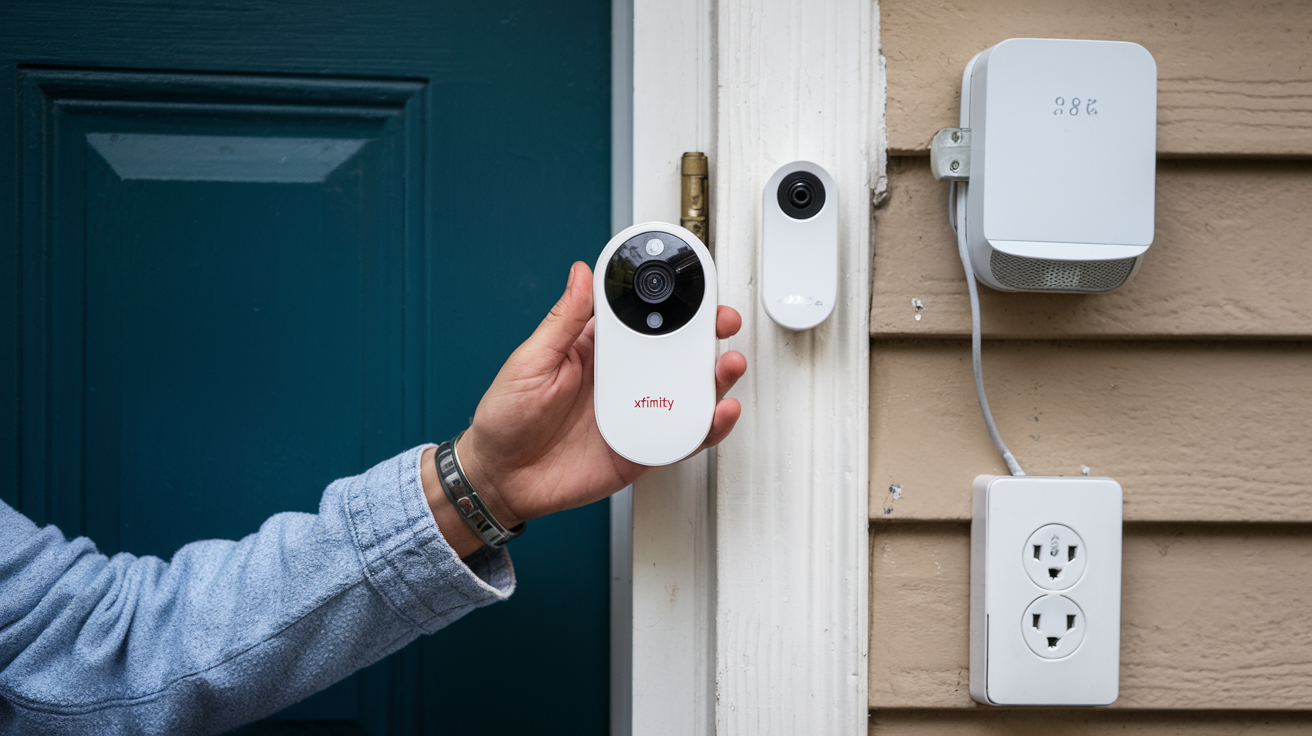
Sometimes people face problems with their Google Nest Doorbell Cameras, or they want to configure the device from the first step, and in such circumstances, they need to reset the device to factory settings. Rebooting the Nest doorbell erases your settings and data from the device and lets you start with a fresh device setup on your doorbell. Below are the procedures on how to factory reset your Google Nest doorbell camera.
Why You Need to Reset Your Nest Doorbell?
There are a few reasons why you may want to reset your Nest doorbell to factory default settings:
- You are having some problems with the device and want to delete any data or settings that have gone wrong. This should always be done especially when suffering from app connectivity issues, video loading issues, or any other problems that originate from the software.
- You want to connect the doorbell to a new Google Nest account. Resetting clears all current account connections and related information.
- You have your old Nest doorbell which you intend to sell or give away and before the new owner registers the device, you need to erase it. A hard reset is performed to prevent any data or settings from the previous configuration from remaining on the phone.
- You just want to strip all the changes and start over again from the beginning maybe because the settings have become complex.
First of all, it is necessary to back up the data on the backup devices.
Before proceeding with the reset process, make sure that you do not have any configured doorbell video recordings, Familiar Faces data, or any other information saved in your Nest app that you want to be copied over to the newly set up device. If so, it is important to support this data. It is possible to download some videos to your mobile device or computer so that you always have copies to upload later after you add your Google account back to Nest.
How To Reset Your Google Nest Doorbell?
You will have to interact with the Nest doorbell hardware to enable a factory reset mode to be triggered. Follow these instructions carefully:
Supplies Needed:
- Phillips head screwdriver
- Ladder (for high-mounted doorbells)
- Disconnect your Nest doorbell from the power source by flipping the switch at the breaker box. Find the correct circuit and turn it off.
- To do this, take the screwdriver and remove the Nest doorbell faceplate from the mounting plate. It is fixed with two long screws, you notice them. Be extremely gentle when disconnecting any wiring connectors during this time while pulling the doorbell unit.
- This button is located under the screws and ports on the back side of the circular Nest doorbell housing and is labeled.
- Using a straightened paperclip, gently insert it into the reset opening on your Samsung Galaxy S8. Squeeze for up to 10 seconds.
- With the paper clip still inserted into the breaker switch, turn the breaker switch on to re-establish the power supply.
- Ensure that you hold the reset button for another 5-10 seconds when power is restored.
- Release the paperclip. Your Nest doorbell will now begin to restart and it will flash orange while it is now in factory reset mode. This may take several minutes.
- After the device lights have gone off, switch off the power at the breaker once more.
- Reconnect device wires and screws. Push the doorbell component back into the mounting plate, ensuring correct positioning.
- Turn the breaker back on. The Nest doorbell will be in factory settings with no data and configurations that were set before.
What Happens During Factory Reset?
Once a reset has been accomplished to effectively start the Nest doorbell, the device will reset and recreate its cache. This poses the question of privacy as video history is immediately deleted. Network connections on WiFi and Google accounts that may have been added to the device are deleted to bring the device to its factory settings. This process involves the device restarting and may take several minutes depending on the type of device that is being used.
After a reset, the doorbell LED ring will typically blink in orange during and right after the reset process. This is a normal operation. When the lights go out, then the reset is done.
After a Nest Hello is powered back on when a reset completes, it will ask for basic settings such as language before it allows you to add a Google account and WiFi network for a fresh setup. This will be simply like putting up a new unit for use in the company.
Post-Reset Setup
After wiping your Nest doorbell camera to factory default settings, you'll need to complete setup again from scratch as if installing a new device: After wiping your Nest doorbell camera to factory default settings, you'll need to complete setup again from scratch as if installing a new device:
- Open the Google Home app, then tap the Adoption at the bottom of the screen, then select Set up the device, followed by Doorbell This connects the app to your Nest, which you should have reset by now.
- The instructions are to connect to WiFi and enter Google account details. Allow application permissions when requested.
- Customize features such as video quality, status light brightness, and Familiar Faces to another preferred level if necessary. I see that all the previously used settings are no longer available.
- Perhaps new event history should be backed up from now on. Since factory reset deletes your previous video clips and activity notifications, preserving future backups helps avoid data loss again.
Resetting your problematic Google Nest doorbell camera is sometimes useful in enhancing device functionality and eliminating recurrent software problems. All in all, it is advisable to back up any data that may be vital before attempting to recover your operating system. Since device recordings and settings are deleted, you would be prepared to configure your WiFi video doorbell all over again.
Protect your home today with ADT’s top-rated security solutions!
Call now at +1 877-470-7879 to get a free consultation and find out how you can secure your home with the best in the business. Don’t wait—ensure your peace of mind with ADT!
