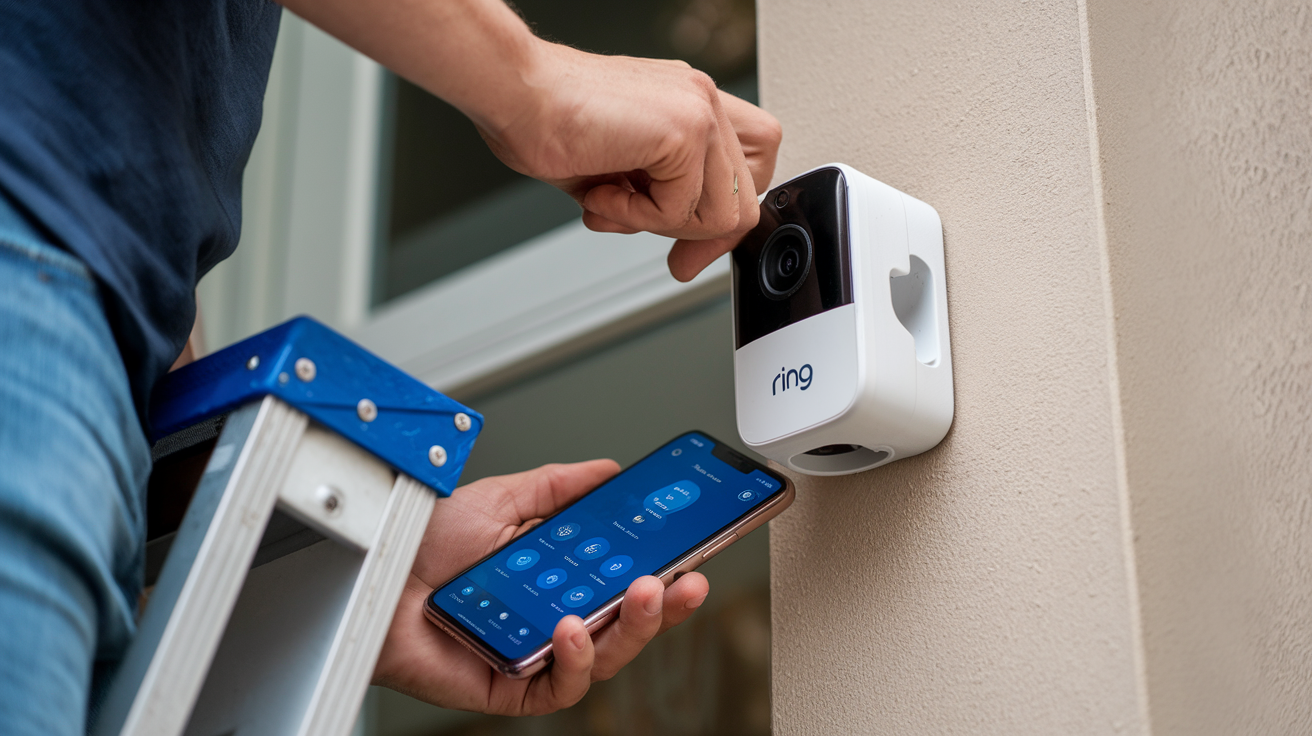
A Ring doorbell camera is easy to install on a home and most homeowners do not require the services of a professional technician to install the device. A Ring doorbell is a smart device that connects to your wired doorbell and serves as a security camera to let you monitor and communicate with anyone at your doorstep regardless of whether you are at home or not.
Before you begin:
Ensure that the current doorbell you want to replace is wired and not a battery one. The Ring doorbell relies on the connection with your doorbell wiring to power the device.
Ensure that you have power at the doorbell wires. Disconnect the electricity supply and take out the current doorbell; use the multimeter to check the wires. The voltage should be between 16 and 24 volts AC when testing the wires.
Have the following tools and materials ready:
- Ring doorbell camera
- Small flathead screwdriver
- Phillips head screwdriver
- Drill with a large masonry bit (required if mounting on brick, concrete, stucco, etc. )
- Drill for making pilot holes (optional)
- Pencil
- Level
- Wire strippers
- Electrical tape
Step 1: Therefore, switch off the power supply at the electricity board to minimize shocks. Although you may have checked the wires with the multimeter already, another precaution that should be taken when working with wires is switching off the power.
Step 2: Uninstall your previous doorbell. Next, using the small flathead screwdriver, you will need to carefully lift and take out the button panel from your existing doorbell. Next, with the help of a Phillips head screwdriver, unscrew the mounting screws and to the process, pull your old doorbell off the wall.
Step 3: Check the voltage. After the removal of the old doorbell, you should test the two low-voltage wires that are coming from your wall using the multimeter to check for power. You should be getting any voltage between 16V to 24VAlternating Current.
Step 4: Prepare the wires. Remove 5/8â of insulation from each of the doorbell wires using the wire strippers. Then turn the bare ends of the wires clockwise to avoid fraying.
Step 5: Condition the wall. Utilize a hammer to carefully penetrate pilot holes in the specific positions where the Ring mounting bracket interfaces with the wall surface. These pilot holes will make it easier for the screws to dig in once is time to fix them into the surface. Thoroughly wipe the wall surface and the mounting bracket to remove any form of dirt, dust, or any other debris.
Step 6: Mount the bracket. Align the Ring bracket in a manner that the screws will pass through pilot holes. At this point, you need to level the bracket while gently pressing down the bracket to get it flat on the wall surface. Then lock it into place using the Phillips head screwdriver and the Ring screws that come with it. Do not over-tighten.
Step 7: Attach wires. My Ring doorbell has two ports at the back. Connect the front doorbell wire to the Frontâ socket and the other wire to the Transâ socket. Simply cram the extra wires in the wall box and use the electrical tape to tie it properly.
Step 8: Install the doorbell. Mount your Ring doorbell on the bracket that you have installed on the wall. I can only sense that there are slots in the bracket and posts on the back of the Ring that should easily fit into each other. Twist the Ring in an anticlockwise direction until it fits into the bracket and clicks into place.
Step 9: Come alive and reconnect. Go back to your circuit breaker to switch on the power on the doorbell wires. Next, open the Ring app to sync your new doorbell with the Wi-Fi network in your home. If you have a Ring Chime or Chime Pro, connect them as well now.
Step 10: A motion setting is the amount of movement that can be detected within the frame. In the Ring app go to Motion Settings to change where motion is detected and who gets notified when there is movement for a person, vehicle, or pet. This will reduce the number of unnecessary notifications received.
Step 11: Install the left & right corner kit (optional). If you want to mount the Ring doorbell near a corner, a stairway banister, or any other obstruction, the manufacturer provides you with a corner mounting kit. This makes it possible to tilt the camera to get a view that is less or not obscured in any way.
Step 12: Video feed and test. After installation, you can watch the video stream from your Ring doorbell camera by selecting the Live View option in the application. Make sure that motion is captured correctly and that the video and audio feeds are operational by requesting a person to approach your front door when you are observing the application.
When installed correctly, your Ring video doorbell will allow for constant video footage of the front door area and will automatically notify you of visitors. Maintenance is not required often make sure the camera lens is clean by wiping it with a dry microfiber cloth and replace batteries in battery-operated Ring Chimes annually. Have a good time with your new fancy electronic door locks!
Protect your home today with ADT’s top-rated security solutions!
Call now at +1 877-470-7879 to get a free consultation and find out how you can secure your home with the best in the business. Don’t wait—ensure your peace of mind with ADT!