Having a Home Security System installed is a crucial measure to be taken to ensure the safety of your home and family against intruders. However, do-it-yourself home alarms are very easy to install and do not require a professional to be hired to install them in your home. Below is a process on how you can install your home alarm system.
First, to achieve the goal, a plan should be formulated. First of all, you should determine the size of the house and draw a basic floor plan, where you should mark all doors and windows, garages, etc., and all the areas that require specific protection, for example, safes containing valuable items. This assists one in buying equipment properly and also helps in arranging some parts in the future. Choose between a wired or wireless system – while wireless is preferred due to its flexibility, wired is preferable due to its stability.
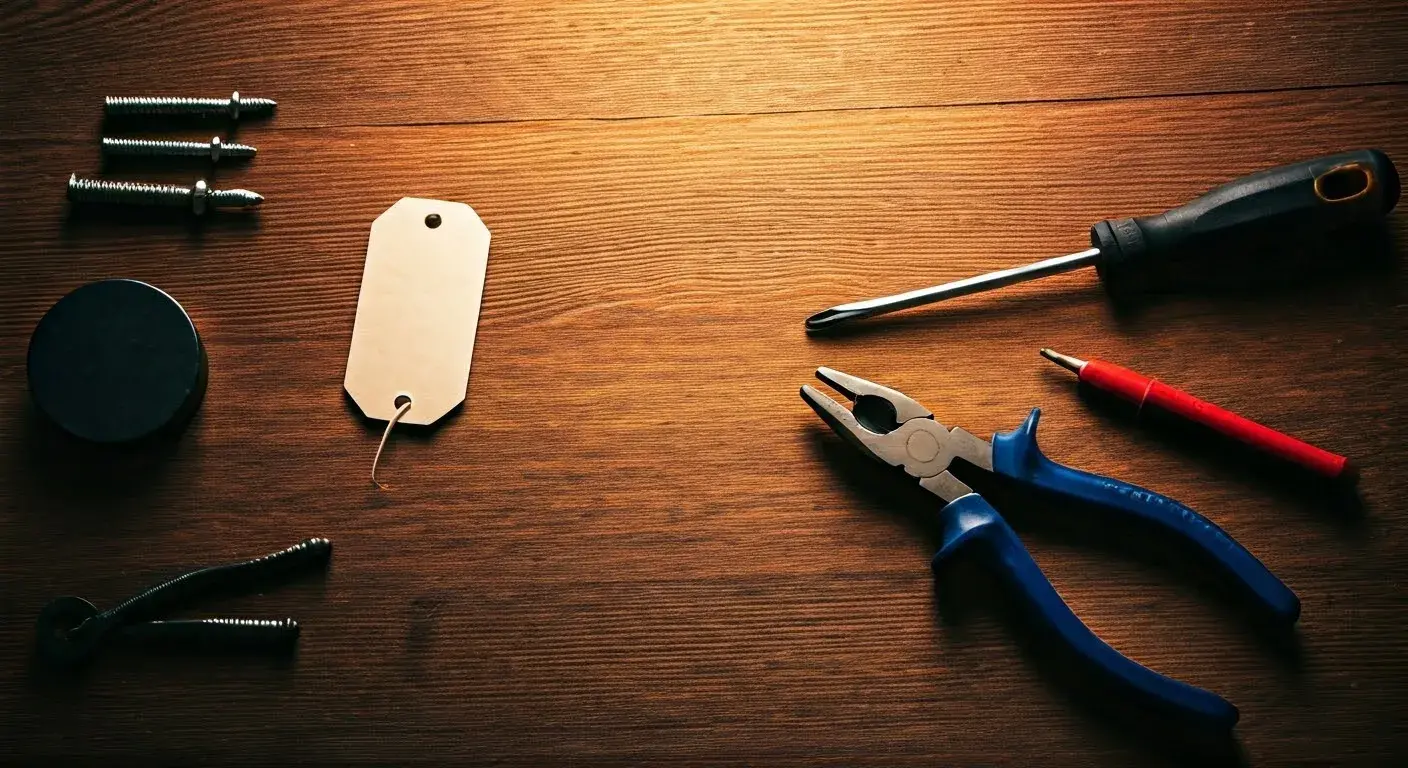
Step 2: Purchase Equipment Major equipment you’ll need includes:
- Master control – the hub of the system to turn on, control, and report on intrusions. Choose a simple no-hassle installation.
- Keypad – wall mounted for inputting codes that activate and deactivate the system. Get a backup battery.
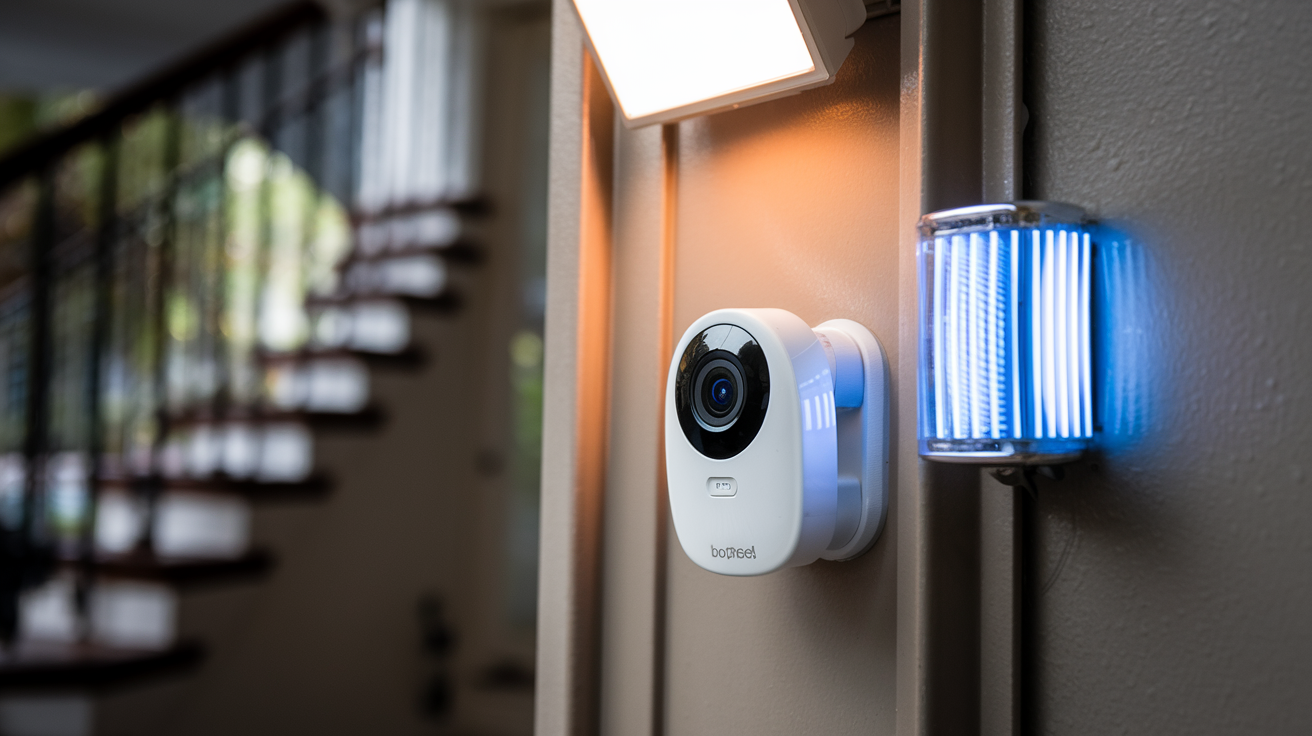
- Motion sensors – detects movement tripping the alarm. It implies that various architectural designs are well-suited for different area protection.
- Nominal entry sensors – they are installed on doors or windows to sense if they are opened.
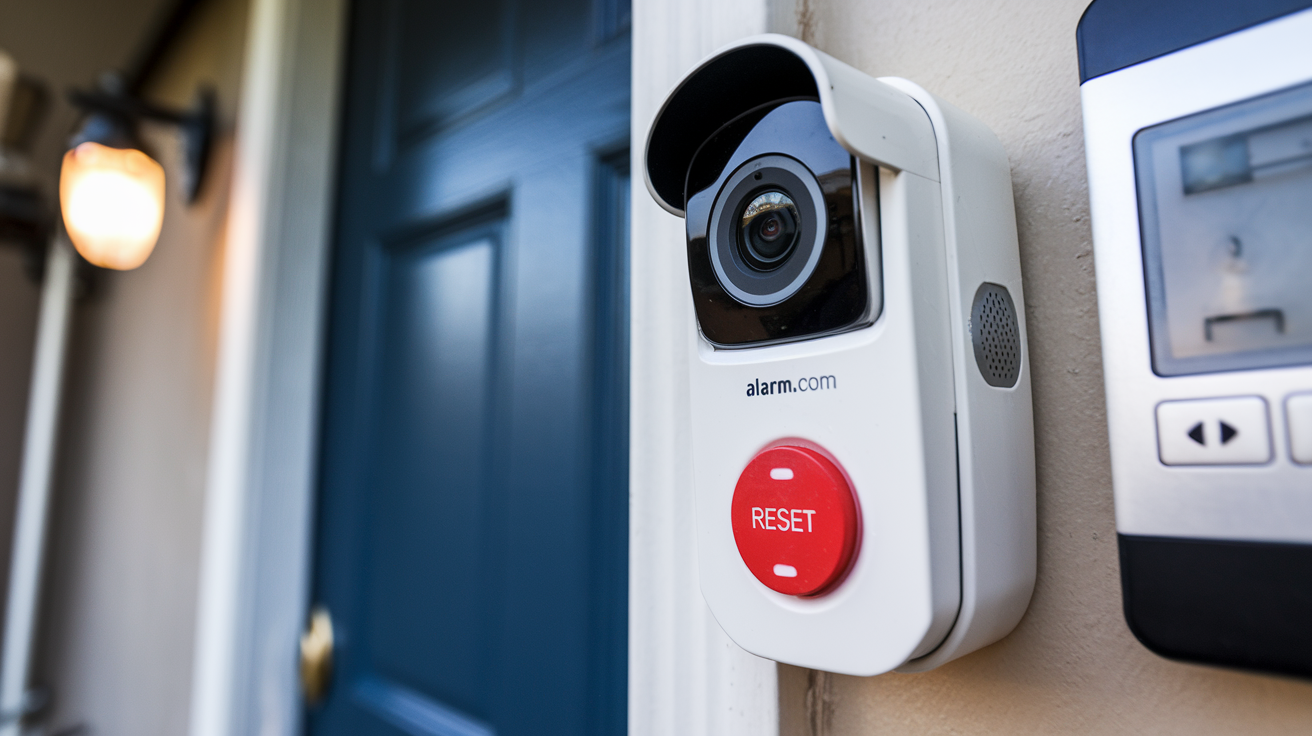
- Sound alarm siren – 110+ decibels to drive away the intruders.
Other accessories like glass break sensors, smoke detectors, and security cameras among others can also be bought. All equipment should be bought from the same manufacturer for compatibility.
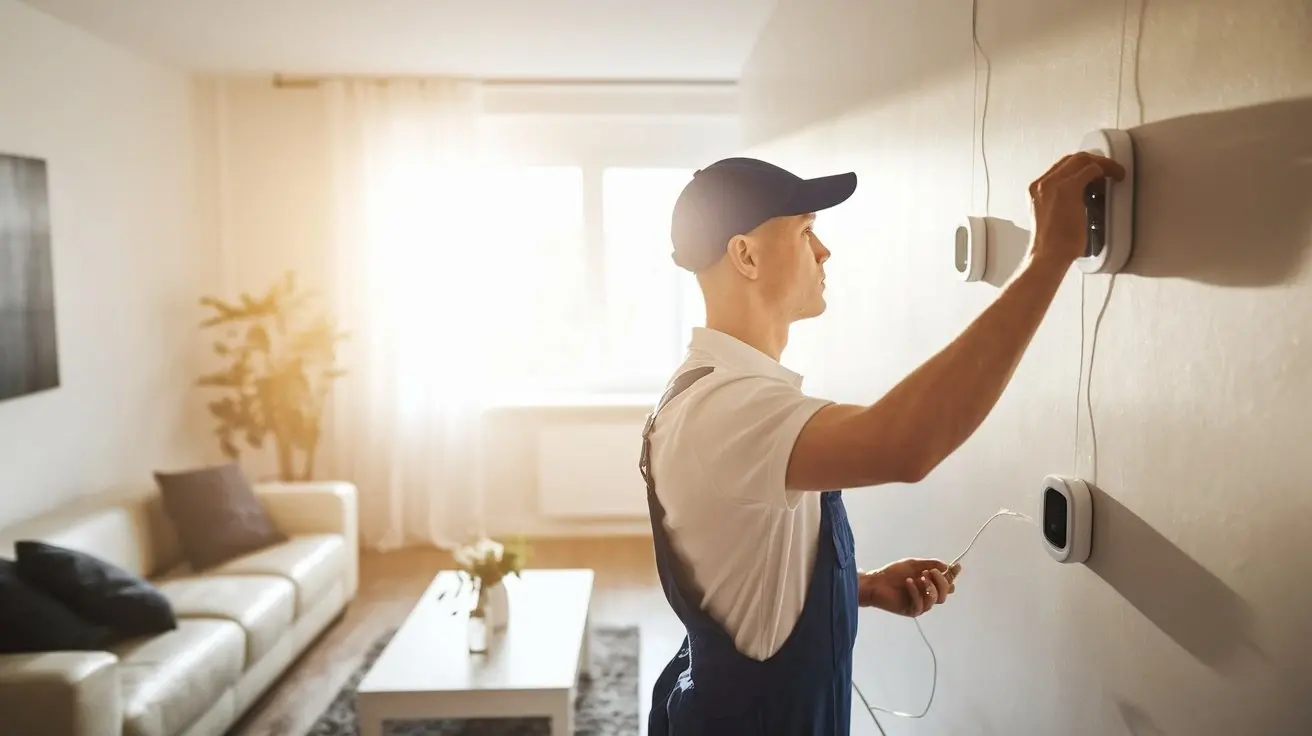
Step 3: Position Equipment Now you need to add your elements. First of all, locate your main alarm panel at a strategic point in your house where it is inaccessible to any intruder. Position your keypad near your front door to ensure its frequent use and to be kept at arm’s length height.
Secure entry points that are at the main doors and first-floor windows and install an entry detector on each door. Place motion sensors in the middle of the vital spaces to have broad coverage. Lastly, mount your audible alarm siren outside your home or face it to a window so that alarms make their loudest sound outside.
Step 4: Mount Components Ensure that all components are mounted safely as described in the manufacturer’s installation instructions. Entry and motion sensors are normally fixed with adhesive backing or screws. The keypad and the central panel necessitate screwing into the wall through the drilling process. The alarm siren also requires firmly installed on an exterior wall.
It is also important to take time and ensure that there are no wires or pipes in the walls when drilling. A wireless system will only omit the process of drilling for wiring at least. Check camera coverage angles and sensor coverage areas to enhance coverage.
Step 5: Network and Interface with the System For a wireless alarm, components simply require a connection to the main panel as per the programming guide. This is done through radio signaling between segments so there is no wiring.
A wired alarm requires all the devices to be connected to the main panel to program it. Install alarm wires in such a way that they are out of sight and secured behind walls or under the floor. Spike wires cleanly at connection points – no loose strands of wire.
Everything is connected now program the system according to the guides given by the manufacturer. Program all sensors and keypads correctly. Make sure that the telephone has codes, modes, alerts, etc which are in harmony with your usage. Replace backup batteries if needed.
Step 6: Test Extensively Once the initial programming is done, go through walk tests for each component and all possible trigger cases. Swing arms to activate motion sensors, open locked doors and windows for entry sensors, move around to cover outside security, etc.
Test for any gaps in the detection zones and adjust sensitivity if necessary. Also, trigger system silence and reset functions to check as well. Last but not least, send the signals to contact monitoring services if subscribed so that they get the alerts when triggered.
Installing Tips some useful tips to aid your home alarm installation:
- Consult an experienced friend if one is not comfortable using tools or dealing with electronics.
- Group components to reduce cabling if going wired
- Make sure instruction manuals are easy to program and are always within reach.
- Device stickers should help in defining trigger zones and testing.
- Sometimes, it will be helpful to consider neat wiring as a way of avoiding any eye sore.
- Grow the system very slowly instead of attaining it all at once.
- Register warranty and services of parts bought
- Find out the legal requirements for loudspeakers, bells, neon signs, etc
DIY home alarm systems with the right guidance assist in cutting the cost of hiring installers as well as ensuring that you get a custom fit to your home’s layout. Some equipment requires safety measures when mounting them on the car. Whereas basic DIY systems are cheap, boosted automation and distant alarms are more convenient and effective. Get monitoring services also for the comprehensive security for the whole family.
Protect your home today with ADT’s top-rated security solutions!
Call now at +1 877-470-7879 to get a free consultation and find out how you can secure your home with the best in the business. Don’t wait—ensure your peace of mind with ADT!