Having security cameras installed in your compound or around your business premises can be a great way of enhancing security. When placed and equipped properly, they enable one to keep an eye on their property and identify any intruders. You can also avoid paying for installation fees since you are the one to install the cameras on your own. Here’s a step-by-step guide to guide one in the correct procedure of installing the outdoor security cameras.
Choose Camera Locations The position of the Best Security Cameras outside the house should be done in a way that they will be most effective in capturing the house on camera. As you assess where to install cameras, consider these key spots:
- Entryways – Make sure that all entryways to your home are covered by cameras especially the front and back doors as well as large windows. One way of recording individuals who approach these areas is welcome and unwelcome visitors are those who are seen on the video cameras.
- Driveways and Parking Areas - Use cameras to capture vehicles and people approaching your compound, especially through driveways, parking lots, and paths leading to entrances.
- Yards and Perimeters – Surveillance cameras should also focus on the fences, yards, perimeters, and other sensitive areas outside the home. Wireless security cameras have the advantage of being long-range and can be used in large open spaces outside the house.
- Assets to Protect - Train cameras on equipment, sheds, barns, animal enclosures, or any other property you would like to protect on your compound.
Determine Power Source Outdoor security cameras will have to be connected to an outdoor socket, or powered by battery or solar power. When placing wired cameras, ensure you place the cameras at places that will be easily connected to an outside source of electricity to avoid using extension cords. For wire-free installation, consider battery or solar-powered wireless security cameras installed in areas that can be exposed to direct sunshine.
Select Mounting Locations Once this has been established, scan each of the areas with a view of fixing the cameras to identify possible locations for fixing the security cameras. Typical mounting locations include:
- Under roof eaves – Place cameras beneath roof eaves to offer protection from weather while directing the camera lens towards the targeted area.
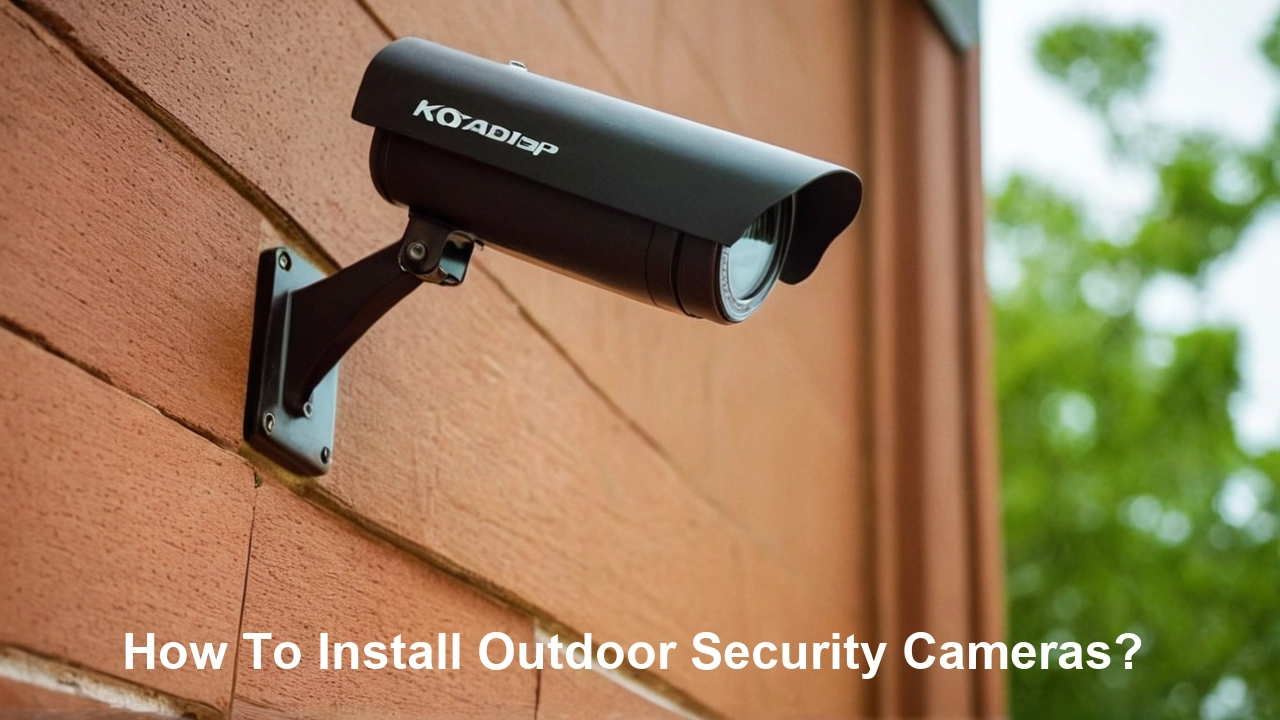
- On exterior walls: place the cameras on the exterior walls of houses or other structures that require surveillance. This option keeps the wiring inside the wall and is therefore a good choice if one wants to avoid having cables hanging around.
- On fence posts - Use fence posts or poles to fix the cameras in the right position and transmit the video to recorders or monitors.
- On stand-alone poles – These are mounting poles that should be placed at strategic places that need to be supervised, and security cameras mounted on top of them. This gets cameras higher vantage points.
Choose Mounting Equipment The choice of mounting hardware requires special attention when installing outdoor security cameras. Typically, most security cameras come with basic accessories for mounting but there might be extra materials required depending on the environment in which the installation is going to be made. Common equipment includes:
- Screws and anchors – When securing cameras to wooden posts or concrete, brick, or stucco walls, it is recommended to use exterior-grade screws and anchors.
- Poles – Use free-standing metal poles with camera brackets giving height and stability to security cameras.
- Corner mounts – There are special corner mounts that enable the camera snugly and safely to be mounted in the corner of the wall.
- Weatherproof housing – Wired cameras are enclosed in protective casings which prevent the effects of weather conditions such as rain and sleet from affecting the camera.
Ready Electrical System When mounting the wired outdoor security cameras, the existing electrical system should be capable of supporting the additional load. Take these precautions:
- Check the wiring – Ensure that the wiring is done to the recommended building code while bearing in mind that security cameras will require more power. If there is any doubt or problem with the wiring, consult an electrician.
- Subpanel installation – A separate subpanel supplies power outlets for security cameras and other low-voltage systems to avoid electrical issues.
- Outdoor cables – the cables should be protected by grounded metallic conduits buried underground.
- Install surge protectors - This is necessary to ensure that the electrical system protects the cameras and other equipment from power surges that are likely to cause damage.
Route and Waterproof Cables For cameras that need wired connections, correct wiring and sealing to avoid any interferences or even damaging the equipment.
- Make entry channels – Make small holes through walls through which cables can run into the building while ensuring that the structure is shielded from the external environment. Make sure to use exterior caulk on the holes.
- Ensure cable security and protection – Organize cables through PVC conduits to provide safety and protection of the cables connecting indoor recorders and monitors.
- Since direct-buried wires cannot be pulled through conduits, it is recommendable to employ shielded, outdoor-rated, weatherproof Cat5e or Cat6 ethernet cable.
- Install cables to cameras - Solder wires to the security camera parts and wrap all the areas that may be affected by moisture to prevent rainwater from penetrating.
- Secure extra cables – Ensure that any extra wiring is well fastened at the camera fixing points to avoid causing an eyesore.
Install Security Cameras Electrical and mounting preparations are now done, and you are ready to place the cameras. Consult the manufacturer’s guidelines for more information.
- Mount brackets or mounting arms.
- Ensure that the housing of the camera is well secured.
- Insert batteries or plug in the plugin power cables.
- If available, insert an SD card for onboard recording.
- All cabling should be properly connected and enclosed in conduits and recalled back to the endpoint.
- Run wires from the cameras to the network video recorders or the wifi transceivers.
Adjust Viewing Angles Security cameras can be fixed on walls or ceilings, and their positions and orientations determine the extent of coverage and the quality of the captured images. According to camera specifications and coverage needs, align each camera's field of view before the cameras are fixed permanently.
- Swing - Rotate the camera housing from left to right to enable the acquisition of a panoramic view.
- Tilting – This moves the camera up or down to change the vertical field of view.
- Camera lens – Rotate the camera lenses in the correct direction.
- Field of view – Movement of lenses or camera to achieve the desired width of the viewing field.
Powering on and configuring the system is a process where the computer hardware is booted up and settings are initialized. When all the hardware equipment and wiring have been connected, turn on the whole system to check whether it is in good working condition or not. Refer to product guides as needed while:
- Exposing the monitor screens and the wifi networks to which the equipment will be connected.
- Registration of cameras to recorder or software accounts.
- Selecting mode settings that are specific to the camera such as the resolution and frame rate.
- Tuning of the motion detection options and the time at which the features are enabled.
- Testing motion-triggered recording.
- Reconfirming access from a remote location using smartphone applications or web interface login.
This is a simple installation that can easily be done and it is now through. Lastly, fix all dangling cables, tuck wires for a neat appearance, and verify security camera angles by live recording and motion detection. The effectiveness of the outdoor security cameras installed will now be in constant vigil on the exterior part of your home.
Protect your home today with ADT’s top-rated security solutions!
Call now at +1 877-470-7879 to get a free consultation and find out how you can secure your home with the best in the business. Don’t wait—ensure your peace of mind with ADT!


