A Ring doorbell camera is a perfect addition to your home to enhance its security and usability. It lets you look at who is at your door via your phone, tablet, or PC even when you are not at home. The Ring doorbell camera is easy to install and usually does not take more than an hour to set up, and this may be done by the owner. The following is a comprehensive guide that will help you in installing a Ring doorbell at your home.
Choosing a Location The first thing you need to do before installing your Ring doorbell is to choose where you want it to be installed. This unit needs to be installed close to or next to your current hardwired doorbell unit. It can then be connected to your doorbell wiring to allow it to power itself up.
It is recommended to put the camera at eye level because then you can see visitors face-to-face through the camera feed. For this reason, ensure the chosen location has a good internet connection, especially in terms of WiFi as well. Try this on your phone first before installing the doorbell.
If you do not already have a doorbell or the wiring is not compatible, you can install the Ring Doorbell Pro. It operates from a rechargeable battery pack and will not draw power from your doorbell wiring. But it has to be charged once again after some time.
Turn Off Power
The initial step towards installing a doorbell is to disconnect power to your previous doorbell system. Each home will be unique, but the doorbell fuse is usually located in the circuit breaker panel of the house. Turn off the doorbell fuse to disconnect the power. Press the button beside your existing doorbell to ensure it is not receiving any power and proceed with the installation steps.
Removing the Old Doorbell
If there is an existing doorbell button at your chosen Ring location, you will need to remove this. Remove the button casing gently using a flathead screwdriver. Be cautious not to harm the surface of the adjacent wall. Screw holes can be covered or painted over at a later date, so this is not a concern if you prefer not to use wall anchors.
After that, unscrew the casing and then unscrew the wires connected to the old doorbell. Disconnect all the cables from the back of the old doorbell. It may also be necessary to use needle nose pliers to get to the terminal screws in the wires.
Put these wires to one side for a moment. Be careful not to have wire tips touching metal or each other because of short circuit formation. Take out any other existing doorbell components or holders so that only wires are sticking out of the wall.
Installing the Doorbell Mount
Once the wires are exposed and the area is clear, it is now time to attach the doorbell mount that comes with the Ring device. Put this over the emerging wires and make the screw holes match the ones in the wall. Screw the mount into the wall with a screwdriver, using the screws that came with the mount. Tighten these down securely.
If it is laid into the masonry rather than the drywall section, then the use of correct wall anchors is required. To prevent drilling too deep, the length of the masonry drill is marked to be of the same length as the wall anchors.
Connecting the Wires
After you have aligned the doorbell cam mount properly, you can connect the wires accordingly. The Ring kit comes with a few wire nuts to twist the wires together as part of the connection process. Depending on the length of the wire leads you to have, you may need to connect the supplied extender cables first.
Twine wires of the same color, red to red and white to white respectively. There might also be a third green or bare copper ground wire that may require connection to the green grounding wire of the Ring doorbell. If you are in doubt as to how to connect several wires, refer to the wiring diagram of Ring in the installation manual. Screw the end of one wire and lay it into another wire until they are twisted tightly and finally connected using a wire nut.
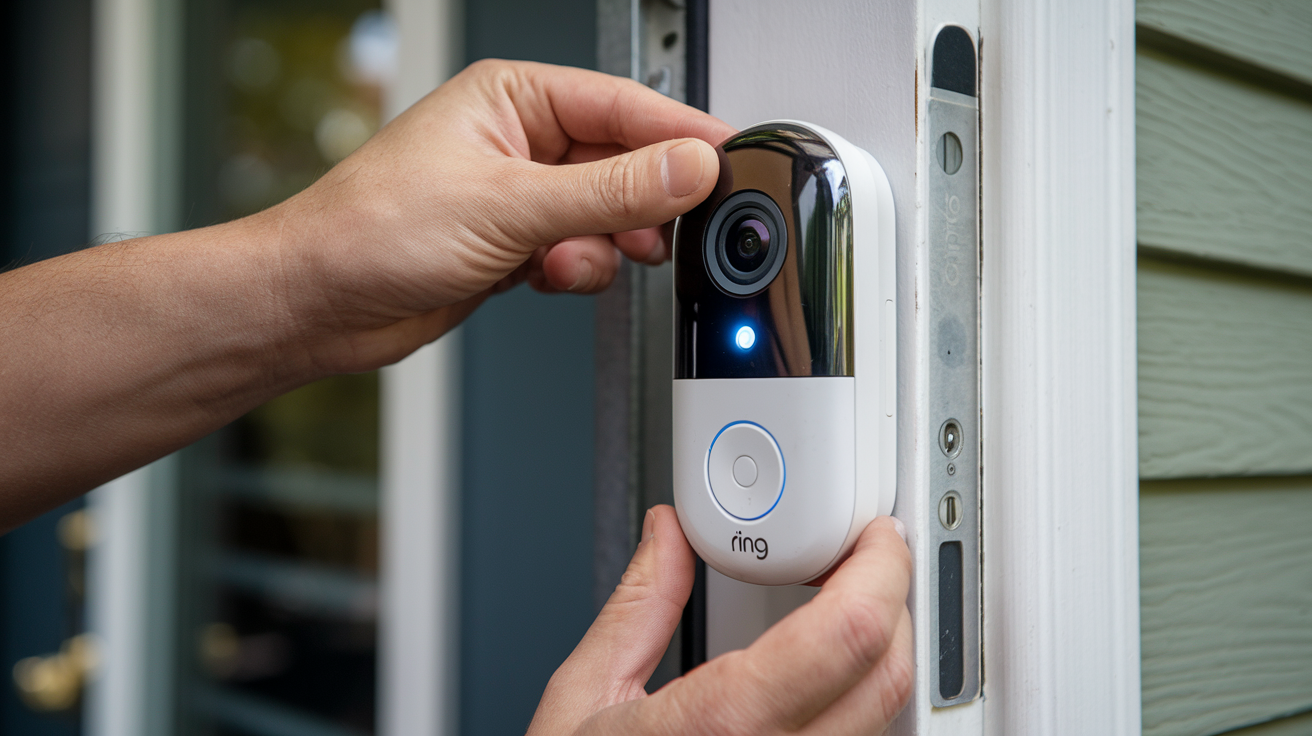
Attaching the Ring Doorbell
After wiring, the Ring device itself can be fastened onto the mount that has been mounted on the desired spot. Align the screw holes of the base of the Ring with the ones available on the mount. Place the inserted security screws on the screwdriver slot and tighten them to lock the appliance securely. Do not over-tighten.
The doorbell cam is now ready, and you can turn the doorbell fuse back at the fuse box as well. The Ring device should turn on once the wired power is available.
Connecting to WiFi
Once turned on, the Ring must be placed in a Wi-Fi network that allows controlling it from another device. You can also use the Ring app to scan the QR code located at the back of the ring. This links the app to your unique device. Select by touch screen your preferred WiFi Network and locate and input your WiFi password.
After successfully linking the device, you should be able to get the video stream from the camera in the Ring app instantly. Ring the doorbell button to make certain the live alert with video is sent to your phone.
Doing a Test Run
All the wiring connections are now in place and the next thing that you need to do is to try and use the newly installed security doorbell. Push the button or ask someone else to press the doorbell. Make sure your phone gets a notification alert with the live video feed from the camera.
Make sure that the picture and the video quality are good enough and that the motion sensor works well when people get close to the display. Live view and recorded video playback features are tested to ensure they function as intended within the app. It is also important to test night vision capabilities by occluding light to the camera as well.
After the testing phase, you have to wrap up the installation process by using the cable clips on the loose wires. I would also add electrical tape as another good candidate for application in the weatherproofing of connections. Install the original doorbell button casing or use the provided Faceplate for a neater look.
Optional Extras
If you wish, you can also configure specific features for the doorbell camera with the Ring app, including motion zones and recording preferences. You can link other Ring devices such as outdoor cameras or security lighting to create a complete security ecosystem, which is all controlled through the Ring app on the connected devices. In the device health page of the app, check power levels and WiFi strength now and then as well.
Once those steps are done, what you get is a fully functional video doorbell that now watches over your home. The Ring device enables you to identify the visitors and even converse and record them through your smartphone. No professional help is needed in installation although there are certain measures to be taken while connecting the doorbell wires. Choose the right angle of shooting for the area around the front door that you wish to cover. Introducing your new Ring Doorbell: Convenience and security at your fingertips!
Protect your home today with ADT’s top-rated security solutions!
Call now at +1 877-470-7879 to get a free consultation and find out how you can secure your home with the best in the business. Don’t wait—ensure your peace of mind with ADT!