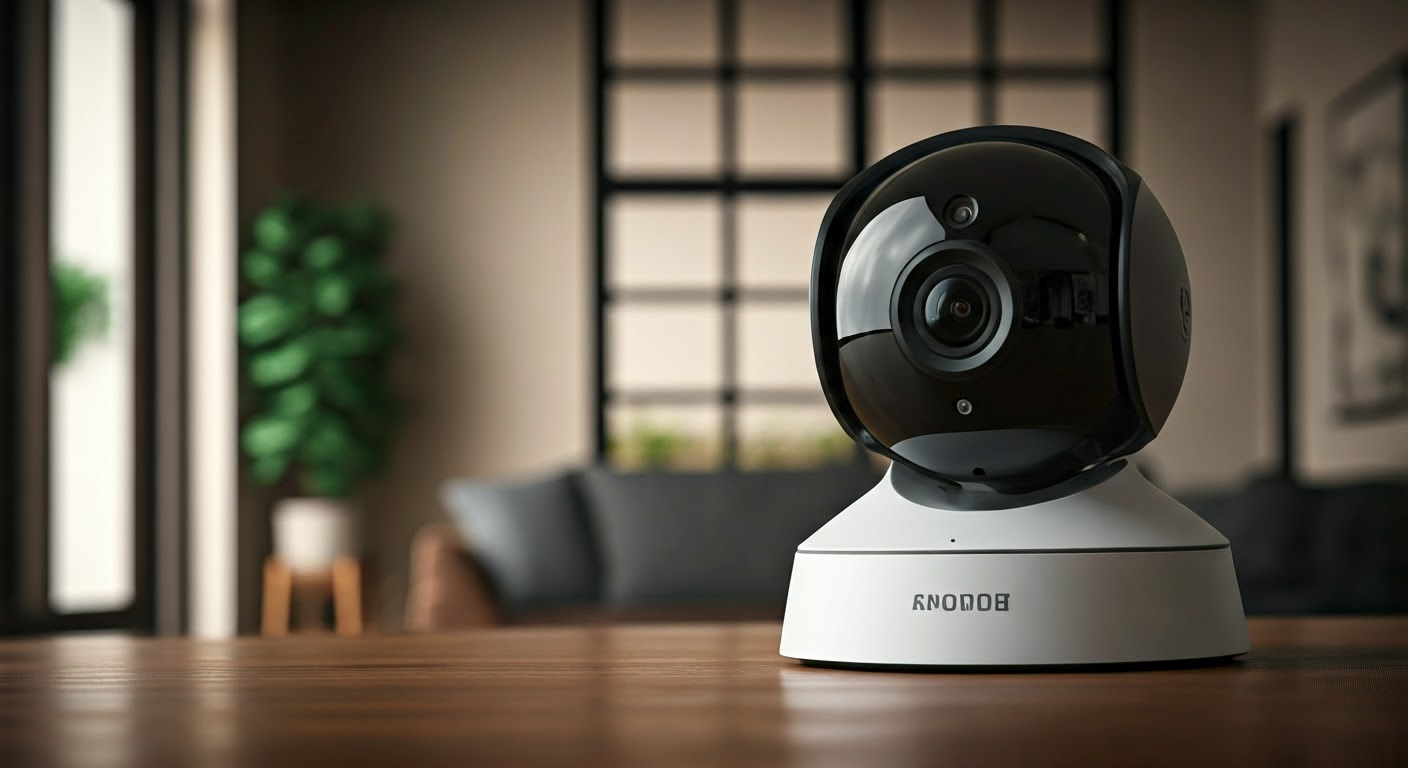
Having a Best Security Cameras system at home is beneficial to own as it also discourages criminals and gives a sense of security. Thanks to the advancements in technology that have made the systems cheap and easy to install, homeowners can now secure their homes on their own. Below are explained the major stages that will help you install a security camera system in your home.
Determine Your Needs First, determine the level of protection your home requires. Key aspects to consider include:
- Property size and area needed to monitor: It can be noticed that the larger area of the property might need a more complex system with more cameras. Assess potential entry points and valuable zones such as a garage or yard.
- Image quality needed: HD provides better pictures and the capability to read license plates but it attracts a higher price than the SD. Assess your priorities.
- Smart features required: Motion detection alerts, night vision, remote access through phone? While smart security systems offer enhanced capabilities, they are more expensive.
It is necessary to distinguish between essential and desirable characteristics to determine which equipment is both necessary and will not cost too much.
Select the Security Camera System Once you have identified your needs, begin to assess the available camera system.
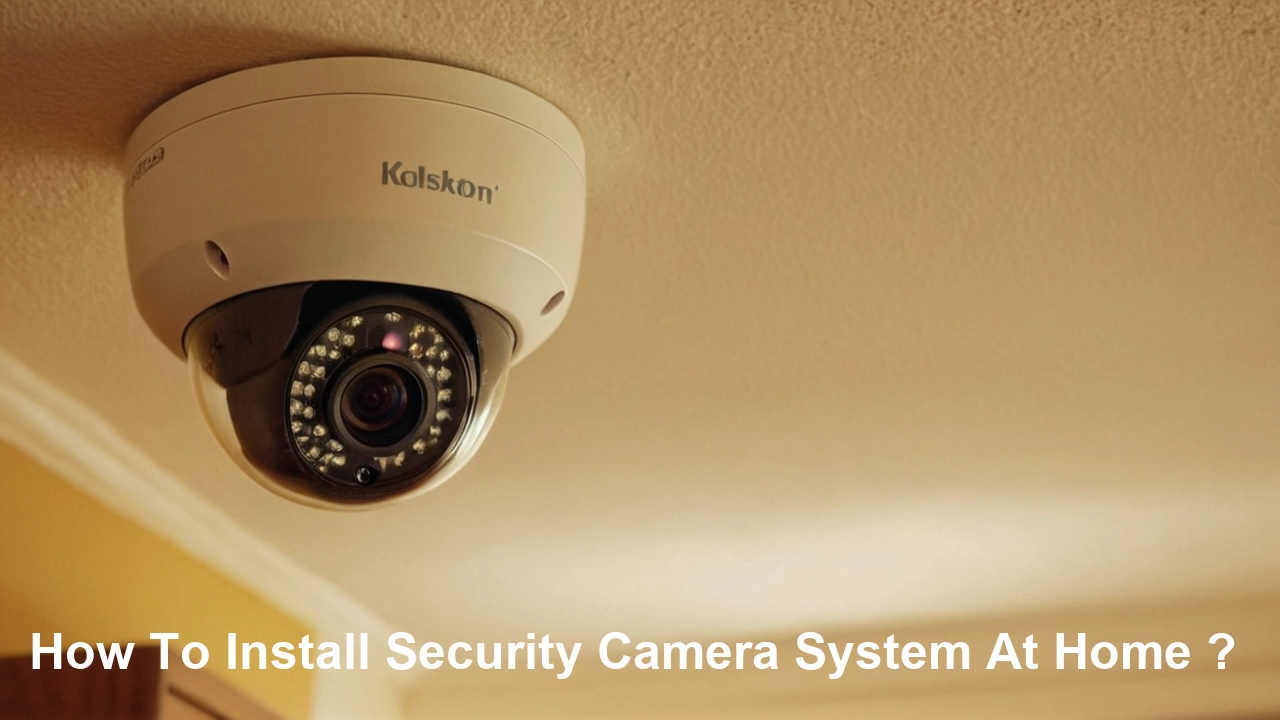
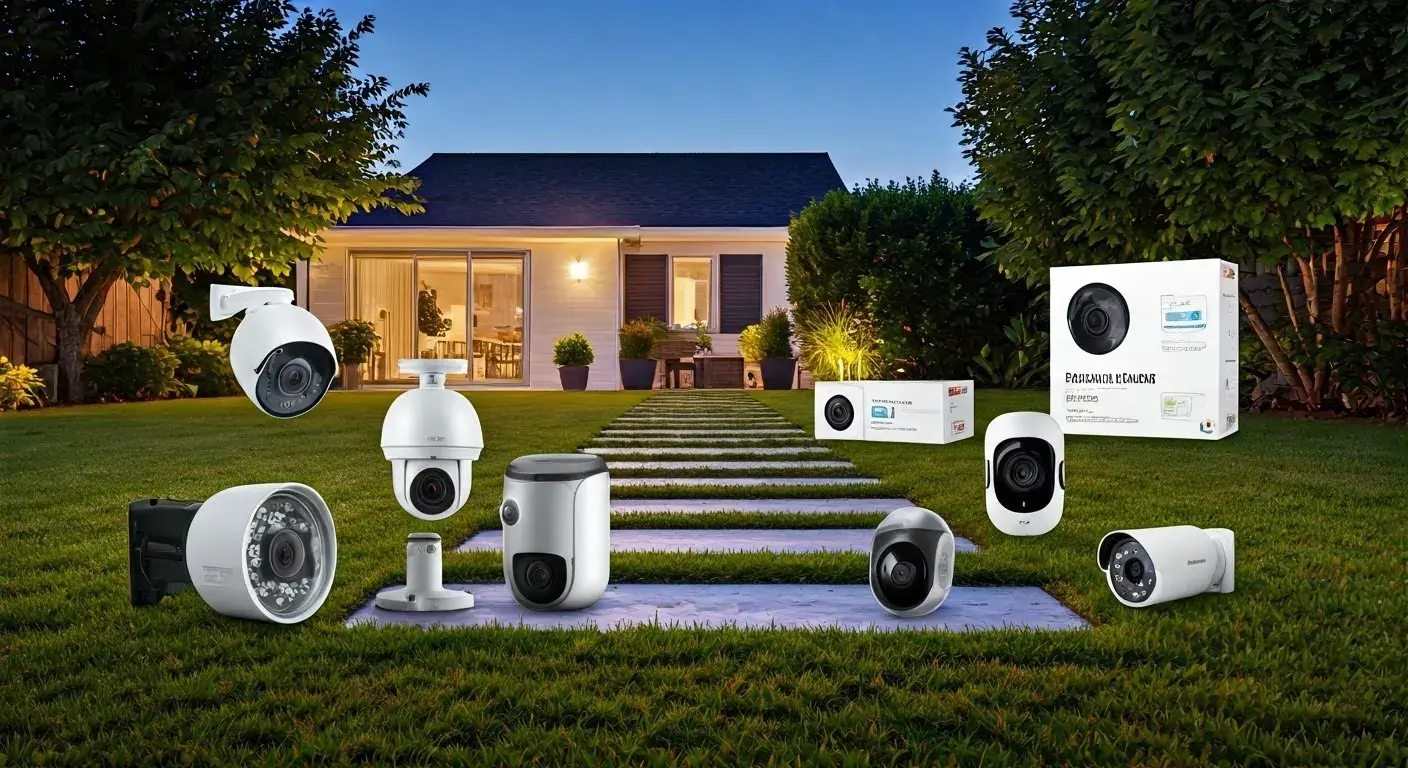
Type of cameras: Bullet, dome, hidden. Evaluate various form factors to determine the most suitable one.
- Video resolution and field of view: 720p systems cost less, and the picture quality is good enough for most consumers to consider them as high-definition systems. Select a higher 4MP or 5MP image resolution to get a better image of the license plates. Features such as wider viewing angles like 180 degrees offer more area coverage.
- Wired vs wireless cameras: Wired cameras are always on, and there is no Wi-Fi interference but need to install the video cables from the cameras to the NVR. Wireless cameras are easier to set up but may be more costly in the long run for battery replacement or electrical wiring for power.
- Storage and software: There must be enough space in the boat and the software should be easy to use to access and store the items. For flexibility, cloud storage is used, but in turn, constant subscription fees are required.
Choose your components so that you include the functionality you need, but exclude as much unnecessary complexity and expense as possible.
Install Cameras and Hardware And so, with equipment purchased
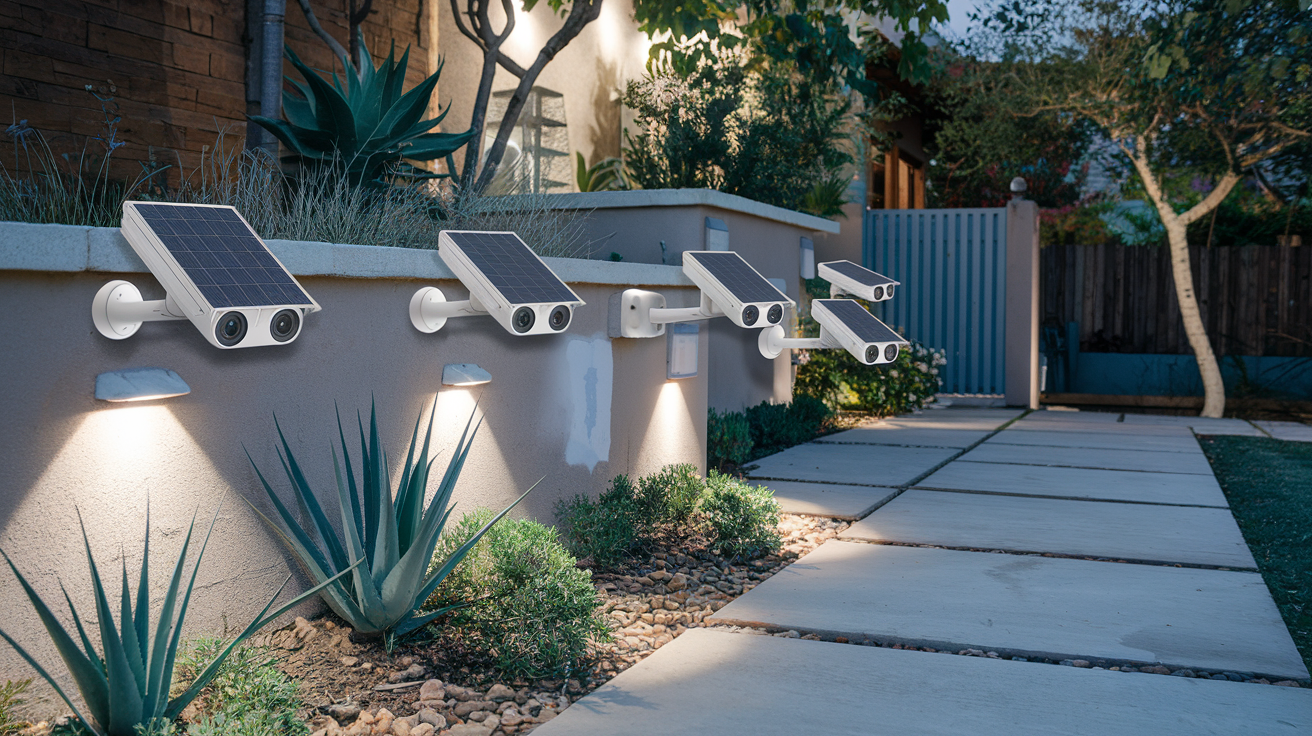
Camera mounting: With mounting hardware and brackets, properly mount each camera to maximize vantage points and reduce tampering probability. Rotate to expand the field of view to necessary areas to be observed based on an initial comprehensive assessment of needs.
- NVR positioning: If the wired system is preferred, it is necessary to decide on the networked video recorder (NVR) location to minimize cable connections to cameras and provide for additional camera expansion in the future. Place NVR near router/switch for network connectivity and power connection.
- Cabling and connections: For wired systems, direct video cables from each camera to the NVR and ensure that the cables are labeled appropriately. Do not lay cables in areas that are prone to get in contact with sharp objects that may lead to cutting or damaging of the cables. Utilize conduits where additional safety measures are required. Wireless systems eliminate the need for cable runs but could entail additional electrical work to power cameras where outlets are unavailable.
Ensure you spend some good time making the cabling neat and properly secured to avoid frequent tampering or damage after installation of the system.
Configure System Settings Upon positioning of hardware and their connection, set up the software to enhance operation. Key aspects include:
- Adjust camera settings: Adjust motion detection areas of the camera individually. Establish video resolution and compression profiles. If a camera is capable of low light the switching points of day/night should be defined.
- Schedule recordings: Schedule recordings according to your daily routine. Turn on continuous recording in important security areas while using motion detection recording for other areas to avoid full hard disk recording.
- Enable remote access: Set up coverage through the mobile application so that you can be on the lookout for your system from any location. This way, make sure that you activate push notifications so that you receive motion events or system alerts even when are away.
- Fine-tune as needed: Modify motion detection zones sensitivity level, and other settings making small changes to avoid triggering false alarms and yet trigger alarms in response to an actual security event.
If time is taken to set configurations correctly, the systems will run effectively and there will be no disappointment later.
Test and Expand System After the basic configuration is done, run the system through several tests to check for possible problems. Key aspects include:
- Trigger events and review footage: Move across areas with motion-sensing cameras, touch door/ window handles with contacts, and trigger other devices. Then review captured video clarity, notification time, and accuracy.
- Refine component placement if needed: If some areas of the zone are not well seen in recordings or if there are no motion alerts, reconsider placement. Change the direction of the views or the lighting conditions to get better coverage.
- Expand system gradually: Continue to add supplementary cameras gradually to cover any remaining visibility gaps. Constructing the system gradually allows for the greatest return from initial investments while improving security over time.
Do not assume that your system is going to run like clockwork as soon as it is implemented. Spend time to test and tweak the application to ensure the best results and avoid security vulnerabilities.
Maintain Your System Once a system is installed and configured, a little bit of maintenance keeps things running in tip-top shape.
- Check camera lenses and housings: ensures that verified cameras are still firmly in their respective places and correctly orientated as well as their lenses free from any obstructions that may hinder their effective visioning. Wash any dirt or stains as needed in a very careful manner.
- Review footage periodically: Review video record playback to verify that system cameras take clear images during the day and night. Examine any new visual interferences such as branches of trees or lights.
- Backup key video: If motion events or security incidents happen, download and backup relevant clips Since forensic analysis may be required in some instances. This preserves critical evidence.
- Update firmware and software: In the case of a smart system, to maintain compatibility and security, update vendor firmware to cameras, NVR, and mobile apps.
Do not neglect your system – proper maintenance ensures that it stays effective and available when required.
Implementing an efficient security camera system requires effort, time, and planning to avoid costly mistakes. However, once the system is well configured as instructed in this guide, you can benefit from increased home visibility, security alerts, video proof, and most of all, security. Make specific changes regarding the budget to achieve maximum value while providing for bare minimum security. And spend time adjusting the component positioning and system parameters as required within the first weeks of deployment. The time and energy invested will pay off with more intelligent security measures in the future.
Protect your home today with ADT’s top-rated security solutions!
Call now at +1 877-470-7879 to get a free consultation and find out how you can secure your home with the best in the business. Don’t wait—ensure your peace of mind with ADT!
