Security cameras are an excellent approach to preventing and reducing crimes in an area or a building since would-be criminals are more likely to avoid locations they can easily be watched by others.
Security cameras are an excellent solution to maintain vigilance over your home or commercial property and ensure safety. Do-it-yourself security camera systems have become cheap, and the process of installation has been made quite simple; therefore, you do not have to be a professional to install security cameras by yourself. The following is a step by step guide on how to install security cameras, from when you first consider the idea to the moment when the system is up and running.
Find Out Why Security Cameras Have To Be Installed First of all, one should consider the purpose of installing security cameras in the first place. Do you want to avoid cases whereby burglars break into your house? Would you prefer to monitor the front or back door? Understanding your reasons will assist in the choice of the kind of security cameras to purchase and the places to fix them. If your main goal is to prevent crime, then make sure to acquire highly noticeable security cameras to install where they can easily be seen by the would-be criminals.
Selecting the Camera Types Some of the security cameras available include bullet cameras, dome cameras, hidden cameras, spy cameras and many others. Bullet cameras are long cylindrical shape to provide a wide coverage area such as the driveway and halls. More concealed, dome cameras are less obtrusive with a low profile that makes them ideal for use indoors especially in large areas to cover. Spy and hidden cameras are compact and can be easily placed for surreptitious surveillance. Use aspects such as the amount of money you are willing to spend, the application, and where you will be installing the cameras to determine which cameras will be suitable.
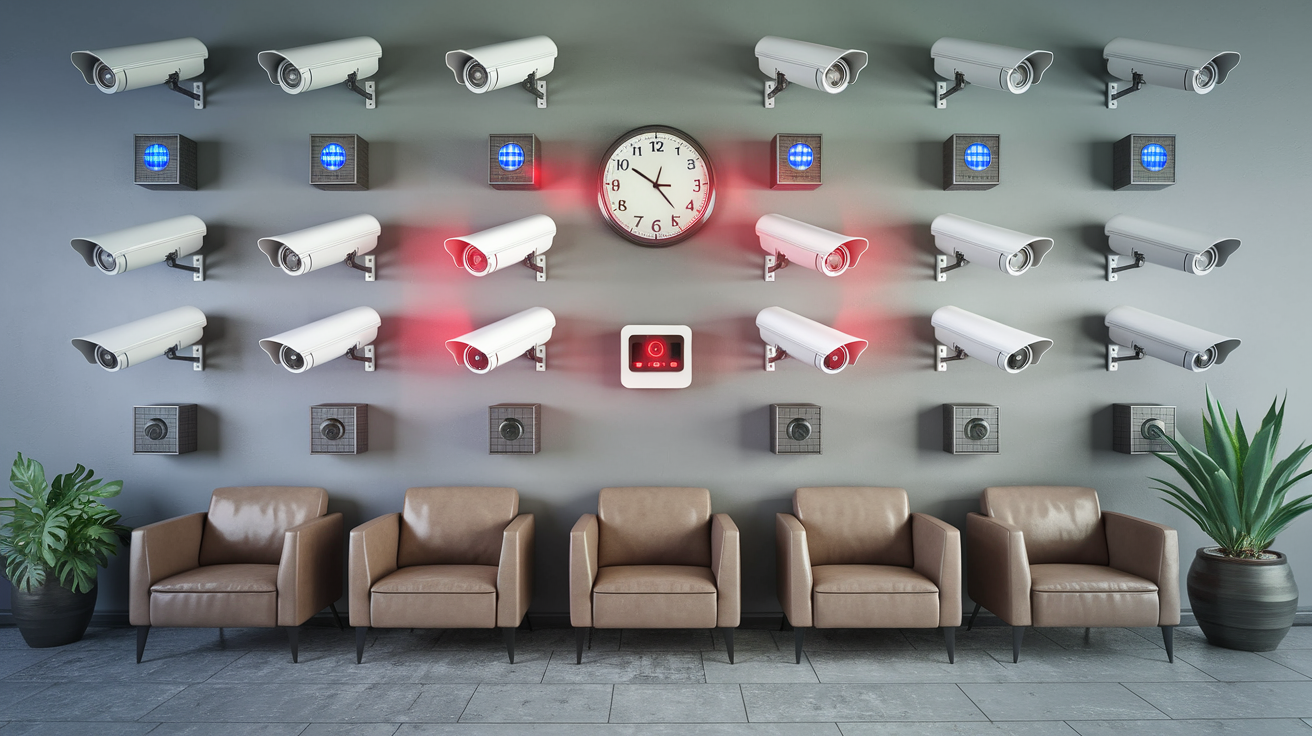
Find out how many cameras you require List down every entry point towards your home/business and the rooms or open spaces that you would want to have surveillance on. Consider things that are missing in the property that might require coverage. Lack of cameras is dangerous since some areas might not be monitored at all while having many increases the expenses of the organization unnecessarily. Some people believe that the best security system for a small home is the one that has two to three cameras placed in the best locations. As for larger premises, one might need five or more cameras. It is also possible to start with the least number of cameras and extend them as the crowd in the area increases.
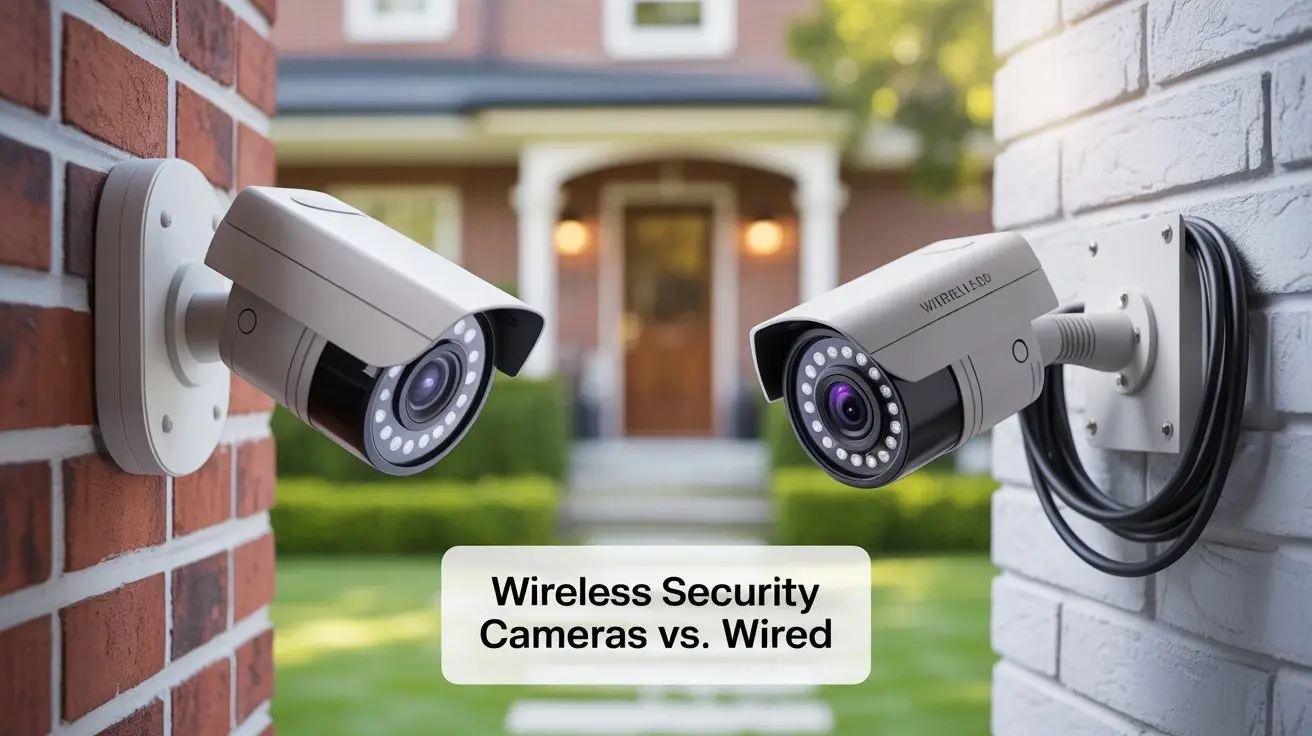
It is recommended to verify the power connectivity and the network options. Every security camera requires a power supply and an internet connection to send streams. While wiring new cameras, there is always some advantage in installing them nearer the power outlets, which will make wiring less complicated. For the outside areas, recommend the use of wireless security cameras that use batteries or solar power if installing electrical wires is not feasible. As for connection, wired Ethernet connections are the most dependable and top quality feeds. However, wireless cameras are relatively simple to install and can be relocated quite freely.
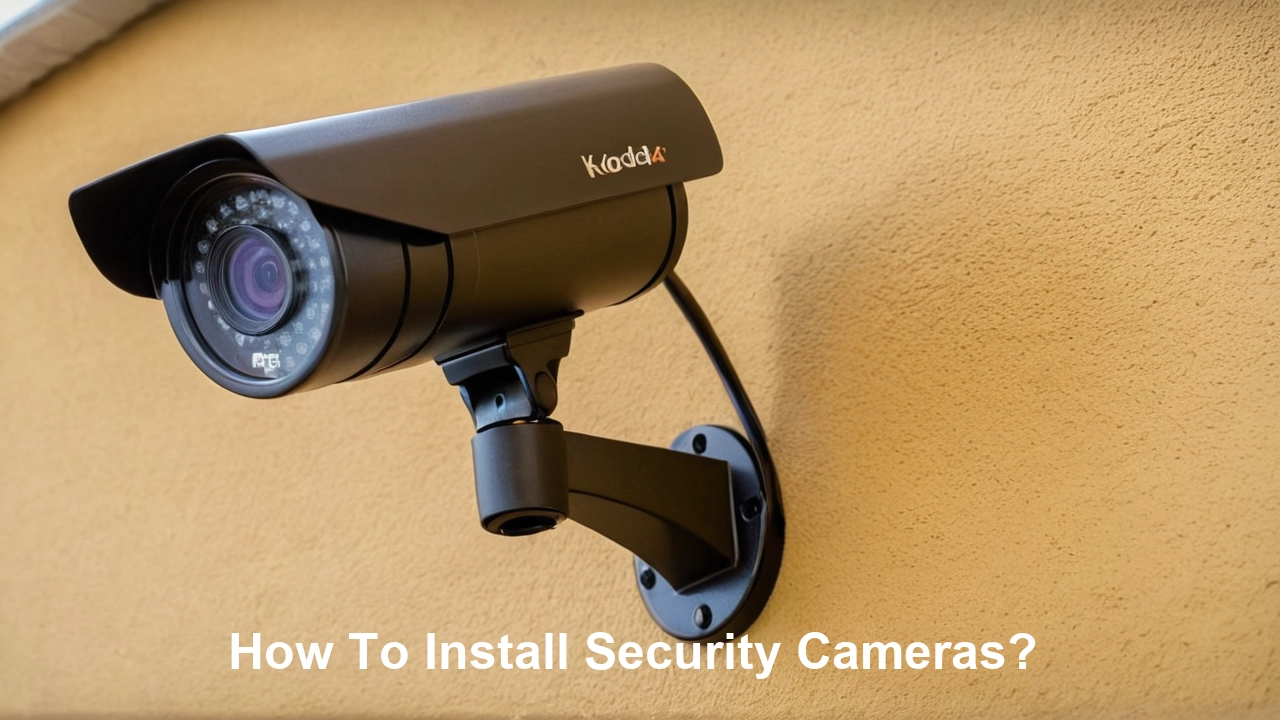
Select Installation Locations Go through the property and physically identify where each of the security cameras will be mounted and in which direction it will be facing to effectively monitor the intended area. They should also be installed at ideal heights of between 8 and 15 feet above the ground to offer clear visibility. Do not point cameras at the sun to avoid glare which can result in poor quality video. As for outdoor cameras, they should be installed under the eaves to avoid the impact of rain and other harsh weather conditions, and they should be directed towards the visitors arriving at the appropriate angles.
Mount the Security Cameras Secure the security cameras to the mounting locations using the manufacturer’s mounting template and hardware according to the instructions outlined in the manual. Generally, most Do-It-Yourself home security cameras are packaged with simple mounting kits and can be easily screwed onto the walls and ceilings. If you need more support, you can acquire a mounting pole or construct another mounting box that is perfect for the specific weight and size of the camera. It is always important to make sure that cameras are firmly fixed and cannot move and fall off thus causing damages.
Plug in Cameras to Chargers Depending on whether your cameras are wired or wireless, you need to plug them into the intended power source in the manner prescribed by the manufacturer. For wired cameras, then connect the power cables to a nearby indoor/outdoor electrical outlet if needed. Some wireless cameras just need putting in charged batteries or plugging in a solar panel. Check that all the cables are connected well and use outdoor cables as well as outdoor cables for outdoor use.
Hook Up Transmission Cables Ensure you link the proper video transmission cables from each camera to the NVR that will capture, analyze and store the signals. For wired network, connect the cameras directly to the NVR or through the ethernet ports and switches. For wireless networks, connect WiFi antennas and pair cameras to the NVR over your home WiFi network, preferably a secure one. Ensure you heed all directives to secure proper transmission connectivity as fewer blunders would be made.
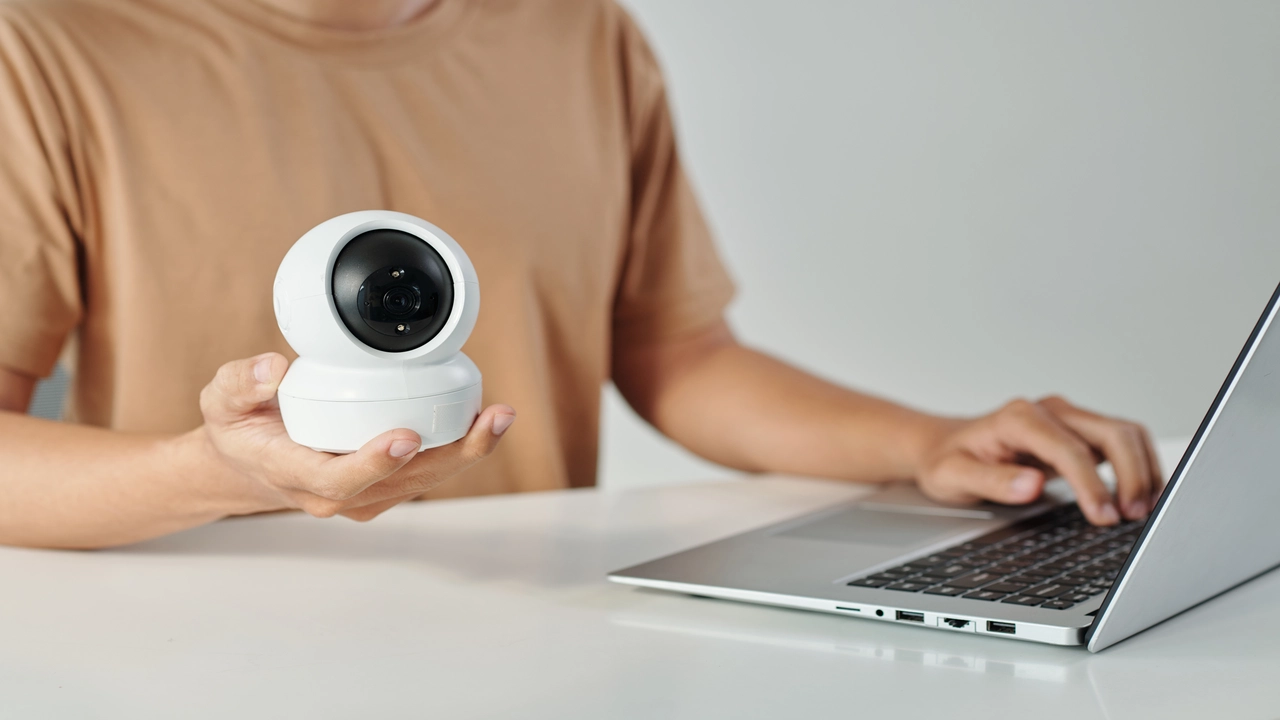
Configure Camera Settings Access each security camera separately through a web interface or a smartphone application to modify settings. First, it is appropriate to give distinct labels to every camera channel on the NVR system for purposes of identification. Use the available controls to fine tune the video quality in terms of resolution, frame rate, brightness, contrast and orientation until the desired quality is attained. Configure the activity zones, motion detection triggers, and schedules as necessary in order to properly capture events when using the cameras.
Ensure Proper NVR Storage Ensure that there are appropriate external hard drives for connection to the NVR to contain adequate surveillance footage. A 1TB hard drive can store footage for about one to two weeks based on the continuous recording of events without overlapping. Allowing motion-based and scheduling recording helps to manage disk space so that unnecessary footage is not occupying it. You can also choose the recording redundancy across the multiple drives so that the backup footage would be saved in case one drive fails.
Test Cameras Extensively Once the cameras are mounted and wired, ensure that they are adequately tested for any problems. Ensure that all the camera streams are connected to the NVR without any loss of signal or stuttering in the video. Test video quality during the day and at night. Move around the areas that the motion detectors are situated in order to ensure that they trigger recording each time you cross the camera’s path. Tweak any setting as required until the best performance is obtained.
Add Signage for Deterrence To enhance the protection against crime and theft, the property can be fitted with visible warning signs stating that the area is under 24/7 video surveillance. This goes further in reducing criminal activity because the intruder is well informed that he or she is under surveillance and any unlawful move is recorded to be produced as evidence. Place them where people are most likely to see, such as at entrances, exits, the perimeters of a vulnerable area and alongside an individual security camera.
Perform Regular Maintenance Monitor the cameras from time to time to notice if any has developed a problem of loose mounting or has a view obstructed. Further, review the sample footage to confirm that video is sharp and motion-based recording is responsive. Batteries in wireless cameras should be replaced when they are dead. All electrical cabling should be checked for signs of wear, loose connectors or any damage that may require repair. It is recommended that maintenance and other related issues should be conducted as advised by the manufacturer.
Upgrading Security Camera Systems In case of developing new requirements or technological progress, replace the outdated security camera systems for improved efficiency. You can even add other wireless cameras as you want in order to increase its coverage. Transferring from wired to wireless networks allows for the possibility to move cameras around more freely if necessary. Upgrading traditional analog NVR systems to modern digital NVR yields massive improvement in video quality and storage. Therefore, it is important to learn about the new developments in the security camera systems to improve your property surveillance.
DIY home security cameras require some planning to install but it is worth the effort to know that the home is being monitored at all times. Place cameras where they need to be, plug them into power outlets and your home network, set the optimal configurations and conduct trials. This should be followed to set up security cameras to capture clear pictures for the next several years. In this case, it is possible to devise a proper approach to installing video surveillance to ensure the safety of your premises.