Installing Wired Security Cameras
Wired security cameras are quite popular since they can be installed easily to secure your home or business premises. Wired cameras are known to give better results than wireless cameras and are easier to maintain because they offer a continuous and clear video stream. Installing wired surveillance camera system may appear challenging, but it can be simple if the right procedures are observed. This article aims to explain the process of installation of wired security cameras for your property.
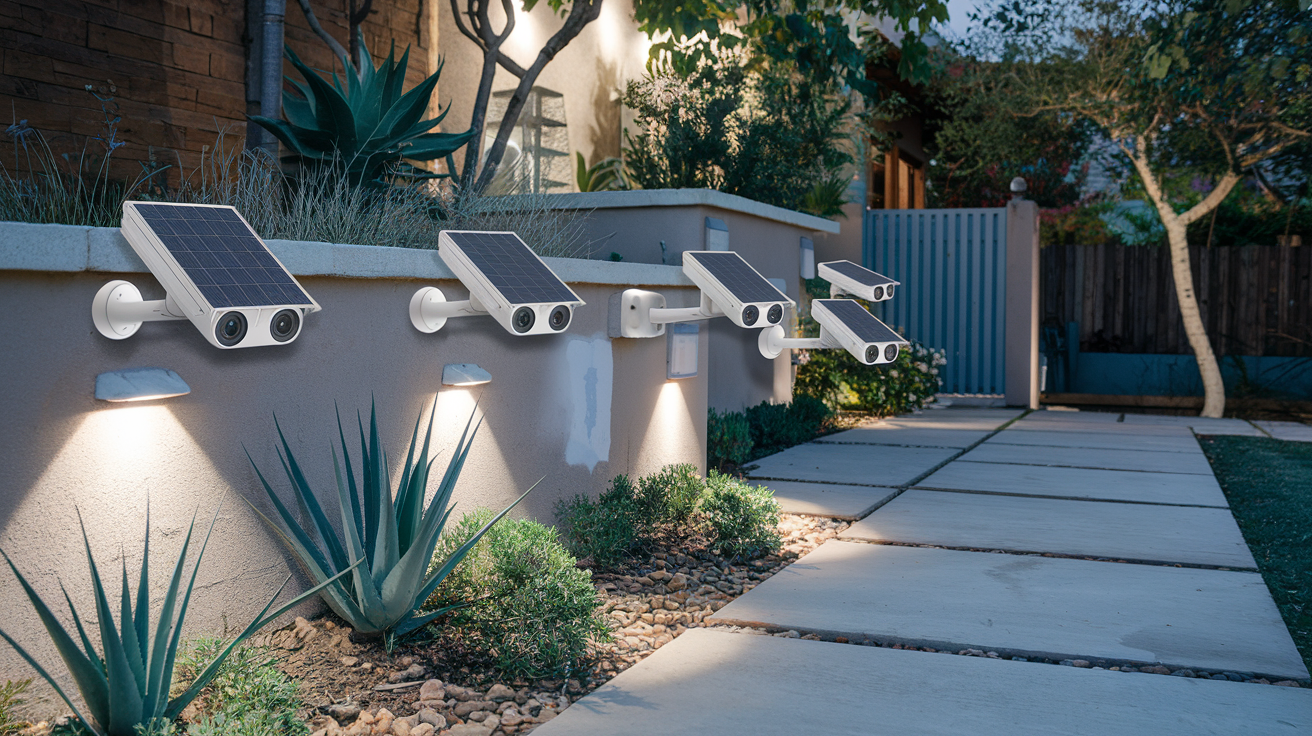
Plan Camera Placement The first step is therefore to determine where you wish to install the security cameras. When selecting spots to install the cameras, make sure that the cameras have an unobstructed view of the areas that you want to monitor such as corridors, car parks or lawns. Make sure that the spots have access to power outlets as well because wired cameras require electricity. For outdoor area, it is recommended that the area should be covered to ensure that the equipment is protected from harsh weather conditions.
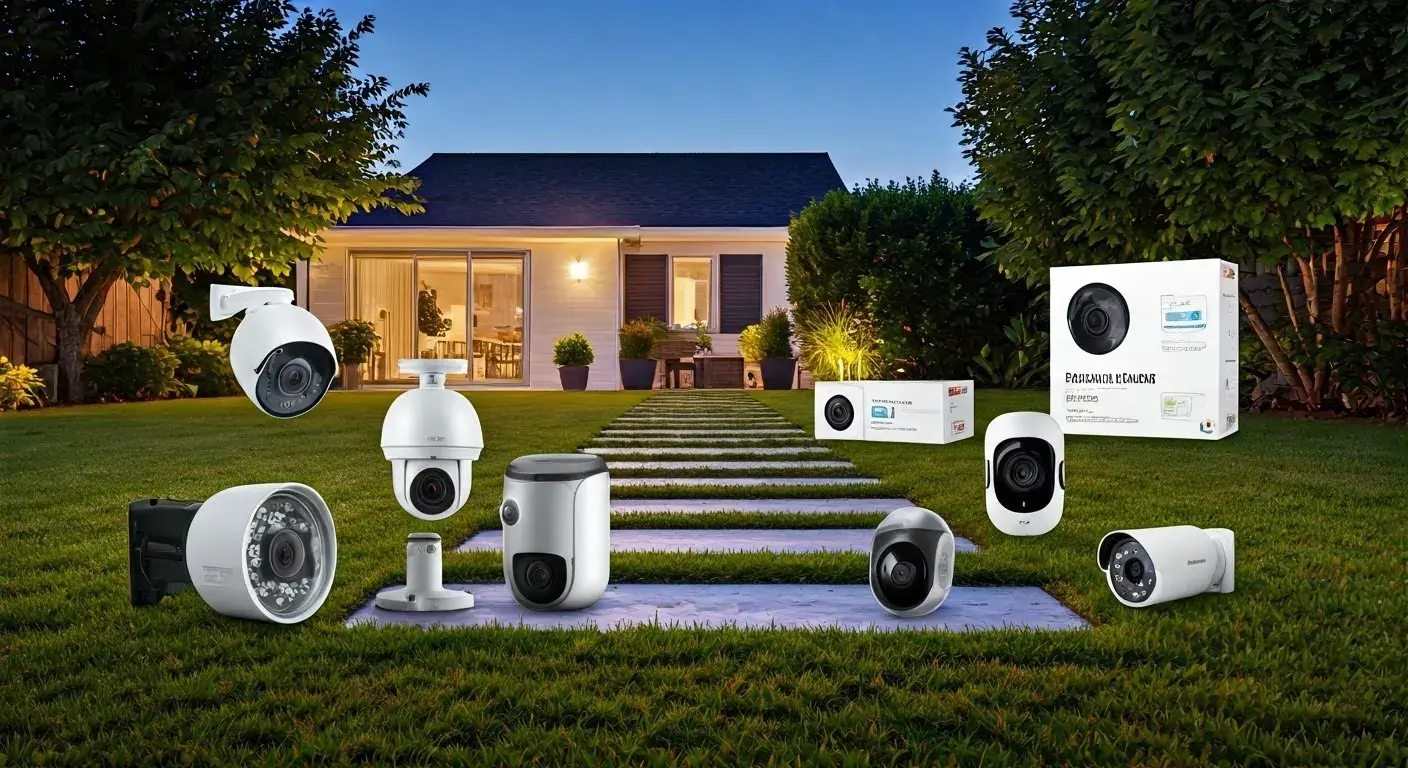
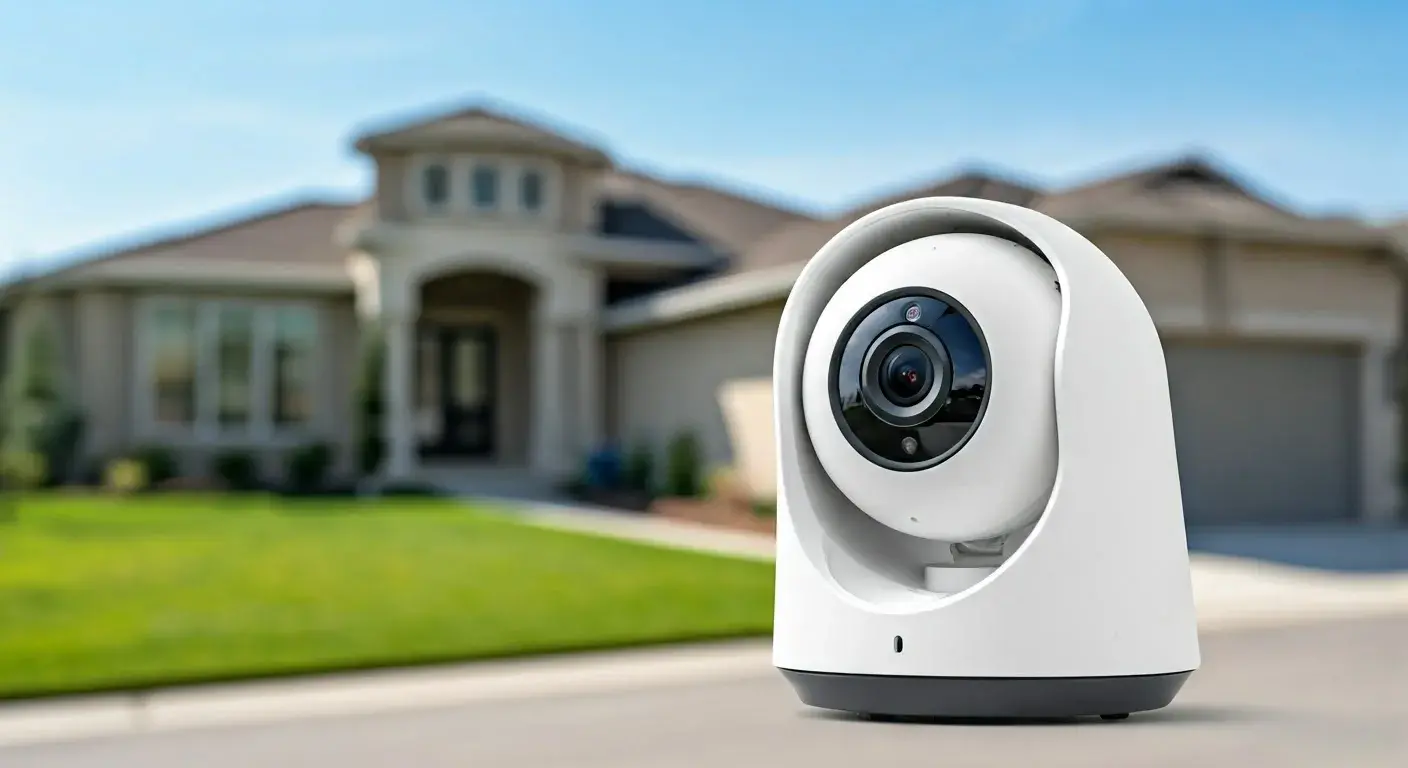
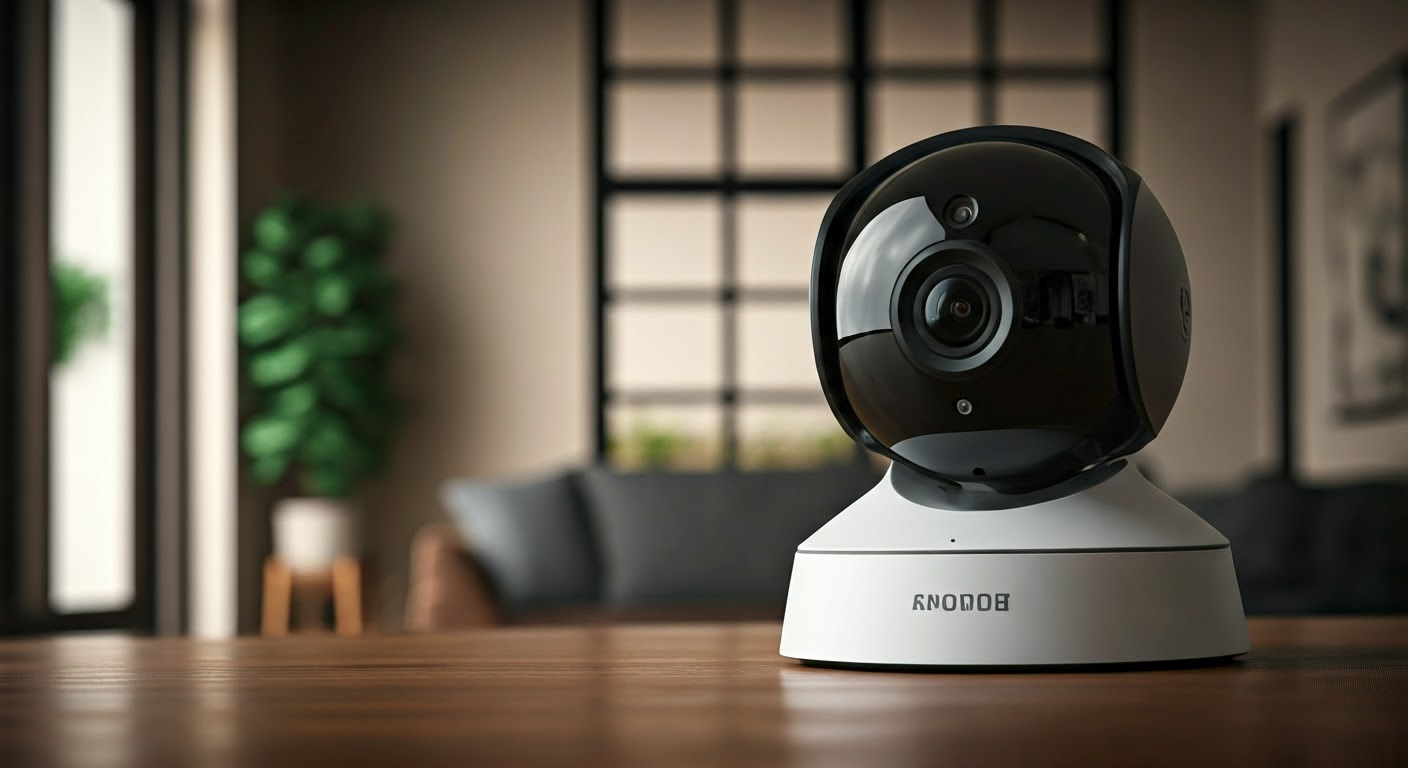
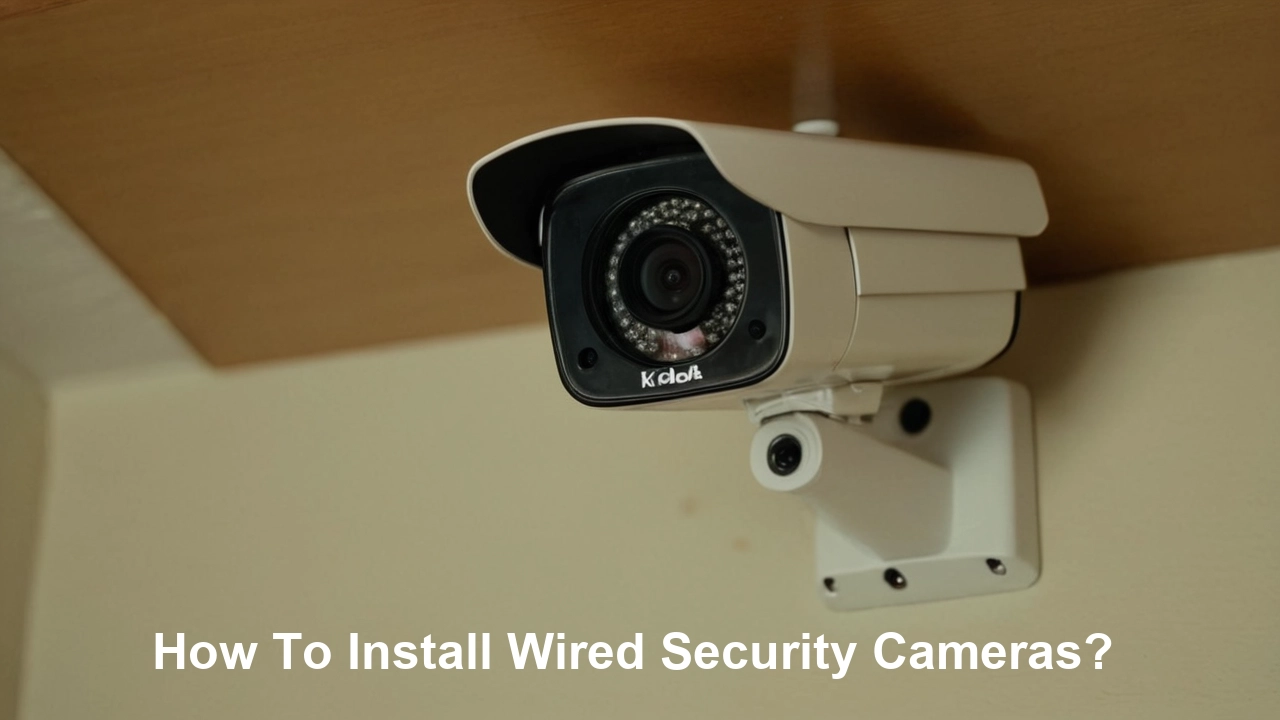
Select Wired Camera Types Different wired security camera systems exist in the market today. Dome cameras are encased in a spherical housing for discreet surveillance while bullet cameras have the appearance of gun barrels for monitoring specific regions. Some of the things you need to put into consideration while selecting the camera styles include the number of locations, lighting conditions, the video resolution required for your project and the amount of money you are willing to spend on the cameras.
Buy Essential Accessories Besides the surveillance cameras, others are cables, particularly the Ethernet cables, the network video recorder (NVR), the power cables and tools. Cat 5e or Cat6 Ethernet cables help in transferring the video footages of the cameras to the NVR effectively. An NVR with enough storage means that it is recording and storing video feeds for surveillance or future reference. Camera power cables and basic hand tools are also required.
Install Ethernet Cables To all the places where you wish to install cameras, ensure that you lay down ethernet cables to the location where you want to install the NVR unit. For areas that are exposed to the weather, ensure that you use cables that are specifically designed for outdoor use and are therefore resistant to moisture damage. Ensure that there is enough room on the cables for connection to the cameras at a later time. Do not keep the cables hanging loosely as this is likely to be accessed or tampered with. Secure cables within the building by attaching them to the walls or ceilings using clips.
Mount the Cameras Consult the user manual for details on how to install each of your camera types as you implement the system. Typically, the operation entails fastening the camera to the desired location through the use of screws or brackets that are provided. Make sure that cameras are well and firmly mounted to minimize movement and falling. It is advisable to make some angles on the parts that need to be fixed in the wall for better coverage when mounting them. It is essential to understand that most cameras today use tamper-resistant screws to make it difficult for intruders to dismantle the equipment.
Connect Cables to Cameras They should mount cameras in all areas that have been specified, then run an ethernet cable from the NVR location to each unit. Indoor cameras are connected directly to the ethernet sockets on the wall. Outdoor cameras use a pigtail cable to interface with the outdoor Ethernet cable that connects to the interior of the premises. Make sure that all the cables are properly connected. Employ weather resistant exterior junction boxes for cables for outdoor cameras.
Connect the NVR System It is recommended to install the NVR device at a well-ventilated and dry indoor area such as closet or basement close to the router and power outlet. All the wired cables from the installed cameras need to be connected to the NVR’s built-in PoE ports. Connect the NVR to the router using the second ethernet cable for remote access. Security wise, should not use any public Wi-Fi to connect cameras or the NVR to avoid cases where hackers access the system.
Supply Power to Components On newer NVR systems, use of PoE ports which is used in transmitting video and even powering the device through ethernetcables. For other NVRs that are not PoE, connect every camera to an electrical source. The monitors as well as the NVR unit itself needs to be connected to a power source too before turning the devices on. Extra electrical safety is recommended with the use of surge protectors.
Configure System Settings Switch on all the connected appliances such as camera, NVR system and the monitor TVs. It is recommended to go to the system menu to set settings correctly. Give each connected camera channel a name that can be easily recognized later, e. g. , “Front door” or “Warehouse area 1”. Type the correct date, time, and any other preferences as required. Acquire adequate storage space so that recording can be done on a consistent basis.
Test and Adjust Connections After all the hardware is on, check how the camera feeds are coming up on the NVR system and other connected screens. Watch the content captured from all the cameras and make some changes to the angle or position of the cameras if some parts of it are not captured well in the camera view. Tidy up any loose cables and ensure that all video streams are recorded correctly before ending the installation.
Small things like cleaning dust or grime from the lenses of the camera that are used in the new security system will ensure that they offer great monitoring and can last for years. Ensure you place your cameras well while installing them and check all the cameras to ensure that they are recording correctly to be assured that your property is protected with proper surveillance. Wired cameras are somewhat difficult to put up, but it is possible as DIY if done according to correct procedures.