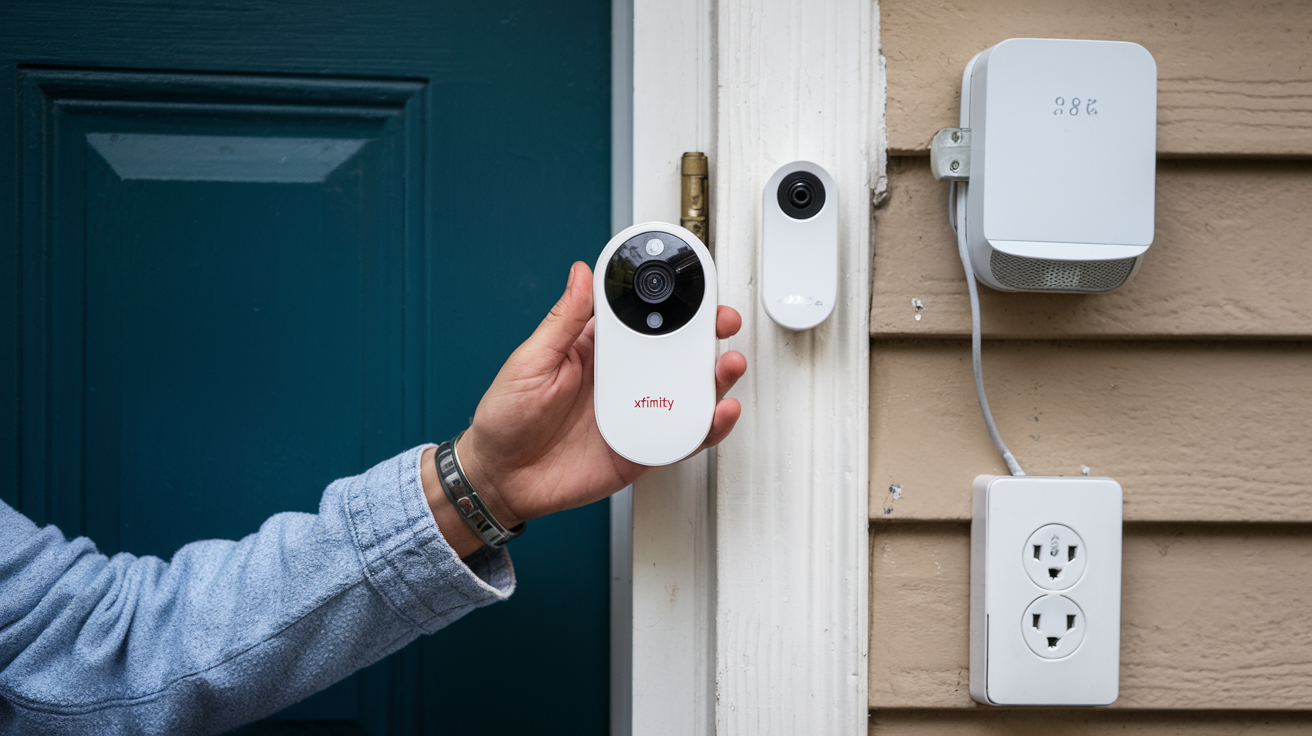
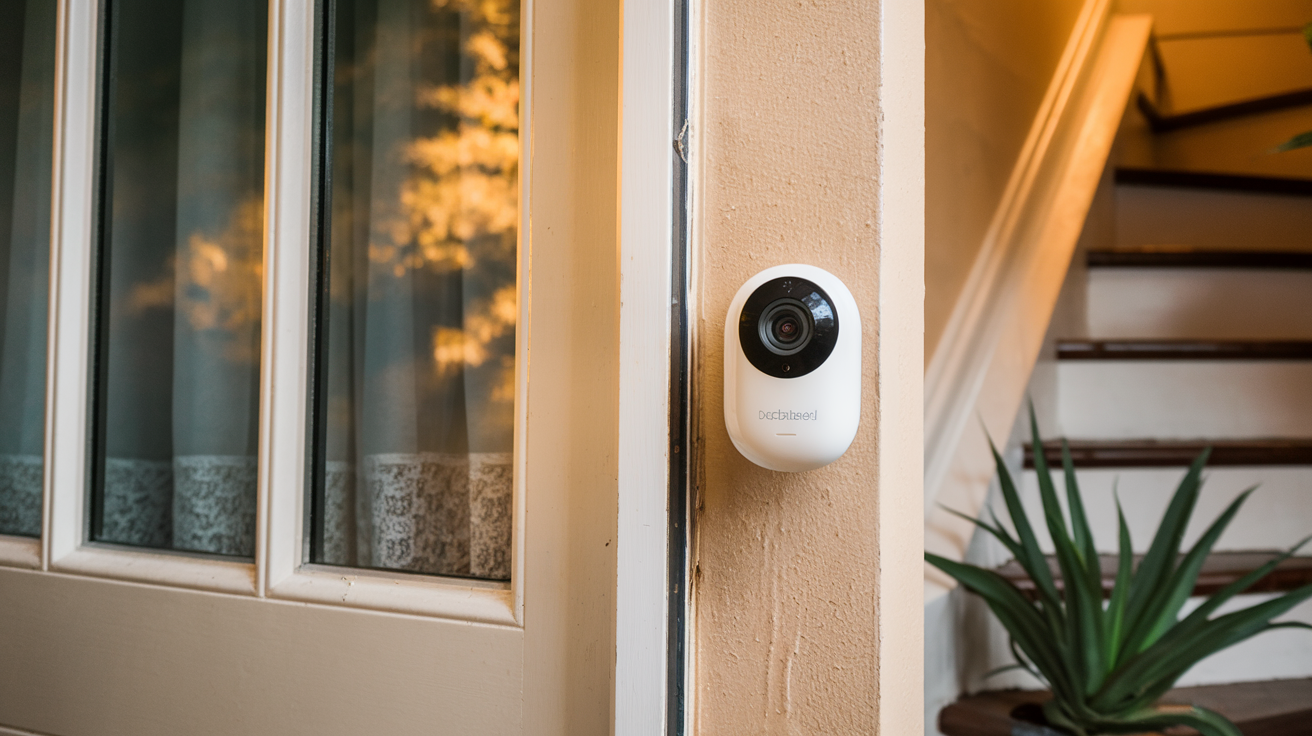
Having an Xfinity doorbell camera will also be important to your home as it will enhance security and ease. With an Xfinity doorbell camera, you can see who is at your door right from your smartphone or tablet, even when you are home. One is easy to install and you might be able to install it on your own within an hour or so. Here is a step-by-step guide on how to install an Xfinity doorbell camera:
Choosing Your Doorbell Camera First things first. If you are a consumer you will have to choose which Xfinity doorbell camera model suits you. The Ring Video Doorbell is provided by Xfinity as part of its Home service tier plans. They provide three models to choose from:
Ring Video Doorbell The original 1080p doorbell camera with motion detection. Includes night vision and two-way talk through the device or Xfinity Home mobile app.
Ring Video Doorbell Pro This is the latest model with better motion detection and a steel frame. It directly connects to your wired doorbell for a seamless performance.
Ring Video Doorbell Elite The latest Xfinity doorbell camera that features 1080p HD video, a 165-degree field of view, improved motion detection, and PoE wire transmission for clear video and fast internet. It has a stylish and contemporary look to complement the external appearance of your house.
After deciding on the best doorbell camera model, it is time to prepare for installation.
Preparing Your Existing Doorbell, First of all, you have to know how many wires your previous doorbell setup has. Almost all Ring video doorbells demand that you have an existing hard-wired doorbell that is functioning. However, wired systems can make it challenging to install if the current doorbell is not wired properly or you have non-connected doorbell chimes.
To figure this out, unscrew and snap off the cover plate of your current doorbell and take a photo of the wires for reference. Focus on the number of wires used and their respective colors. For the indoor chimes, you will want also ensure they work as intended every time you ring the outdoor doorbell button.
If your system is not already wired correctly, you may need to hire an expert to rectify the wiring issues. If your system is conventional, you should just have to sever connections between the wires and the old doorbell.
It is important to understand that battery-powered Ring doorbells are the easiest to install since they do not involve wiring at all and can easily be mounted over the existing doorbell.
Collect the Necessary Equipment & Fixtures Before you embark on the installation procedure, it is advisable to ensure that you have assembled all the necessary basic tools in addition to the mounting hardware. This includes:
Screwdrivers (flathead and Phillips) Level Measuring tape Drill Ring installation manual Wall anchors Screws
Any other accessories that may be needed on some surface types such as the masonry or the stucco should also be gathered before mounting.
The doorbell camera should come with the necessary mounting bracket and screws, however, you may find it convenient to have other fasteners such as wall anchors.
Installing the Doorbell Bracket After the initial preparation, it is time to get down to the basics of Ring doorbell installation and mounting. The first thing is to have the doorbell bracket installed and this is the step that is illustrated below.
Decide where on the outer part of the house the owner wants the doorbell to be installed. The ideal height for mounting is generally between four and five feet above the ground level. As a final check, double-check the position using your level and measuring tape.
Position the included bracket and put a mark on the position of the screws or the wall anchors you want to use. Once anchors are in the ready position, employ screwdrivers to tighten the bracket on the intended wall. Ensure that it is clean and well-fitted.
Connecting & Mounting the Doorbell At this point your doorbell bracket should be mounted outside your door and installed tightly so that it cannot be removed easily. Now you can disconnect your old doorbell wires and then connect the Ring device wires. The wires should have similar colors to each other.
If you have the Ring Video Doorbell Pro or Ring Video Doorbell Elite, the wires should fit perfectly into the respective slots found in the back of the unit and you should hear a click. With wireless models, there is no need for wiring, thus eliminating this process.
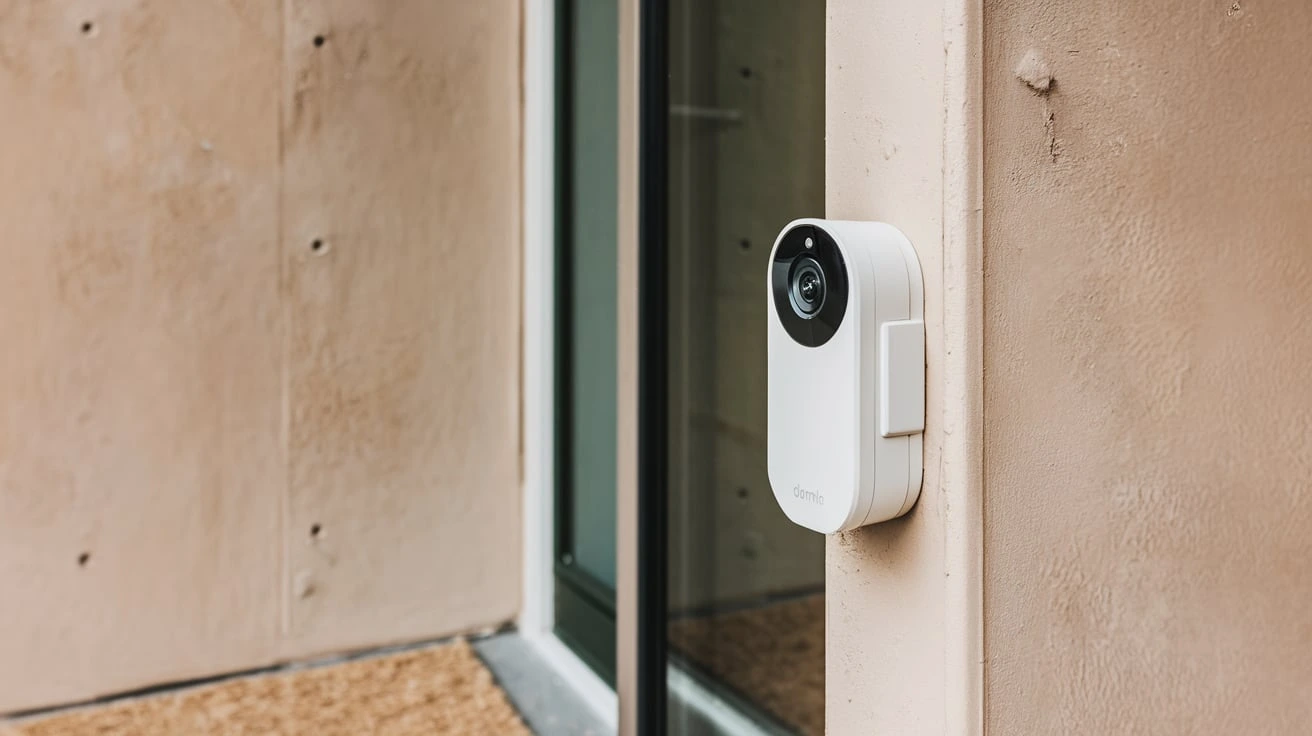
Once the wiring to the doorbell bracket is connected, insert the actual doorbell device into the bracket and snap it in position. It should be tightly fixed to the bracket.
You shall hear a click once the piece is fitted correctly. It is important to ensure that the vertical angle is set correctly after the lock-in and adjust if necessary. Congratulations! Your new Xfinity doorbell camera should now be installed and ready to use!
Connecting Wi-Fi and Other Requirements for the App The doorbell hardware is mounted to the exterior of your home to fit the current doorbell wiring, but you can only control that doorbell through your Wi-Fi by linking it to the Xfinity Home app.
Begin by launching the Xfinity Home application on any mobile device that you have handy. Inside the app, there are guides on how to install the doorbell, connect it to the Wi-Fi, and integrate it with your Xfinity services.
Usually, the procedure includes reading codes from the device or the base station and entering the wireless network passwords to join. Pay close attention to the information presented in the application interface. Using this scenario, it may take up to one hour to update firmware on the device.
Once connected, you and your family will be able to watch a live video stream and get a motion alert or doorbell notification on the Xfinity app at your convenience. You can also fine-tune motion zones and other features until you can have them functioning in the manner most suitable for a home.
And that is it, folks, that is the whole and complete guideline on how to install an Xfinity video doorbell camera! As you have found out it is quite possible to install the smart Xfinity doorbell at your front door as a DIY home improvement project if you have the necessary tools and preparation. Just ensure to strictly adhere to all the safety measures when dealing with electrical wiring. So if you are not sure of something or something that goes wrong while installing the outlet, do not hesitate to seek help from a professional electrician.
Protect your home today with ADT’s top-rated security solutions!
Call now at +1 877-470-7879 to get a free consultation and find out how you can secure your home with the best in the business. Don’t wait—ensure your peace of mind with ADT!
