The Home Security System is therefore paramount for the security of homes and the families living therein. A home alarm is a prevention tool that discourages any attacker from entering your home and lets you know if an attacker gains entry into your home. However, even the best home alarm systems depend on a stable source of power to function as planned. 911 Most home alarms come with a backup battery to ensure the alarm continues working even when the power has been switched off. Eventually, the backup alarm battery in this case will need to be replaced because it will be dead. It is a very simple Do-It-Yourself job that does not take more than 10 minutes of your time and it involves a change of the backup home alarm battery. Continue reading to find out the procedure for changing the alarm battery:
Tools And Materials Needed
Before you begin replacing your home alarm battery, make sure you have the following tools and materials on hand:
- New replacement 9-volt alkaline battery (or other battery type as recommended by your home alarm system). Ensure that the replacement battery is well-charged and has a long-lasting shelf life.
- Small Phillips head screwdriver
- Scissors or utility knife
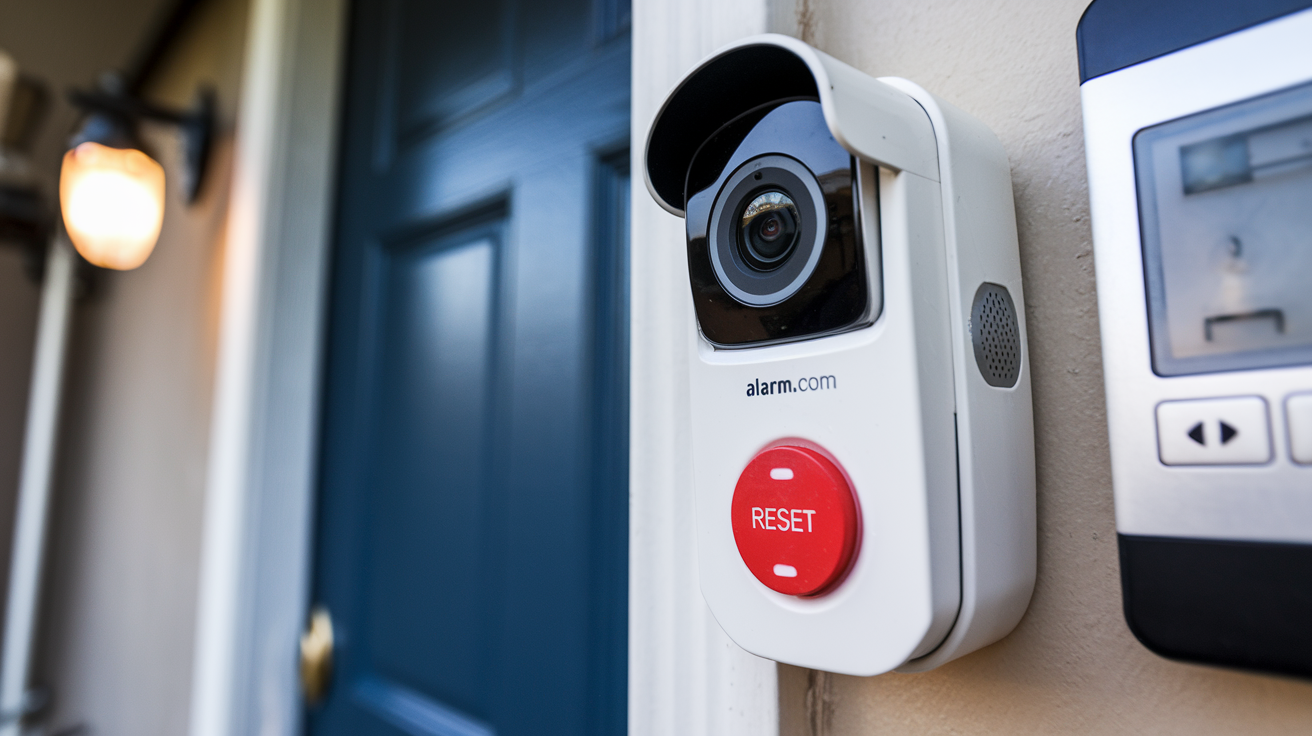
Find the Alarm Panel and Turn the Power Off
The first thing that needs to be done is to find the position of the backup battery which is placed in the home alarm control panel. In most homes and apartments, the alarm panel is mounted either centrally or near an exit/entry door. After locating the home alarm panel, try to locate the button or switch that turns the system off. This will ensure that no alarm is produced when the previous battery is disconnected from the car.
Pull the tabs on the sides of the control panel housing to take off the front cover.
Subsequently, you need to unscrew the cover of the control panel or the housing if there are screws with a small Phillips head screwdriver. Slowly open the housing to reveal the circuit boards with the electrical parts of the alarm and the backup battery inside.
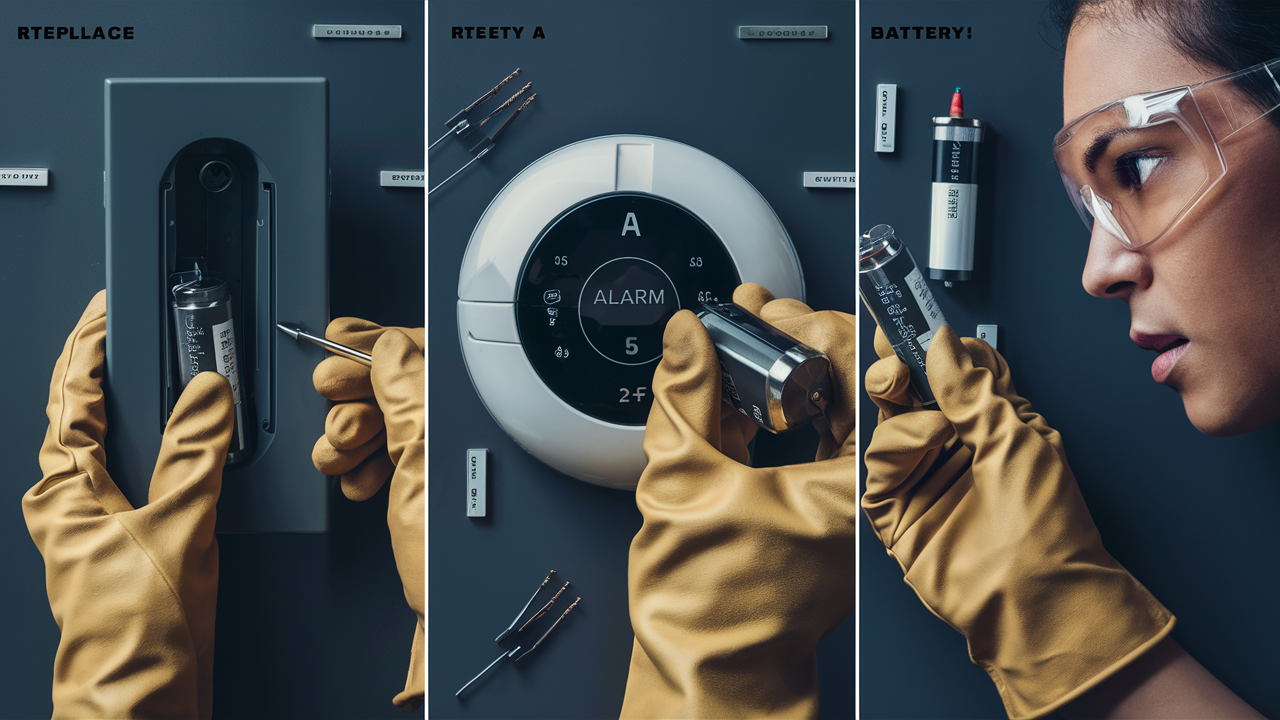
There is always one smaller compartment for Removing the old Alarm Battery.
You will notice that the backup battery is fitted very firmly into the panel or is attached through cables or a harness. With your utility knife or scissors, you can now proceed to cut the zip ties or wire ties that bind the battery and wires. Then, pull and twist the battery in a manner that will help you free it from the connections. Be careful not to pull hard on any alarm wires while disconnecting the battery.
Check Connectors and Conduct New Battery Tests
Check on the battery wires, clips, and connector leads for signs of damage before installation of the new battery. Make sure the connections are clear. Ensure that your replacement battery has enough voltage by using it in another low-voltage device before installing it in your gadget.
Install New Battery
On the replacement 9-volt battery there are positive and negative connectors; find and connect the positive/negative leads of the alarm system with the positive/negative connectors on the battery. Insert the new battery firmly into its compartment, while also ensuring that any connections that were severed are connected properly. Secure the battery wires in an orderly manner using a new zip tie. Do not squeeze the wires and ensure that the battery fits well into the holder without being loose.
Lastly, it is recommended that the Control Panel Housing be closed.
Securing a new battery in its place and you should now cover the alarm control panel housing. Remove the access screws with your Phillips head screwdriver and make sure that the housing cover is properly positioned before screws are tightened completely. Be careful not to over-tighten the screws.
Activate the Alarm
The last procedure is switching on your home alarm system after it has been deactivated. Use your finger and gently press the power button on the control panel interface. You may be prompted to input your home alarm password. Many systems will require a minute to restart, make a sound, and indicate normal power status. Check whether the keypad, motion sensor, and other alarm accessories are functional. Last but not least, carry out comprehensive testing of the entire system to confirm whether your new battery is correctly supplying power to the alarm system.
Troubleshooting Tips
In the case where the light on the home alarm still reads low battery even after replacing the battery, ensure that the new battery is well connected to the contacts. Make sure that you have properly matched the voltage and the power of the alarm system you want to install. If the low power status remains in place, more components of the control panel that control the flow of battery and electrical power may require replacement. It is recommended to replace the alarm panel backup battery at least once a year to avoid such issues. It is also advisable to have a professional home security company service your full alarm system regularly, as part of preventive measures.
Replace Alarm Batteries Annually
Home alarm batteries are generally easy to replace when they are dead or have lost power since it is a common occurrence. To ensure the safety of your home and loved ones, should you ever get a low battery notification, or once a year, change the backup batteries in your alarm systems. Carrying out this routine maintenance every 12 months is helpful to make sure that your alarm is always on and charged up in case of electrical power or weather emergency when it might be most needed. Minutes can be the difference between a working security system that will deter a potential burglar and a failed system that leaves one’s home wide open.
Protect your home today with ADT’s top-rated security solutions!
Call now at +1 877-470-7879 to get a free consultation and find out how you can secure your home with the best in the business. Don’t wait—ensure your peace of mind with ADT!