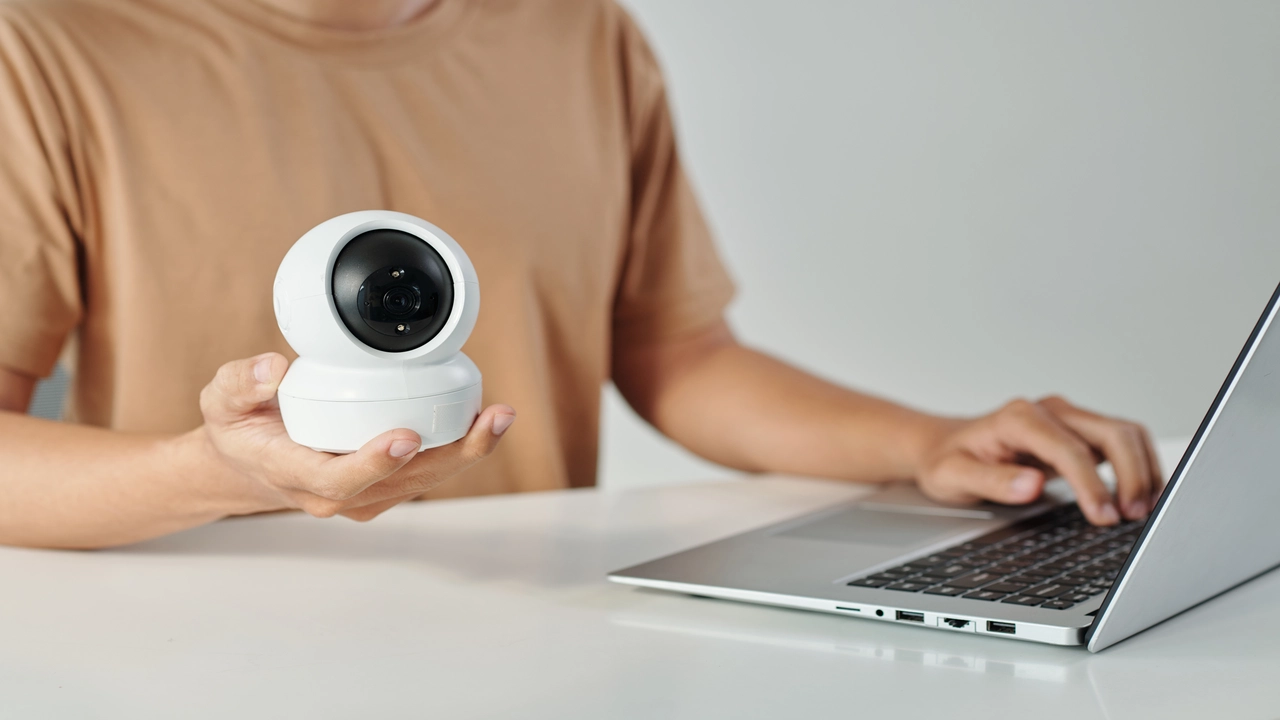
Best Security Cameras are very useful when it comes to the security of your home or your business premises. However, wired security cameras have their advantages, which include better security, excellent picture quality, and low possibility of interference in the installation process compared to their wireless counterparts. Connecting a security camera involves some key points that must be followed so that the unit can operate optimally. Here is a step-by-step guide on how you can wire a security camera starting from the initial stages.
Choosing a Location However, the first step towards installing security cameras is to assess your compound and identify the most suitable areas to place the cameras. What are important zones that are of interest, for example, entrances, driveways, yards, corridors, storages, cash registers, etc.? Which angles will be most effective? Make sure that the areas that you decide to have the wiring have access to power outlets or junction boxes to fix the wiring. Also, make sure that the spots have adequate lighting.
Selecting a Security Camera There are various types of wired security cameras and the one that you choose will depend on factors such as the coverage you require and the amount of money you are willing to spend on the cameras. Some of the popular choices include bullet cameras, dome cameras, PTZ cameras, day-night vision cameras, 4K cameras, and IP cameras. Identify relative characteristics such as image resolution, viewing angle, night vision, build, and weather resistance. In case there are several areas requiring surveillance, opt for a wired security camera system with more cameras and DVRs.
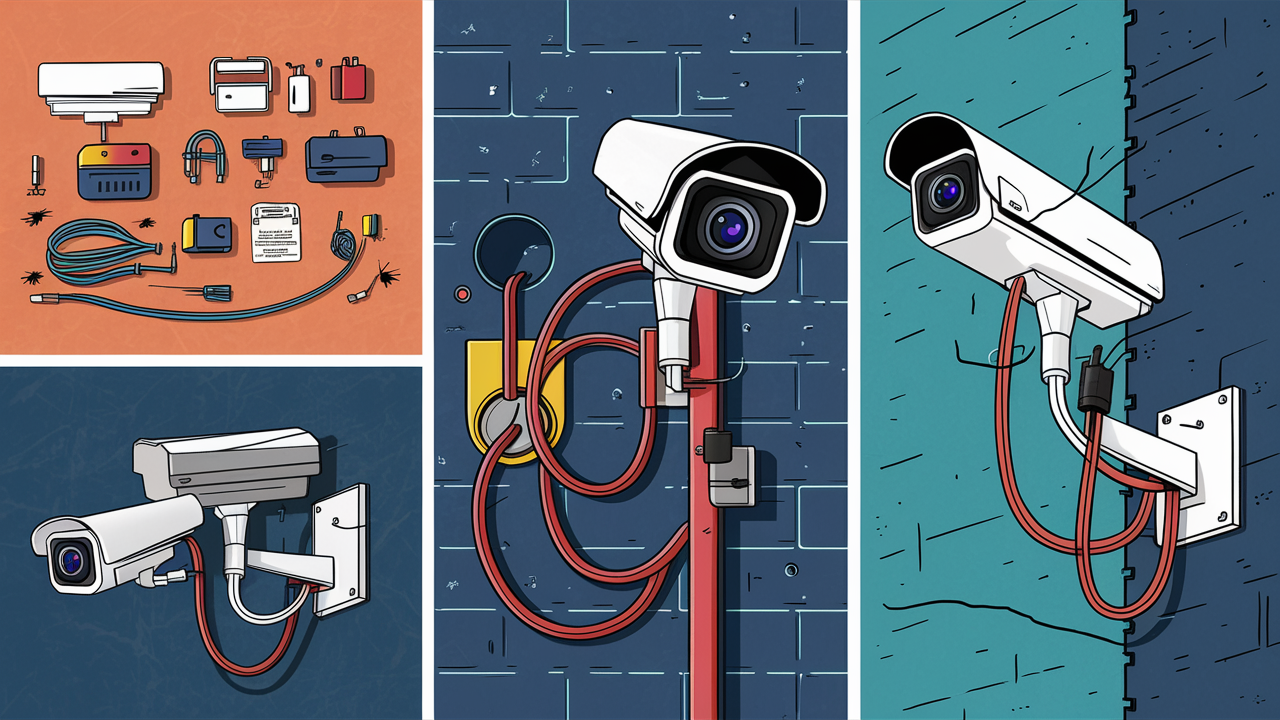
Gathering the Right Supplies Here are the basic supplies needed:
Security Camera: Choose for quality construction, water resistance rating, and basic features that can fit monitoring purposes.
Power Source: A standard 120V AC power outlet nearby for powering the camera. You will also need a step-down power converter if going for a POE IP camera.
BNC/Ethernet Cables: Acquire cables to link the camera to power and the DVR for the transmission of the captured footage. Ethernet for IP cameras, Coaxial BNC for Analog cameras.
Video Balun: Occasionally required to convert the video signal from analog cameras to Ethernet if the DVR is connected digitally.
Wire/Cable Conduit: Conduit can be used for pulling wires through walls and ceilings. Choose the correct conduit size that will accommodate all the wires.
Connectors: BNC terminators, RCA connectors, Ethernet couplers, etc for connecting cables.
Cable Clips: To support cables tidily against walls and ceilings.
Basic Hand Tools: These include cable cutters, electric drills, crimp tools, ladders, ties, and so on.
The Power Connection – the Right Way One should look at the security camera wiring diagram which is common in manuals to check the power concerns. For DIY installs, the best source of power tapping is at the nearest 120V AC outlet of the house. If the distance between the outlet and the camera is less than 50 feet, then an 18 gauge wire is adequate. Where the cable length is more of up to 100 feet, it is recommended to use 16 AWG electrical cable. White is always inactive, black is active/hot, and green/bare is returned to zero.
Pull the power cable through the cable chaseway fitted along the wall or ceiling in an orderly manner. About 12 additional inches of wire should be left free at the end for making connections. Screw the live, neutral, and ground wires to the particular input terminals of the camera. For connections, it is recommended to use wire nuts or connector blocks of the correct size. If there are loose wires, they should be cut off at their end.
Outdoor mount can be done by installing the camera near the power source in a weatherproof receptacle box. Cables require the use of outdoor-rated cables to accommodate temperature changes. It is also advisable to have a dedicated circuit breaker only for the security cameras to prevent other equipment in the same circuit from being tripped.
How to connect analog camera to DVR If your wired surveillance camera is an analog, it will possess a BNC video output that requires the use of a coaxial cable to connect with the DVR. The steps are quite straightforward: The steps are quite straightforward:
If video balun is being used, link its BNC socket to the camera video out socket using a male-to-male BNC cable/adapter. Connect sending balun unit close to the camera and receiving balun near DVR.
Insert a BNC coaxial cable from the camera video out BNC socket or balun video output to any of the BNC video inputs in the Digital Video Recorder.
For cable runs over 100 feet or for better picture quality, it is recommended to use RG 59 coax with an inbuilt 95 or 100 % copper braid shield.
In case your DVR only has RCA composite inputs you will need to use BNC Male to RCA Female adapter to make connections.
Check that all BNC cable connectors are tightened properly. Connect any unused DVR video input ports to the BNC terminators to make firm connections.
Connecting of IP Camera to NVR or Network Wired IP security cameras are equipped with an Ethernet port and must be connected to an NVR or an existing wired data network. Follow these instructions:
Connect an Ethernet patch cable, preferably Cat5e or Cat6 to the RJ45 output port of the camera and connect the other end to an available PoE port on the NVR.
If the PoE port is not available on NVR, then connect the camera to the PoE injector. Then connect the link injector to NVR through Ethernet.
For non-PoE NVR, use an Ethernet cable to connect the camera directly to the router or network switch. Then connect NVR to the same network.
Give the camera an IP address within the proper subnet range through NVR or computer access as per the manual directions.
Allow NVR to discover the camera and manually add its IP address during installation. Monitor connected camera feeds.
Coil, straps, and other cable accessories should be used to achieve a neat installation of the cables. Place the cables in a location that is not exposed to direct heat and moisture.
Testing the Installation Before mounting the security cameras, test the wiring connections to ensure proper working after setup: Before mounting the security cameras, test the wiring connections to ensure proper working after setup:
During the testing, it is recommended that power on the DVR/NVR and the respective monitor screens before the cameras.
Look for video display and camera options. Try different view modes and positions if you are using the movable PTZ camera.
Evaluate the quality of videos and color differentiation in the normal and low light environments and the night vision IR.
If you have an IP camera, attempt to view the live feed using an internet login from a laptop or phone. Check two-way communication over audio, if available.
Adjust the angle and position of the camera and the cable if you need to before cementing the cameras.
The last procedures include securing the cameras in the desired manner, setting up the recording time, enabling motion detection, archiving the footage to the cloud or external drive, and monitoring the system.
Applying proper wiring to security cameras is another way of ensuring that the desired clarity and sharpness of the cameras are achieved. There should be some flexibility in wiring to allow camera adjustment shortly if required. In case of issues, always check all the connections including individual cable strands for faults. Your well-wired security camera system will now be able to offer sturdy security and much-needed security to your valuable property.
Protect your home today with ADT’s top-rated security solutions!
Call now at +1 877-470-7879 to get a free consultation and find out how you can secure your home with the best in the business. Don’t wait—ensure your peace of mind with ADT!
