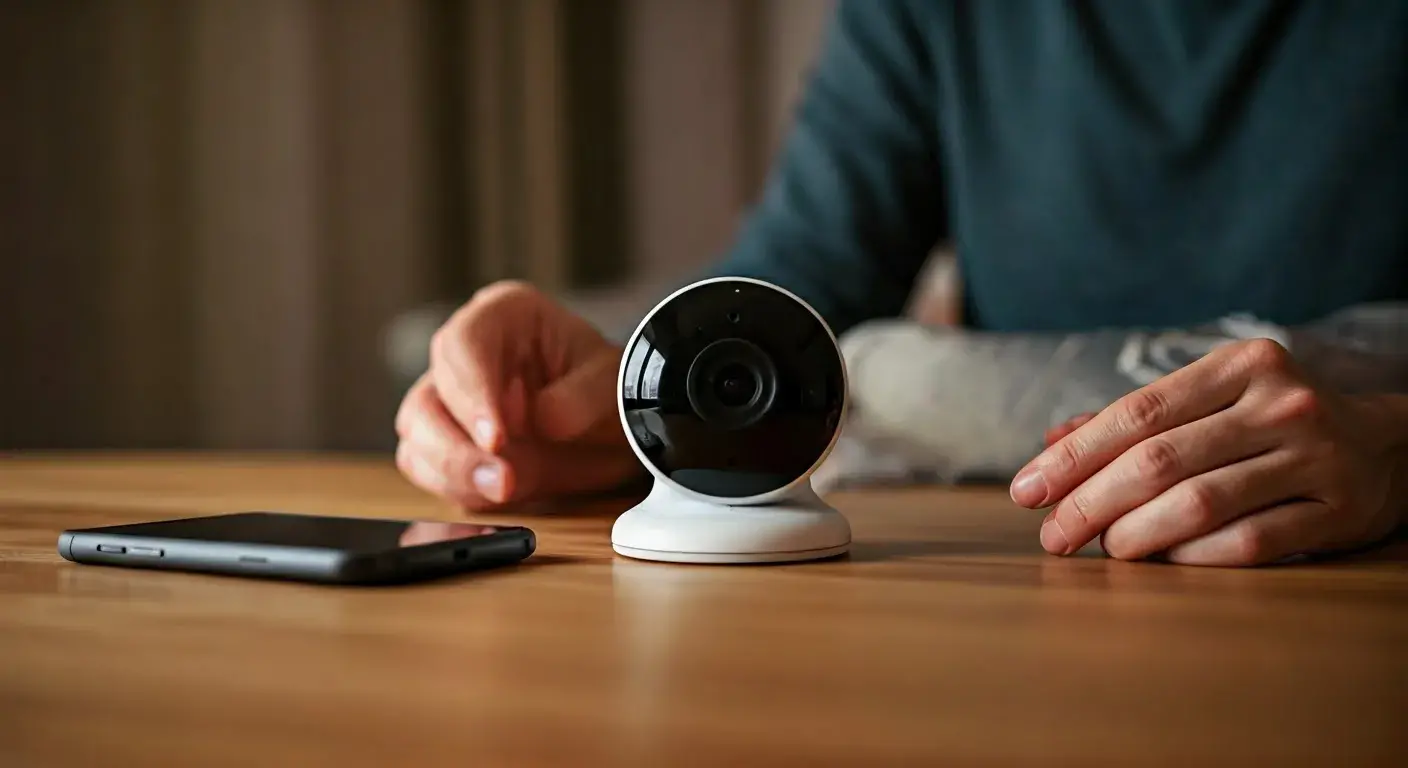
Your ADT Nest Cam needs a good WiFi connection to work properly. If you have changed your internet provider, got a new router, or need to connect it to a different WiFi network, this guide will help you. We will show you how to get your Nest Cam ready for the new network. We will also guide you through the Google Home app. Plus, we will give you some tips for an easy switch.
Preparing Your ADT Nest Cam for Network Change
Before you start, it's important to get your ADT Nest Cam ready. This will help you avoid any problems when switching to a new WiFi network.
-
First, check the power source for your camera. If it's powered by a battery, it needs to have a strong and steady power supply. Make sure the camera is fully charged. If you can, plug it directly into a power outlet. This way, it won't go offline during the change.
-
Second, make sure your Nest Cam is online and connected to your current WiFi network. This step makes it easier to switch to the new network. If your camera isn't online or has connection problems, fix these issues first. This will help you avoid more complications later.
Ensuring Your Camera is Properly Powered and Online
For the best performance during the network change, make sure your Nest Cam has a good power source. If your camera runs on batteries, charge it fully before you start. This will help avoid issues from a low battery during the switch. If you can, plug your camera directly into a power outlet using its power adapter. This way, it will have a steady power supply during the update.
Next, you need to confirm that your Google Nest Cam and Google Nest Doorbell are online. Open your Google Home app and find your Google Nest Cam. Check if the live feed from the camera is working smoothly. A strong and steady internet connection, like with Chromecast, is important for your camera to connect to the new WiFi network without any trouble.
Also, take a look at your camera's status light. A solid green light usually means the camera is online and ready for the network change. But if the light is blinking or missing, it might point to connection issues. Fix these problems before you continue.
Verifying Current Network Settings
Verifying your current network settings is a smart step before you make any changes. It may seem unimportant, but it can help you avoid common problems like entering the wrong password or picking the wrong network. You can usually find this information in the WiFi settings of your Google Home app.
First, open the Google Home app on your phone or tablet. Then, go to the settings for your ADT Nest Cam and look for the option to view the current network settings. This option is often labelled as "WiFi" or "Network." When you select it, you will see your current network name (SSID) and sometimes the last few digits of your WiFi password.
If you are not sure about any details of your current WiFi network, like the password, it is best to check it first. You can access your router’s settings or talk to your internet service provider to get the right information.
Steps to Change WiFi Network on ADT Nest Cam
Now that you have your ADT Nest Cam ready for the network change, it's simple to follow the steps. You can easily switch your camera to the new WiFi network using the Google Home app. Just make sure you have the name and password of your new network close by, as you'll need these for the setup.
Let's start by accessing the Nest Cam settings in the Google Home app to change the network. The steps below will help you through the process without any trouble.
Accessing the Nest Cam Settingsvia thee App
Start by opening your Google Home app. Make sure you are signed in to the right Google account connected to your ADT Nest Cam. It is important because using the wrong account will not let you change your camera settings.
Once you are in the app:
-
Go to the "Devices" section: You can find this at the bottom of the app's home screen. It may show as an icon or text.
-
Find your ADT Nest Cam: You will see a list of smart devices you have connected. Select your Nest Cam to reach its settings.
-
Click on the settings icon: Look for a gear icon or a three-dot menu at the top right corner of the screen.
Now, you should see the network settings. These are often labelled "WiFi," "Device Information," or "Network."
Selecting the New WiFi Network and Entering Password
When you open the WiFi settings for your Nest Cam in the Google Home app, you'll need to choose a new WiFi network through the Nest app. This step is important because it connects your camera to the network you pick.
The app will show you a list of available WiFi networks around your ADT Nest Cam.
-
Choose your new WiFi network (SSID) from the list: Make sure you pick the right network name. Check the label on your router or your network settings to confirm it.
-
Type in the new WiFi password when asked: Check for any mistakes to make sure you connect successfully.
After you enter the right password, the Google Home app will try to connect your ADT Nest Cam to the new WiFi network. This may take a minute or two. Once it connects, the app will show that the update is successful. Your camera should then be online with the new WiFi network.
Conclusion
In conclusion, changing the WiFi network on your ADT Nest Cam is easy and keeps your camera working well. By following the simple steps in this guide, you can switch to a new network without any problems. Make sure your camera is powered and online before you start changing anything. Always check the current network settings to help with the change. Keeping your WiFi settings up to date is important for the best performance.


