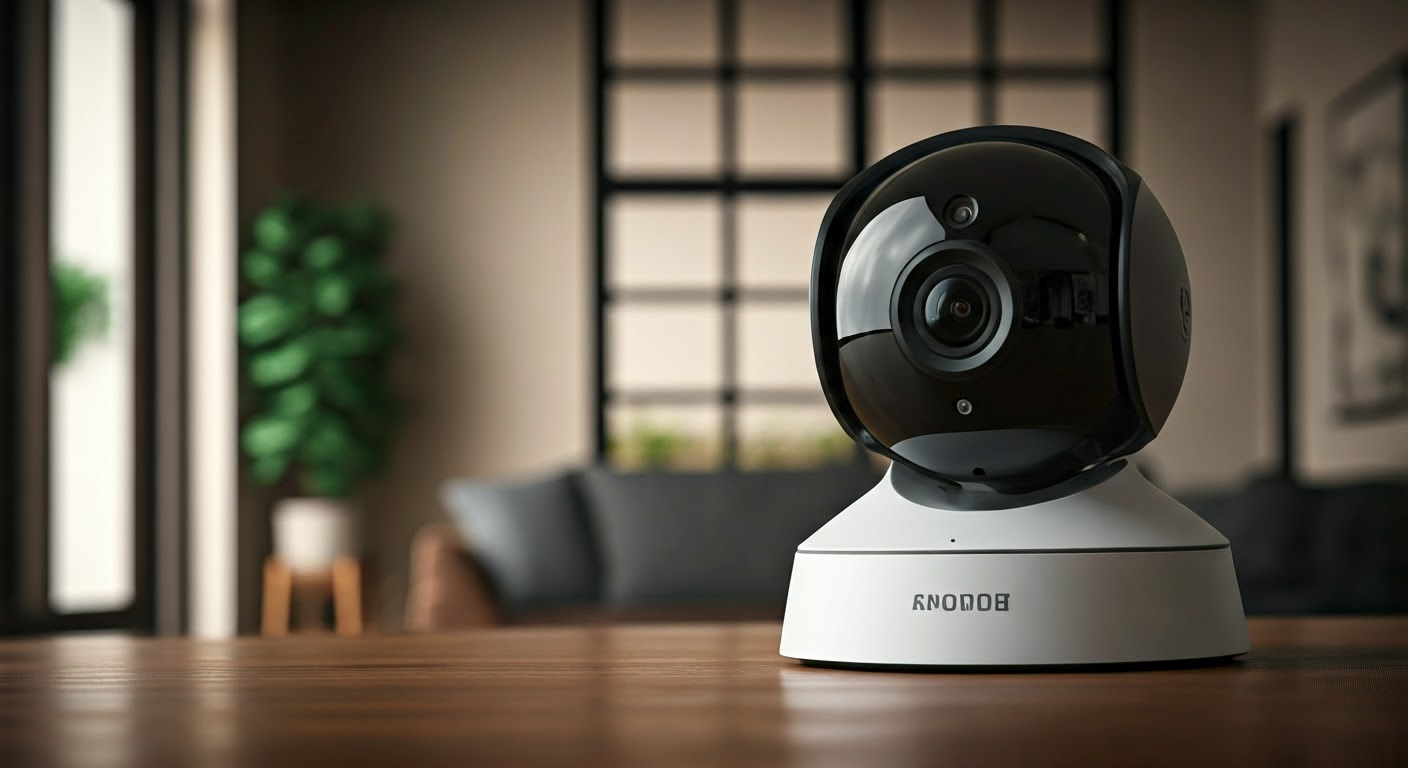
Security Cameras are very essential, useful, efficient, effective, and reliable in monitoring the home or business premises and enhancing safety. DIY also means that it is possible to install a system on your own without having to involve a specialist. Here is a step-by-step guide on how you can install security cameras on your own: Here is a step-by-step guide on how you can install security cameras on your own:
Choose the Right Cameras The first is deciding on what kinds of Best Security Cameras are required. Important factors to consider include:
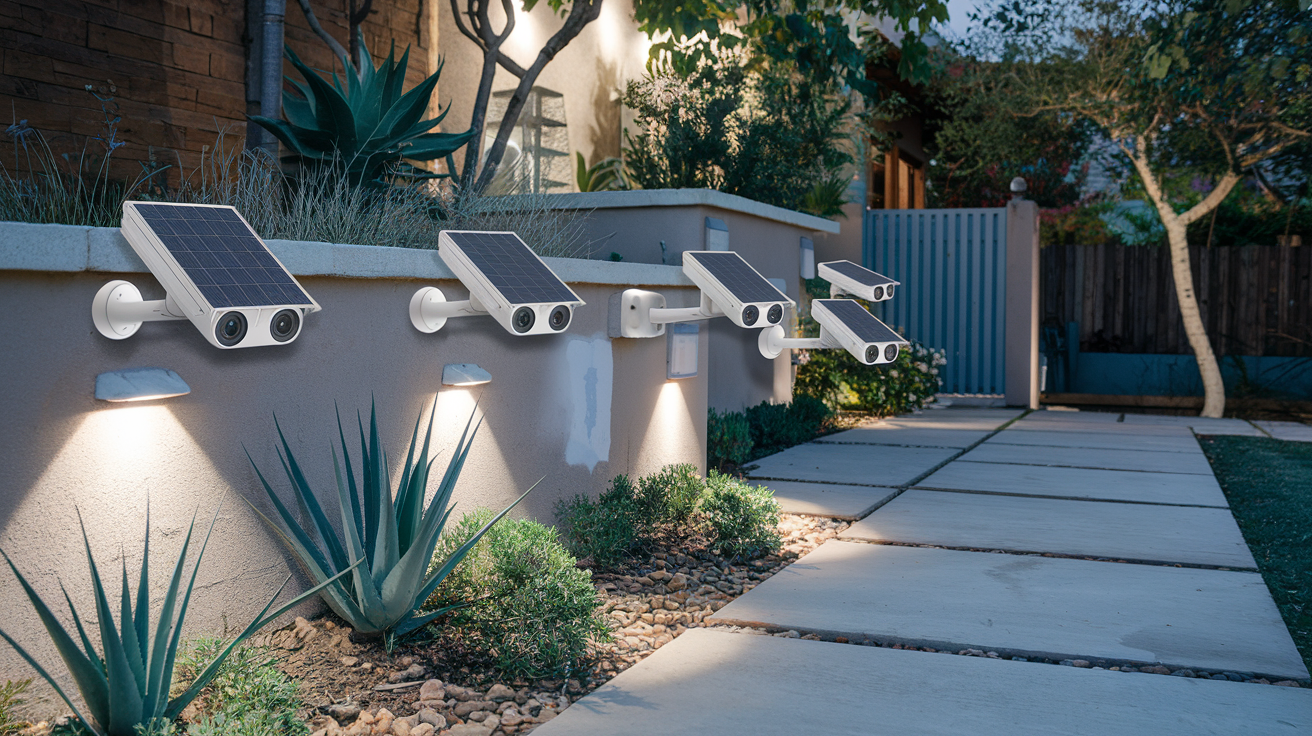
- Indoor and outdoor - Some cameras are to be placed outside the house, thus they have to be protected from wind, rain, or snow, so it is better to choose weatherproof ones. Indoor cameras can be less sophisticated.
- Wired vs wireless – Wired security cameras need to be directly connected to your router with cables which are time-consuming and may require you to make holes on walls. Wireless security cameras operate on WiFi and do not require any cumbersome cables.
- Resolution – Better resolution cameras record higher detail. It is recommended to use the device with a resolution of 1080p or higher.
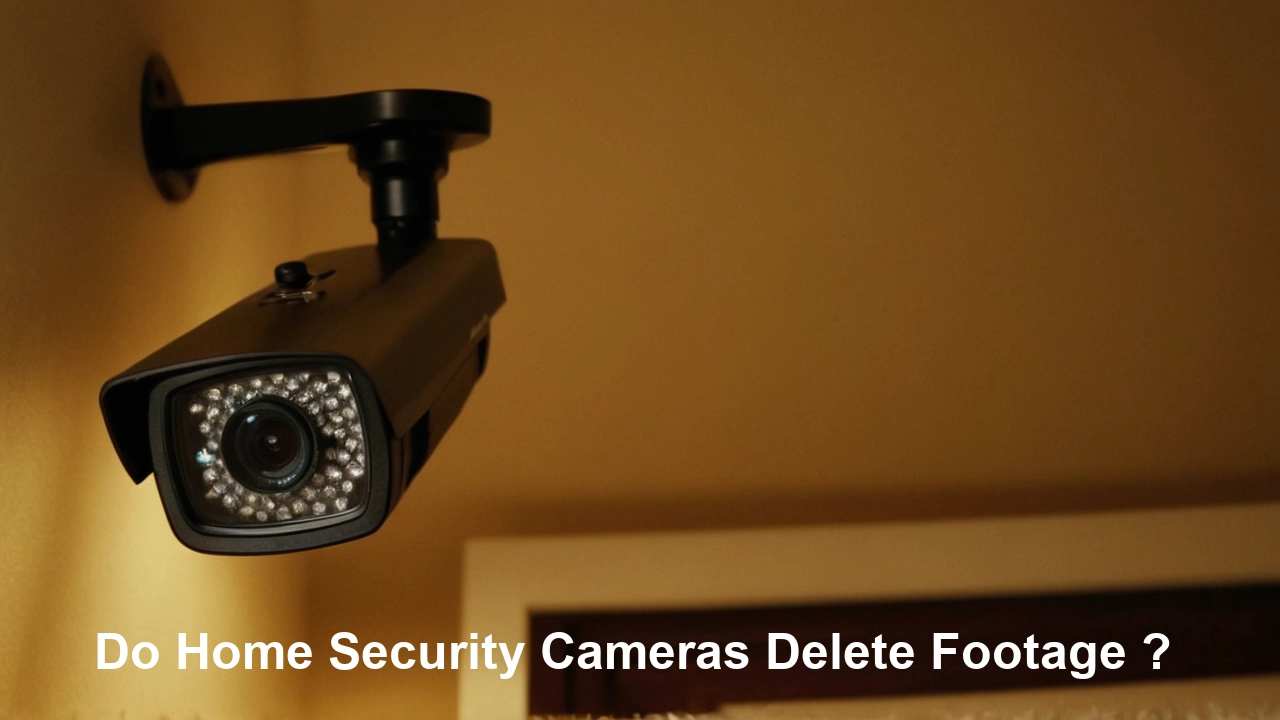
- Low light/No light – For any situation where the recording is required at night or in complete darkness, prefer cameras with infrared lights.
- Smart options - Additional features such as motion detection, the ability to send notifications to your phone, and compatibility with other smart devices.
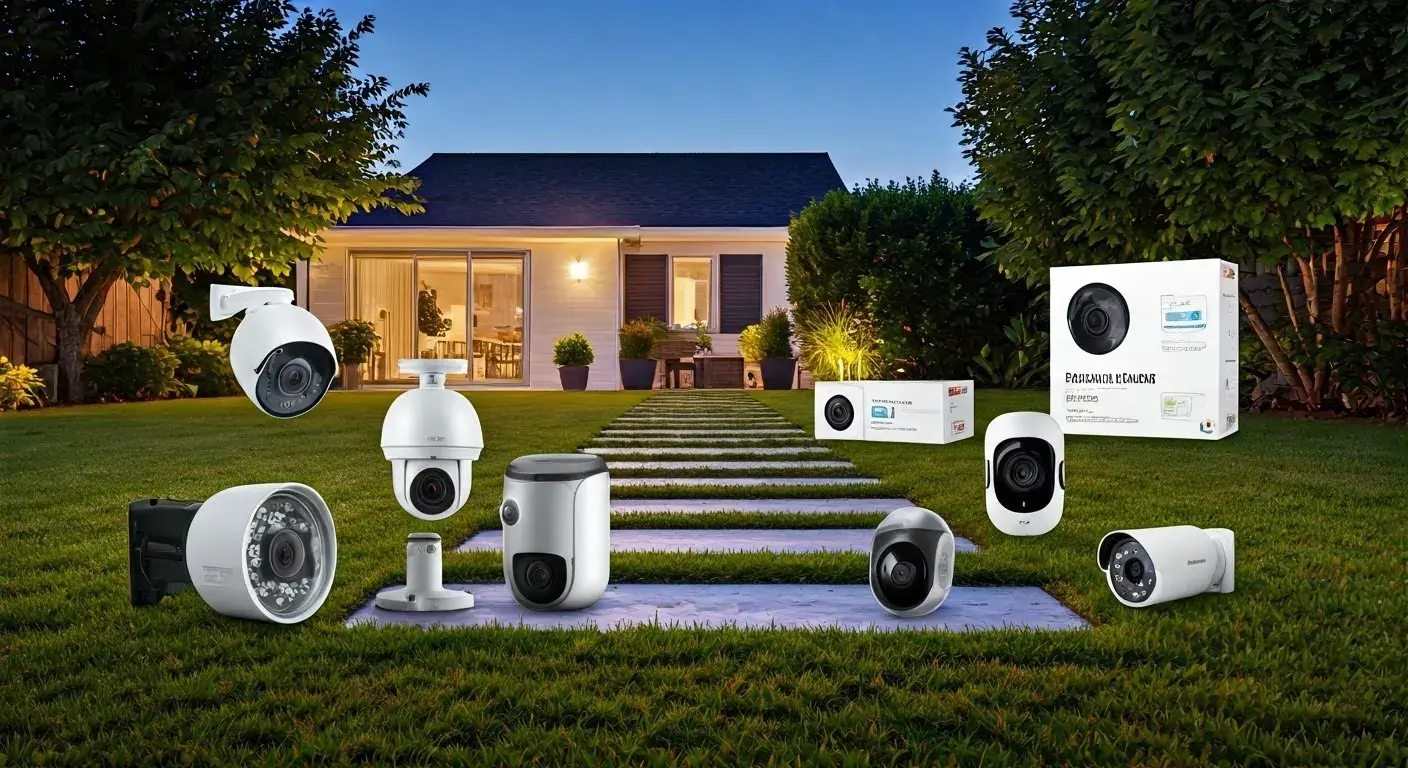
After evaluating your needs, select security cameras that you need and which you can afford to pay for. Major brands such as Ring, Nest, Arlo, and Wyze also provide solid choices in different tiers. It is advisable to buy all the required equipment including cameras, cable mounting equipment, etc before the installation starts.
Select Installation Locations Take a walk within the area to be surveilled and select good areas to place your cameras. Ideal locations have differences depending on whether they are indoors or outdoors.
When choosing the areas outside your home, select the ones such as the front door, backyard, garage doors, or driveway. Do not put cameras in places where the lens will be parallel to the sun’s rays since this can cause blurring of the recordings.
For interiors choose hallways, entryways, living room, or kitchen depending on the needs of a living space. Ensure that the area that you want to monitor is completely captured by the field of view of the camera.
Plan Cable Routing If using wired cameras, determine where the cables will be run back to the NVR or recording device location. Cable management should be done in a way that does not require new holes to be made in walls and ceilings, and instead, attempt to make use of the existing ones. There may be some basic drilling needed to access walls or ceilings. This is especially important if you plan to install wireless cameras that will not require cabling.
Install Camera Mounts Read the installation instructions that are provided for your cameras and tighten the camera mounts and base stands as mentioned. Regarding outdoor cameras, it is recommended to make sure that the cameras are mounted firmly screwed and are not affected by the wind. Choose the right screws and anchors.
Run and Connect Cables For wired cameras, connect the wires from the camera place back to the NVR device where the footage will be captured and stored. Do not pull the cables too tight; there should be a little space between the cables and the cable tray. Tie up the cables neatly with cable ties or clips so that they don’t dangle loosely. Screw the cables directly to the NVR input ports and the cameras.
For wireless cameras, there is only the camera power cord to the wall socket. No further cabling is needed.
Position the Cameras Screw and fit the cameras to the mount installed with the screws and fittings provided for the purpose. Make sure that the lens is correctly oriented to focus the required view. Turn the camera according to the markings on the mount that should be aligned with the cable outlet in the downward position. Gradually start to point and rotate the cameras towards the direction you wish to observe.
For outdoor cameras, ensure that they are well screwed and will not slide during windy conditions.
Power The Cameras On Screw the power cables and turn on the cameras together with the NVR recorder or hub device. The indicator lights will light up to show that the devices are on. Once everything starts, the monitor that you connected to the NVR will show feeds from the cameras that are connected.
Adjust Settings You can also look at the settings of your camera or NVR system to tweak some features, such as brightness, image resolution, and frame rates. Enable those options you prefer such as motion sensor alerts and night vision. Some of the settings that can be set include recording times and intervals, storage type and location whether Micro SD card or cloud service, user accounts, and much more.
Test and Complete Installation View the camera video streams on the monitor of the NVR and the app on your smartphone in case of wireless cameras. Check that the field of view is clear and contains the entire area of interest. Test motion detection and other features that you may have configured. If the position is not perfect, then adjust the cameras and tighten the mounts as much as possible.
And that's it! Your Do-It-Yourself security camera installation is now ready. Cameras set up correctly will enhance security in your homes or businesses and ensure your premises are secure. Installation is crucial, and other intelligent options, including motion sensing and receiving notifications through your phone enhance the system’s functionality. Monitor the recorded videos often and clean the camera where necessary. Taking advantage of a good security camera installation is a great source of relief!
Protect your home today with ADT’s top-rated security solutions!
Call now at +1 877-470-7879 to get a free consultation and find out how you can secure your home with the best in the business. Don’t wait—ensure your peace of mind with ADT!
