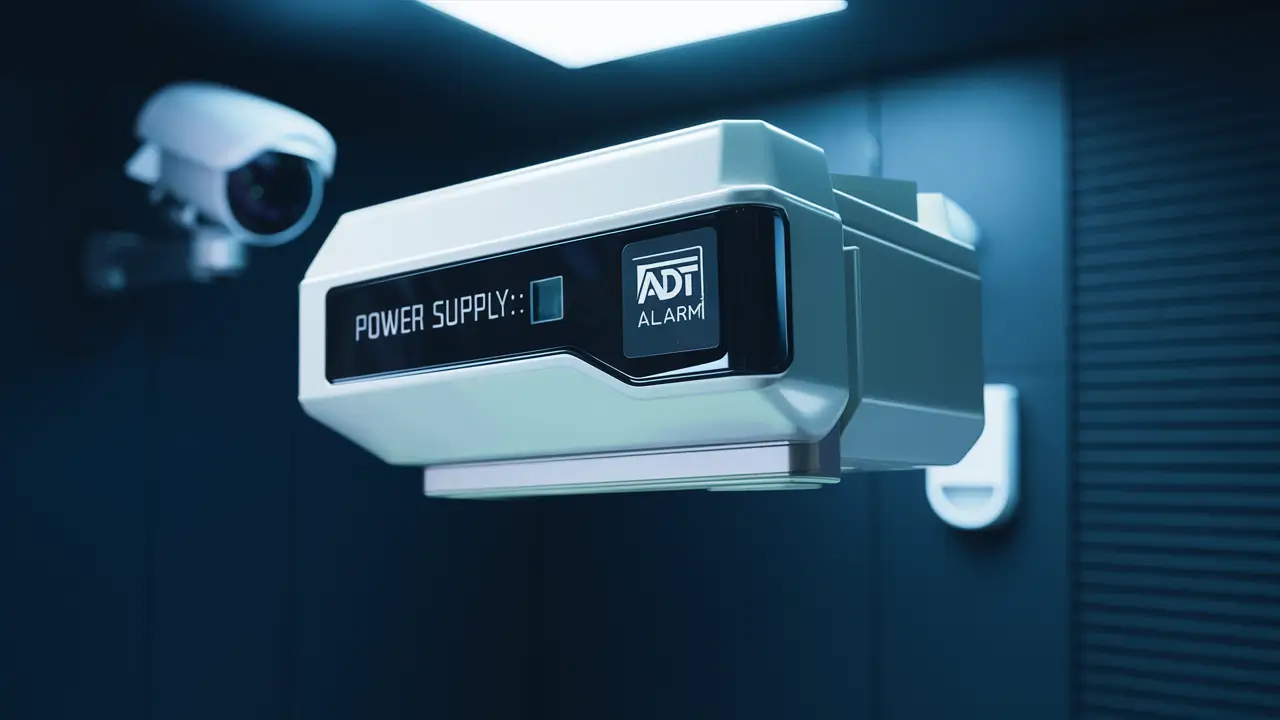
To change an ADT alarm system battery, follow the instructions below Those who have ADT security systems installed in their homes or offices need to know how to change the alarm system battery for it to continue functioning optimally. This is the kind of alarm system that is useful for home security because it works with a battery where it is connected to the mains electricity to continue functioning when there is a power failure. Electricity loss poses a problem in ADT alarm systems since there are backup batteries that help in the powering of the system in case of power failure. These batteries have to be replaced periodically every 3-5 years to ensure that your system is protected during a power surge. Generally, the process of replacing the ADT alarm system battery is very simple and fast as it can be done by the user in about 10-15 minutes, and without many tools.
Before changing your ADT alarm battery, there are a few important things to consider for a smooth battery change process:
- Get the right battery for the replacement – The voltage and size of the battery that you are going to replace will be determined by the ADT control panel. They are usually 6 or 12-volt, 4, 7, or 9-amp-hour sealed lead acid or gel cell batteries. You should check the existing battery for size and voltage which has to be the same as the new battery that you are going to fit.
- Power off your system - Disconnect the power supply of your ADT system at the unit’s control panel to avoid triggering alarms during the replacement process as well as handling the units safely. To turn it off, select your master code and then press #.
- Power up wireless sensors – If the sensors require batteries or another type of power, having fresh batteries or a replacement source of power to switch with the depleted one to prevent the loss of power and consequent triggering of false alarms from the sensors.
ADT Alarm System Battery Change Guide
- It is important to find where the control panel box is situated. ADT control panels are normally boxes that are fixed on walls and they have doors on the control panels which can be opened to reveal the inside of the panels. This is where the backup battery will be mounted in this control panel.
- Press the lid that is found on the control panel to open it. Find the position where the screw, latch, or any other part that may be used to release the cover. Position the panel door where it is relatively out of your way.
- Remove the cables of the older battery. It is indicated that the alarm system cables and wires should not be disconnected. The white and black battery cables go right to the backup battery. Gently remove each cable from the battery terminal pairs.
- Depose the older battery. Remove the old battery vertically from the control panel without twisting or turning it in any way. Sometimes, it may be necessary to angle the battery depending on its type and capacity to be able to extricate it out of its respective compartment. Place it where you can easily swap the replacement battery with it whenever it runs out of power.
- Inspect for signs of corrosion, rust, or wear; if necessary, clean the surfaces. Check for corrosion or dirt build-up inside the battery slot and battery terminals. Next, you scrub and wipe any dirt or rust present in the interfaces using a brush or cloth.
- To replace the old battery, insert the new ADT battery. Retrieve your new battery with its terminals at the side towards the front of the control panel. Turn the battery so that the top of the cables is facing towards the connectors, then insert the batteries into the compartment firmly.
- Reconnect the battery cables. Connect the red battery cable or connector to an appropriate terminal of the battery with the ‘+’ sign. Connected the black cable to the negative (-) terminal of the battery. Ensure that cables are properly connected and tightly fixed at the correct positions.
- Test the battery. Take time to tug the cables to ensure that they are properly connected to the system. After that, you can test whether the battery is properly connected or not by logging off from the control panel configuration mode and triggering a sensor to open your alarm.
- It is necessary to remove the control panel and install a new one in its place. Make sure to reconnect and fix back the cover of the control panel box to safeguard the new battery and other parts.
- Initialize and start up your system. Turn on your ADT system again and set back any changes you may have made. On your control panel, the light should give a message that the system is using battery power. It is expected that whenever the electric power is back on again, the panel should shift back to the wall power.
Conclusion
This is one of the basic home maintenance activities that you should ensure you perform for the sake of your security system to continue working even during power outages because the ADT alarm system battery needs to be replaced at times. This way, it will be easy and quick to remove and reconnect the battery and this will be made possible by following every step in the process. The total time it takes to swap the batteries should be around 10-15 minutes. Having spares and procuring the specific replacement battery model helps in keeping the project on the right track for the sensors’ power. Be careful to reconnect the control panel cover to preserve your batteries for the long haul. By acquiring a new backup battery for your ADT security system, you can be confident that the entire system will perform as you expect it to during a power outage.
Protect your home today with ADT’s top-rated security solutions!
Call now at +1 877-470-7879 to get a free consultation and find out how you can secure your home with the best in the business. Don’t wait—ensure your peace of mind with ADT!
