This way, the ADT alarm system can also be connected to your home WiFi so that the system can have extra features and functions apart from what it offers through its cellular connection. It connects to your WiFi, so, among other things, your ADT system can be operated through the ADT smartphone application, can communicate with other smart home devices, and lets you monitor video from any connected security cameras. If you acquire a new router or alter your WiFi settings then you will have to reset such information in the Alarm Panel to ensure connection. Switching out the WiFi is something that can be done through the Alarm Panel rather quickly and efficiently.
Here is a step-by-step guide to changing the WiFi network on your ADT alarm systems:
Step 1: Log Into Your Alarm Panel Interface We begin our process by logging into the interface of our alarm panel, which is the main point of connectivity that controls our entire alarm system.
The first of these is to have the interface for the Alarm Panel activated, which is the Alarm Panel itself. This can typically be done in one of two ways: This can typically be done in one of two ways:
-
If your Alarm Panel comes with a touch screen, you can click on the home icon and log in by entering a master code.
-
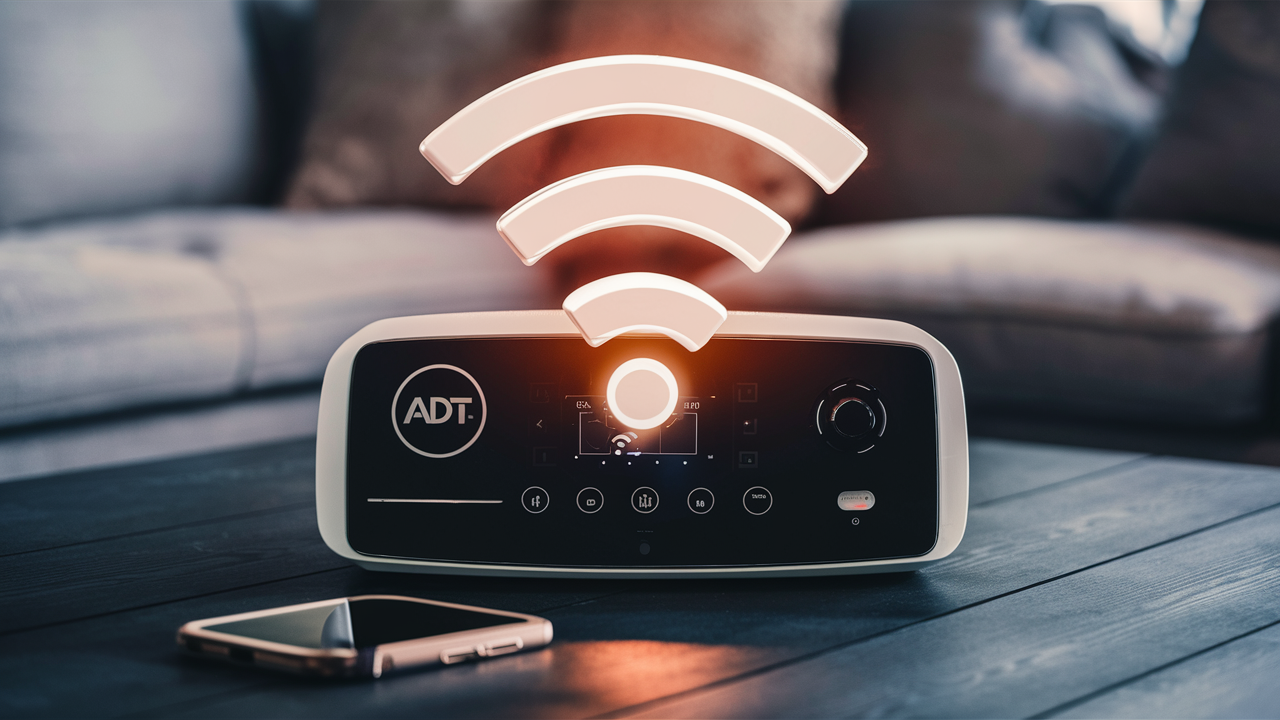
If your Alarm Panel has buttons and a small textual readout that is similar to the picture above, then input the 4-digit master code followed by the # sign.
The account login allows seeing the main menu and system settings after logging in.
Step 2: Scroll down the Home screen to find the WiFi or Internet Settings.
Next, go to the main Alarm Panel menu and find a button that can be WiFi, Internet Settings, or Network Settings. You may have to scroll through the menu options for a couple of minutes before finding the specific ADT option depending on your model. In most cases, when it comes to deploying Alarm Panels with a touchscreen, there is a symbol that resembles the WiFi symbol.
Step 3: Select Your New WiFi Network
There is the additional option to view detected networks and to manually add a new network, to refresh the list of networks.
Depending on the model, first, try to refresh the list of available networks to see whether your new WiFi network is displayed. If you observe the correct network, right-click the mouse and choose the arrow or select button options and click connect.
If you don’t see the new network in the list, click the button that allows you to type in the WiFi details manually. This will let you key in the right SSID for the network name, security type, and WiFi password to join the particulate access point.
Step 4: Enter the WiFi Password the next steps of the process, requires connecting the computer to the Internet through the Free WiFi that is available in the area.
For a network you manually add, you will need to know a few key details: For the network you manually add, you will need to know a few key details:
-
The specific SSID is used to refer to the name of the particular wireless network.
-
The security type (normally WPA2 Personal)
-
The WiFi network password is another crucial piece of information that needs to be protected.
To proceed, type in the password on the keypad of the Alarm Panel with utmost precision. I want to emphasize that this interface is intended to be used with a phone-style keyboard that is situated on the right side of the screen. To select a letter key, you will have to press it more than once to cycle through the letters assigned to the particular key. For instance, to get to the letter C, you press the number 2 about three times.
In the password field, it may disappear what you are typing shows dots or asterisks, but that is for security purposes and it records the characters.
Step 5: It is also recommended to save the WiFi connection details to avoid having to enter them each time you use the connection.
When you have typed the correct name, security settings, and password, always click on save at the bottom right of the page. The Alarm Panel will try to connect to the WiFi whose details you will have entered into the Alarm panel. Allow some time for a connection to be made by the two ends of the circuit.
You may be asked to click on ‘Yes to all’ and ‘Restart now and then’ depending on what you are doing. Obey any orders to reboot or reset the Alarm Panel. This allows the new WiFi connection to be established properly and the setup to be complete.
Step 6: Confirm Connectivity
Return to the Alarm Panel interface and go back to the WiFi settings after you have logged back into your interface after the restart. It may now show connection status information like signal quality and network address. This effectively validates that you entered the correct WiFi network credentials and were able to connect correctly.
If the desired connectivity details are not seen to come through, ensure that the correct SSID, the security type needed for the particular wireless access point, and other necessary passwords are entered into the available fields.
Step 7: Connect the device to ADT
However, even if you have followed all these instructions, the Alarm Panel is currently connected to your home WiFi network. Before the device connects to the ADT servers, somebody has to tell the servers that this device has connected.
In the application of ADT, there is a menu that is quite helpful in completing the process and it can be found in Settings > System Settings > Add/Edit Device. Navigate through a series of instructions to connect the Alarm Panel to your ADT account via the mobile application.
Usually, the registration process is the final step, and after that, you will have full control over the Alarm Panel using the smartphone application through local WiFi. However, you can add other smart devices and other ADT services that need WiFi compatibility to the Alarm Panel.
ADT Smart features require connecting your system to your home WiFi network for added features and features functionality. If in the future, there is a need to change wireless settings because of issues regarding the routers or passwords, this guide will assist in easily migrating to the updated WiFi settings. I take my WiFi connection seriously so it always ensures the Alarm Panel is fixed well and your home security is on point.
-
Protect your home today with ADT’s top-rated security solutions!
Call now at +1 877-470-7879 to get a free consultation and find out how you can secure your home with the best in the business. Don’t wait—ensure your peace of mind with ADT!


