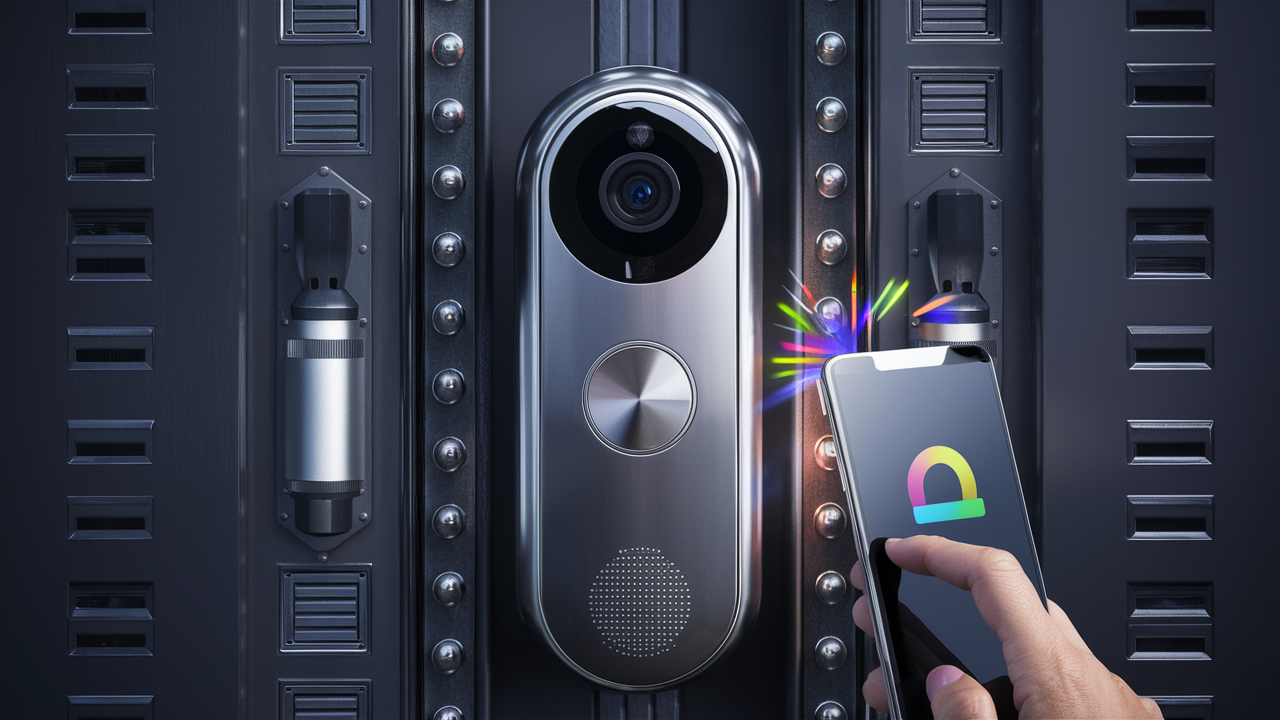
Camera doorbells are some of the most popular Home Security System devices in the market today due to the features they come with. If you are planning to install a camera doorbell, you need to know how it is done to get the best results.
Having a camera doorbell can enhance the security of a home and reduce the worry of who is at the front door. Camera doorbells are portable and can be installed by most homeowners without the assistance of professional technicians. As noted earlier, you can install a camera doorbell without expert help if you have some simple tools and follow these essential steps. This guide will show you step by step how to properly install the software to avoid encountering any issues.
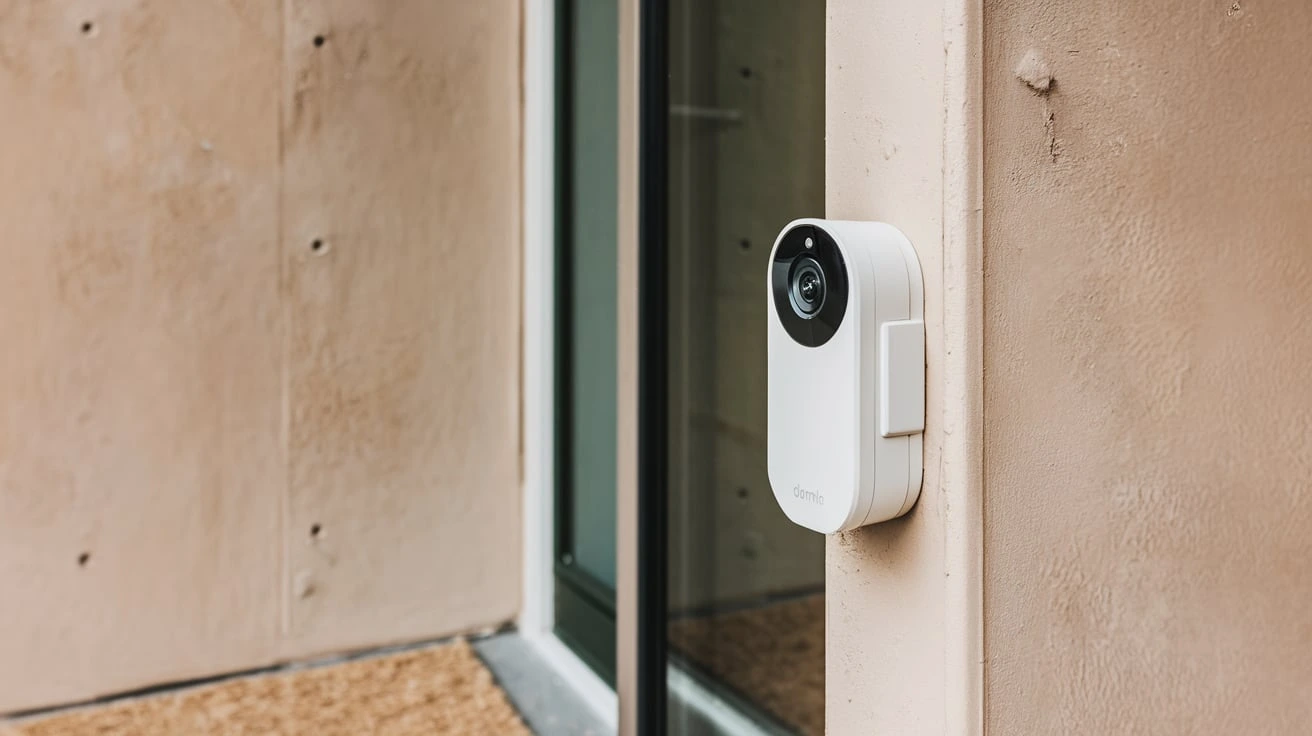
Choose The Location
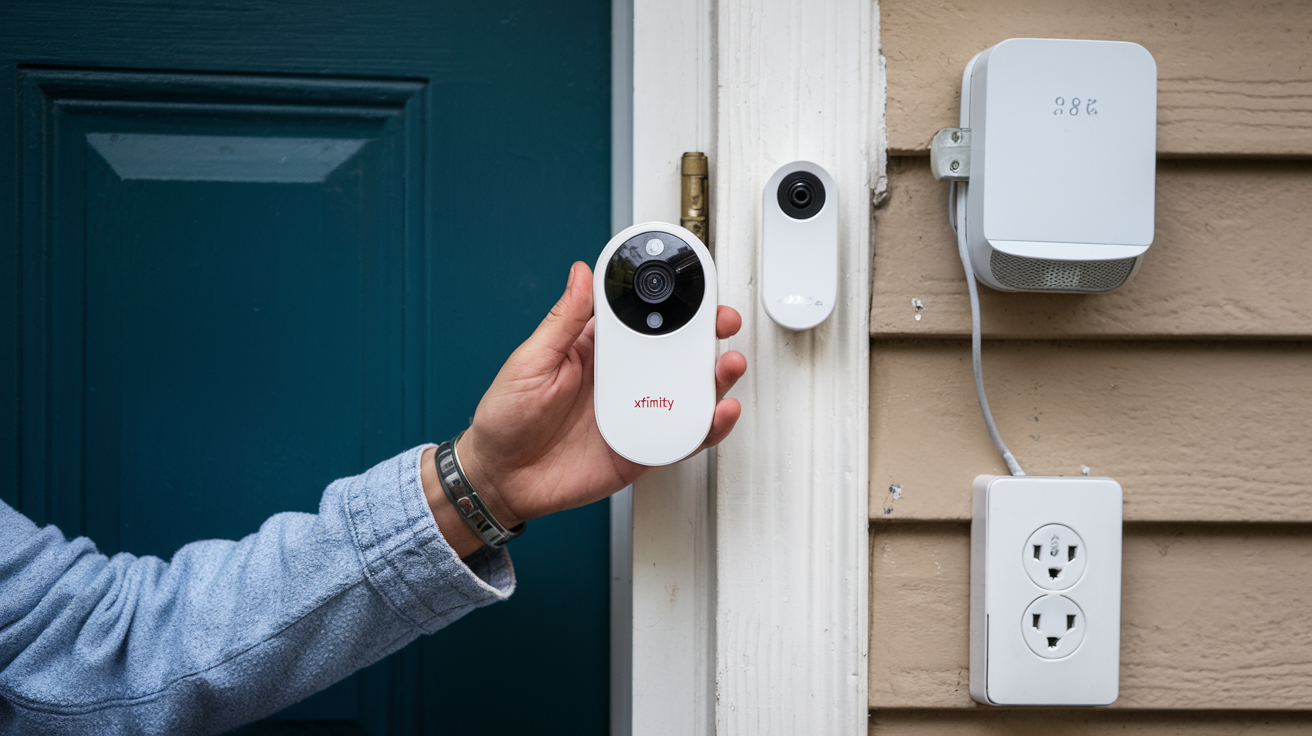
The first decision is to determine where the Doorbell Cameras will be installed, as mentioned above. They are all installed at the side of an existing mechanical or digital doorbell. In case the doorbell is not battery-powered, one should consider a location near a power outlet. The area should be covered and the direction of the camera should be facing outwards to capture the visitors from head to toe. Check that the place has adequate wifi signal strength to connect the doorbell camera. Do not take the camera and look directly at the sun as this is likely to cause a problem with the videos.
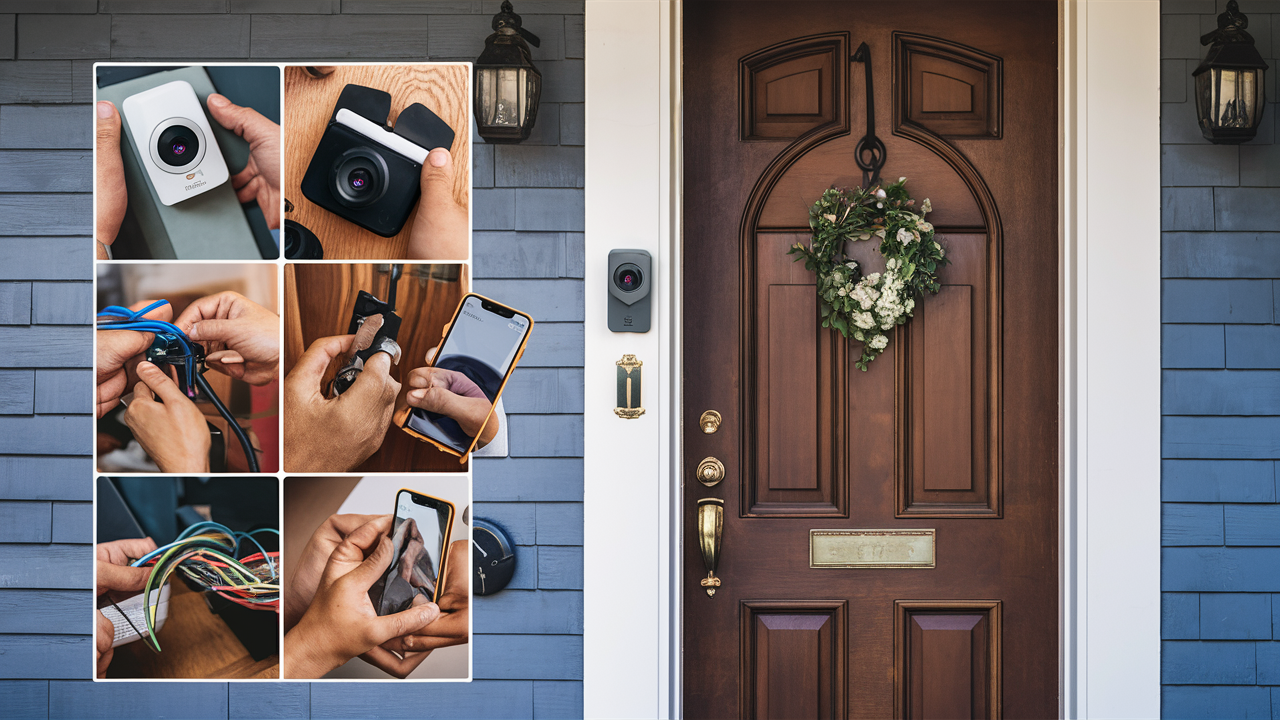
Inspect The Doorbell Wires
If you are going to hardwire the video doorbell, it is necessary to check the existing doorbell wires before installing. Turn off electricity with the help of the breaker box to prevent accidental electric shocks while working. Remove the front face plate inside the wall where the current doorbell is installed. There should be low voltage wires with two conductors The low voltage cable should also have two conductors. Inspect wires for condition, especially in areas where they might have cracks and are susceptible to damage to the insulation. If wires appear to be damaged, There may be a need to install new low-voltage doorbell wires behind the wall.
Mount The Bracket
Most video doorbell units include a mounting bracket that is specific to that model. Select the height of the bracket to be between four and five feet. Ensure you fasten the bracket well with the screws that come with the package, using a drill and screwdriver. Ensure the bracket is properly positioned on the wall and is firmly in place before proceeding to the next step. Applying the caulk should be done in a manner that covers the edges of the bracket if they have gaps or cracks. Let the caulk dry fully before proceeding with the next step.
Connect The Wiring
If wiring directly, check with the video doorbell manuals for wiring guidelines. Generally, one wire touches the front or positive terminal while the other wire touches either the negative or transmission terminal on the back of the device. To achieve this, use a voltmeter to decipher polarity and positive/negative on current wires. Solder corresponding wires to the video doorbell base plate or terminals. Tie connections with electrical tape and place the wires inside the back box. Wireless doorbell cameras can do away with wiring processes that are required in wired doorbell cameras.
Mount The Doorbell
Align the video doorbell unit to the bracket that is already installed in the preferred location. Wait for a click or refer to the manufacturer's instructions to ensure the device is well fixed on the bracket. Attach the included screws on the sides or the bottom edges for better and more secure positioning of the doorbell on the backing plate. For battery models, always the battery pack is to be fitted before proceeding to the final stages of assembly.
Connect To Power
If wired, flip the switch of the circuit breaker to turn the power back on to connect electricity. Wait for about five to ten minutes to allow the doorbell camera to restart then proceed to connect to wifi or try the device. In battery-powered units, the setup button should be pushed to turn on the device. Install batteries for doorbell cameras that do not have wired connections yet.
Wired Connect
The Doorbell To Wifi Refer to the manufacturer's guidelines for connecting to a wifi network. Normally there is a button on the camera unit that sets the device in wifi pairing mode. Then, open the video doorbell app and tap on the next steps to find and set up the device. Choose the home wifi network and input the password when necessary. Wait for the video doorbell and the app to notify you that the Wi-Fi connection is done.
Adjust Camera Settings In the application.
There might be settings that can be changed concerning the functioning of the camera. Settings enable one to set motion detection, notification, video capture time and quality, night vision, and many others depending on the location and user preferences. Set an optimal sensitivity level, which will allow capturing visitors while not registering too much motion that is not significant. Notify people on their phones for any activity detected by the doorbell camera.
Test The Doorbell Ring
The bell or use the application to turn on the camera and check its functions before the final fix. Look and wait for alert tones, message notifications, video streams, and motion detection. It is advisable to test the product during the day and at night with different types of lighting. Modify microphone volumes if necessary within the app, two-way talk, and motion zones.
Add Any Final Touches If gaps are still present, apply silicone sealant around the edges of the bracket and let it cure completely. Mount housing accessories like wall plates, weather shields, or security screw covers are provided for the video doorbell. These extras can assist in shielding the wiring or giving the final touch to the appearance around the added security. Now, we can easily know who is at the front door.
Maintaining The Camera Doorbell
Make sure the battery is charged if this is relevant, and if it gets low while using the device, recharge to be sure that you will not miss any activity. Perform tests with motion alerts, live views, and recordings frequently. Refer to the manufacturer's cleaning instructions but normally, rub with a soft damp cloth to maintain a clear image on the camera. Always get the latest firmware for the doorbell camera since it will have new features as well as security updates. It is, therefore, important to ensure that your video doorbell is well taken care of to ensure it works optimally at all times.
Yes, the installation of a video doorbell requires some level of planning, considering the electrical systems in the house, some tools, and time to ensure that everything works as expected. Thus, this doorbell camera installation guide helps to avoid possible mistakes in such a crucial home improvement project. Shortly you will not have to worry and guess who is at your door, you will know.
Protect your home today with ADT’s top-rated security solutions!
Call now at +1 877-470-7879 to get a free consultation and find out how you can secure your home with the best in the business. Don’t wait—ensure your peace of mind with ADT!