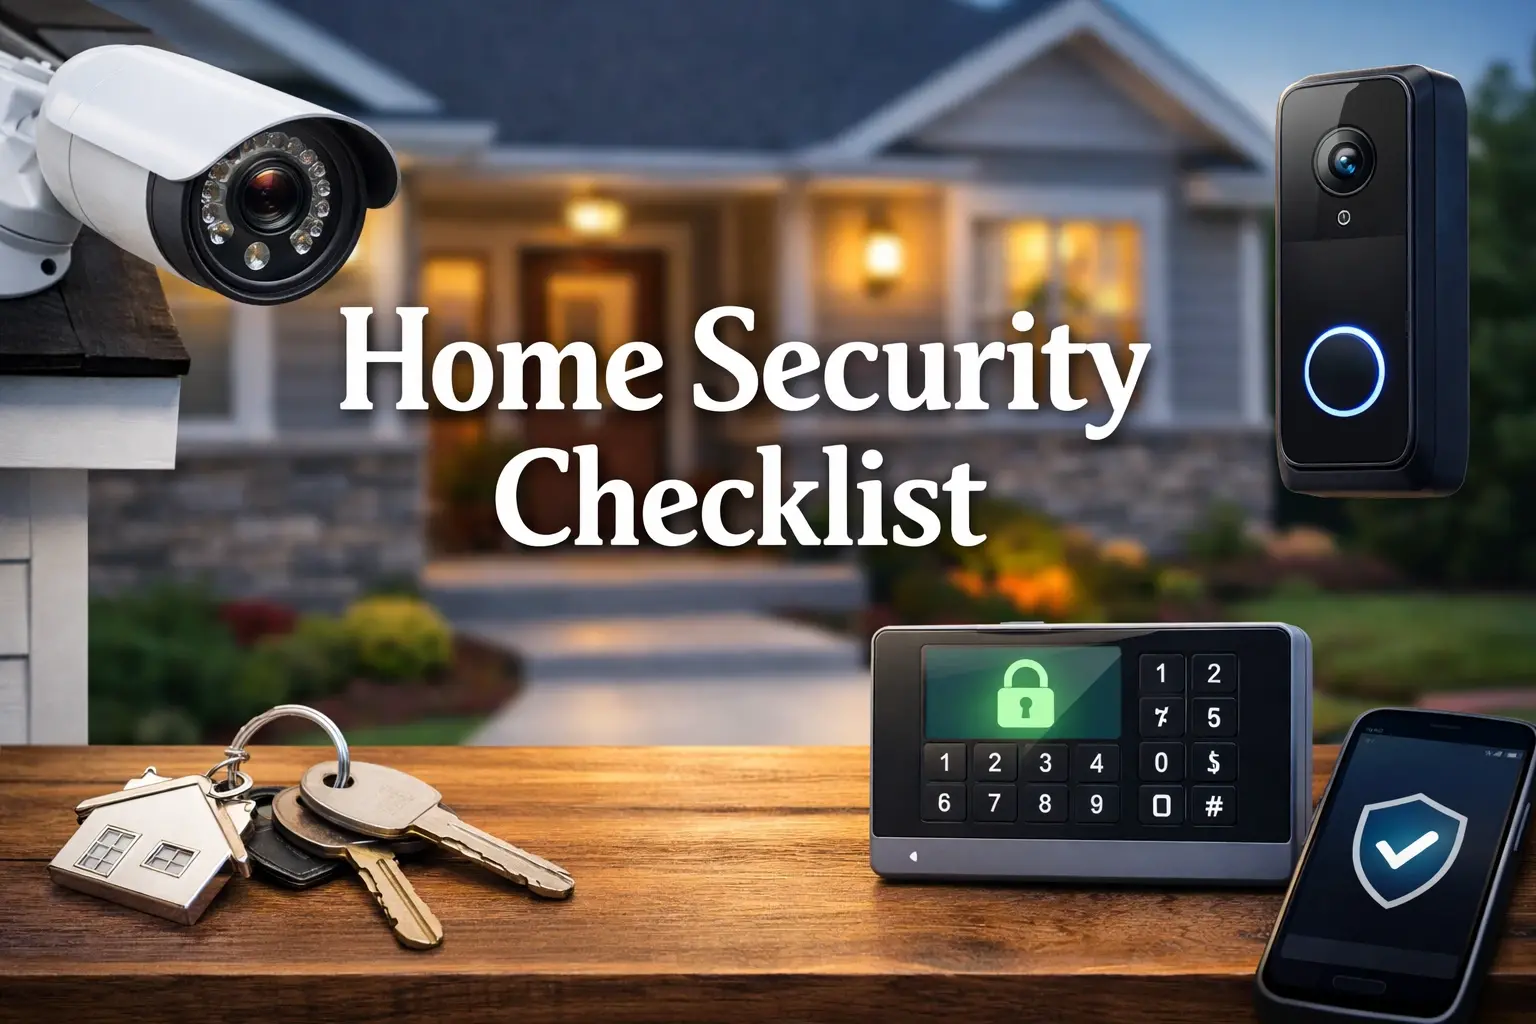
It may also be important to note that having security cameras can help in preventing cases of theft as well as vandalism. While it may require some planning and the use of the right tools, installing a camera system can be a do-it-yourself project for most people. Below is a guide on how to install security cameras on your property, as explained.
Assess Your Needs First of all, let me note that there is no fundamental difference between putting a camera in a car, in a home, or on a street: the decision on what you want to watch and why should be made before you start installing cameras. Consider areas that may be more vulnerable near the periphery of your territory or objects that you want to safeguard inside your home. Remember to consider lighting during the day and at night to identify the best areas to place the cameras. One should ask oneself if cameras are to be conspicuous to discourage crime or if they are to be concealed to monitor specific activities. Lastly, determine whether you need standard cameras to monitor the process in real-time and record it or choose more enhanced models featuring motion detection, a wide field of view, smartphone control, or HD video. It is crucial to take the time when selecting security measures to guarantee that the chosen system will meet the requirements.
Choose a Camera System Cameras today exist in wired and wireless form and can be either standalone or come with digital recorders, so the choice is vast. While wired systems offer better video quality and stability, wireless systems are easier to install. Stand-alone cameras are cheap and do not need a recorder while camera systems that use digital video recorders offer superior recording features. The features to be considered when choosing cameras include the resolution of the video, night vision, viewing angle, ability to work under different weather conditions, and storage of data among others. Some of the fixed position cameras could be installed to capture specific scenes while others are the pan/tilt/zoom cameras that allow the operator to control the angles of view. Check whether the system has proper weather resistance and is certified to run in your environment.
Map Out Locations After you have chosen the most appropriate security camera system, it is important to plan where you want to install the cameras. Patrol your property, both in the daylight and at night, to identify ideal vantage points for filming important zones and entrances and to ensure that the lighting is adequate for filming. For outdoor cameras, the common mounting positions include eaves, walls, or any other structure that could be within the height of 10-15 feet of the ground since this minimizes the risk of vandalism while at the same time capturing the faces and license plates in the video frame. Ensure that outdoor cameras are well-positioned to capture desirable views of the compound including the driveways, doorways, etc. For the indoor cameras, identify areas with the best views over target assets and doors while considering furniture interferences.
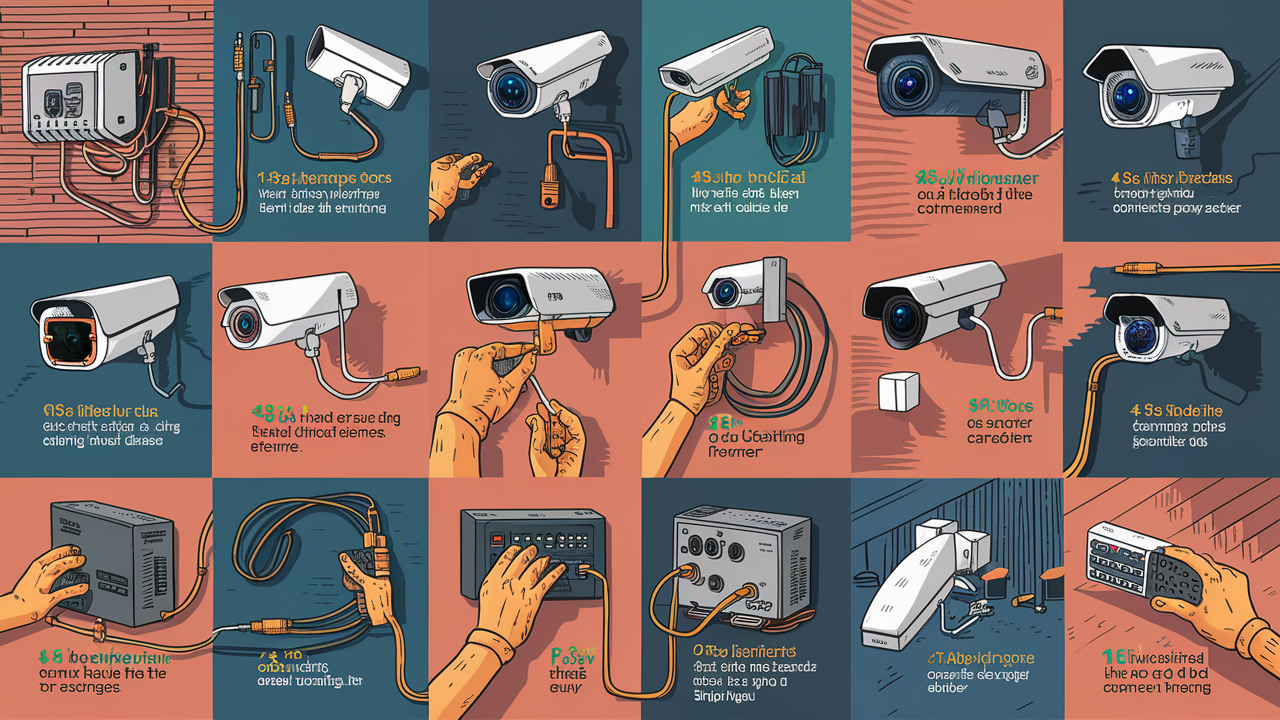
Install Cables and Power If your camera system is wired, plot the cable runs from each camera back to the recorder. Cables should follow straight routes as much as possible, and should not be placed in areas where people frequently move about. If cables are damaged or tangled, keep using the structure edges, or install conduits at the existing structures if necessary. Make sure the cables used are for outdoor use if any of the runs are to be done outside. Make sure your wire gauge is adequate for the cable run distances. For power, outdoor cameras should have their own GFCI outlet while the indoor cameras can be connected to an existing indoor outlet. Ensure that power supplies are properly installed and that any electrical modifications are done before the camera is put in place.
Mount the Cameras Check the location map, direction, and the necessary mounting equipment to fix the camera in place. To install the wires for outdoor cameras, drill holes with grommets or through the exterior walls if there is an attic nearby and use conduit mounts to avoid the wires being chewed by rodents. When securing the mount arm to the mounting surface, ensure the right anchors and screws are used so that the mount can withstand wind forces and storms. Use silicone caulk to seal any penetration that may be in the structure to ensure that moisture does not get into the structure. Adjust the focus of the cameras and the angle of view to cover as much area as possible, taking into consideration the existing lighting and the directions that people usually move. Repeat for all cameras with special attention given to properly fastening wiring where excessive movement might negatively impact the quality of the video feed.
Connect Cables and Test After fixing all the cameras and the mounts, the wires connected to the cameras should be connected back to the recorder. Tie and sort wiring bundles from each camera to the recorder with the help of zip ties and wire clamps then secure the cables to the nearest building structure. Each of the camera wires must be connected to the corresponding terminal on the recorder as indicated; ensure your wire runs to the right camera. Turn on the system, switch to a connected monitor to view the camera feeds, and perform any final focusing of the lenses and cameras and angle and video settings required in the camera menus and the recorder software. Check the live viewing and recording options during the day and at night.
Configure Advanced Settings On most systems, there will be more options after the main menu, where you can set motion detection, recording, alert, and other options. Set schedules and modes to record only important events and free the hard disk space as much as possible. Allow email notifications with video footage of the observed activity. Change the resolution of the camera, the recording quality, and the frame rate according to the number of cameras. Establish the password of the system admin and the network settings that allow remote access to the systems. Camera settings such as the infrared cut filter, should be adjusted to produce good results in low-light conditions. Check up all the changes made to various settings to verify that they function in the desired manner.
Finish Installation With cameras up and running, the power supply, recorders, and wiring should be stored away from the direct environmental impact. Secure all cables that are dangling correctly to the given surfaces using mounts and clips while ensuring that there is some slack to accommodate for thermal expansion. If any of the warning stickers mentioned in the inclusion were to be placed, they should be placed in visible positions to discourage wrongdoing. The final touches would be to caulk and seal any other exterior penetrations. To avoid blurring of subjects, any dirt, smudge, or residue on the camera lenses or housing should be wiped off using a cleaning cloth.
Maintain the System It is generally advisable to perform periodic check-ups of the equipment and the recordings even though contemporary security camera systems may not require frequent maintenance. To ensure that notifications and apps are working properly, test motion alerts and remote access features every few months. Ensure that the recorded materials are reviewed at least every 30-60 days and delete unnecessary recordings to avoid consuming much storage space. The mounting hardware, wiring, and camera lenses, should be checked periodically depending on the season, with cables that may be susceptible to weather damage being fixed. If new requirements happen to arise in the future due to improvements in technology, then one might consider increasing the resolution of the camera, incorporating more specialty lenses, and increasing the storage space. Proper installation of security cameras usually means round-the-clock monitoring, and homeowners and business people alike enjoy much-needed relief from potential break-ins.
Protect your home today with ADT’s top-rated security solutions!
Call now at +1 877-470-7879 to get a free consultation and find out how you can secure your home with the best in the business. Don’t wait—ensure your peace of mind with ADT!