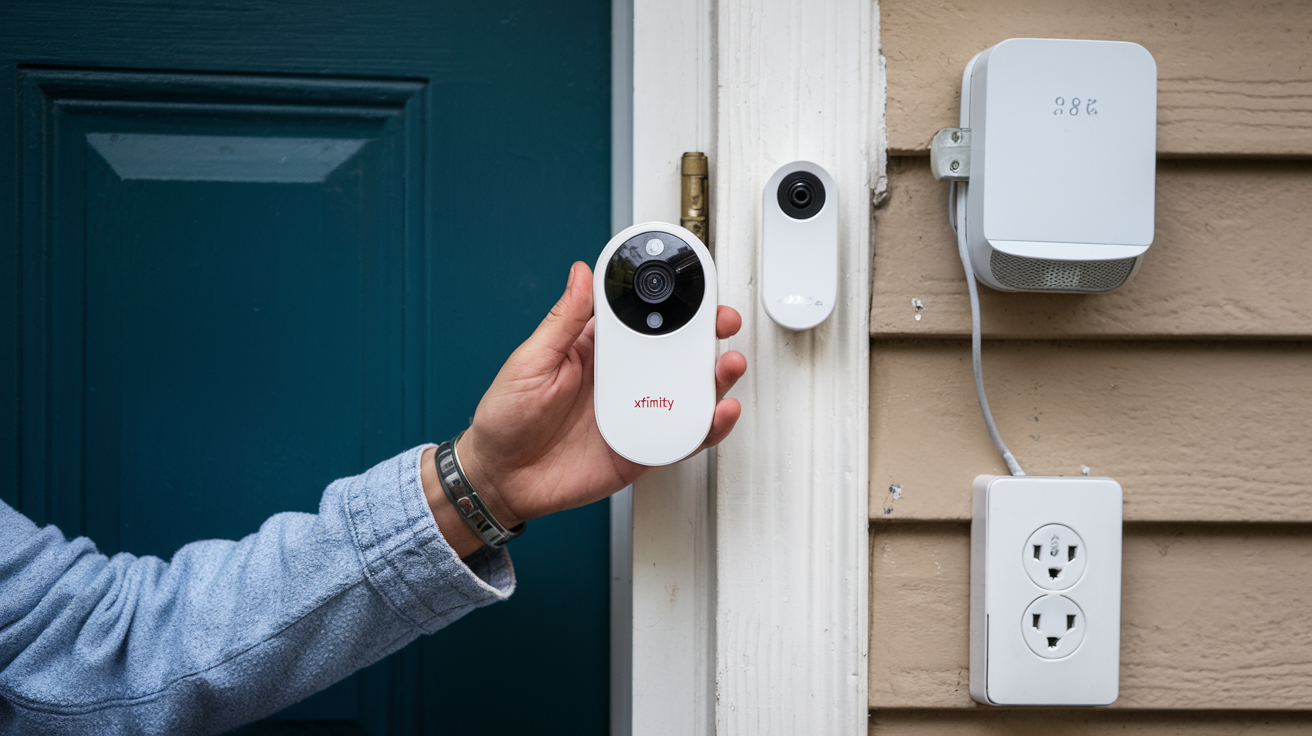
Hiring a professional to install a doorbell camera can be advantageous and helpful to homeowners. A doorbell camera will allow you to identify who is at the front door even when you are not at home. In the following guide, we will describe how to install a new wired or wireless Doorbell Camera in your house.
First Things First: Selecting a Doorbell Camera
As it has been highlighted, different WiFi video doorbells are available in the market. The first step that we are going to take is choosing the perfect camera that will suit your needs and your setup. Some popular features to consider when making your choice include:
- Video Quality: Videos are available in distinct resolutions, with choices tending to start at 720p panels on basic models and up to 4K panels in more advanced models for better definition. You will also need to look at the field of view that the cameras provide. More extensive fields are also useful in capturing wider portions of the entryway in one picture.
- Power Source: There are two types of doorbell cameras: wired and wireless, and both are relatively easy to install. Wired ones are hardwired to your doorbell system, but you need to have a compatible doorbell wiring system that you can connect the unit to. Most wireless options come with batteries which makes them easy to install but batteries need to be recharged even if this may be after long intervals.
- Smart Features: Today, most video doorbells come with features that allow integration with smart home systems such as Alexa, Google Home, or Apple HomeKit. They also incorporate smart motion detection that is capable of differentiating between people and other movements.
- Storage: Recording of doorbell videos can be set on the cloud with a subscription plan from the brand. However, some of them also have local storage and access through memory cards that provide additional control of privacy. Before purchasing the doorbell, make sure it has cloud storage capability and what the monthly charges are besides the number of days that the footage is stored.
As long as you are picking a Ring Video Doorbell, make sure it has the right requirements such as whether the doorbell is wired or wireless, the video resolution, battery life, and smart functions that you need before you buy. This ensures that it will fit into your home and will be useful to you.
Mount a Wired Doorbell Camera
A wired doorbell camera is very simple to install especially if you have doorbell wiring installed at your home already. Just follow these steps:
- Turn off your power. As with any electrical work, it is always advised that you cut off the power by use of the circuit breaker to minimize the dangers of electrocution or damaging the doorbell.
- Remove the old doorbell. Remove your previous doorbell unit from the wall by unscrewing the screw mounting plate. Ensure that there are no wires still connected to the old doorbell and put it away if you still want to keep it.
- Connect the wires. The majority of contemporary doorbells are designed to work with only two low voltage wires known as front and trans Let the corresponding wires of the new wired doorbell camera and the one at your house be connected. Ensure that bare copper conductors are never in contact with each other to eliminate short-circuiting.
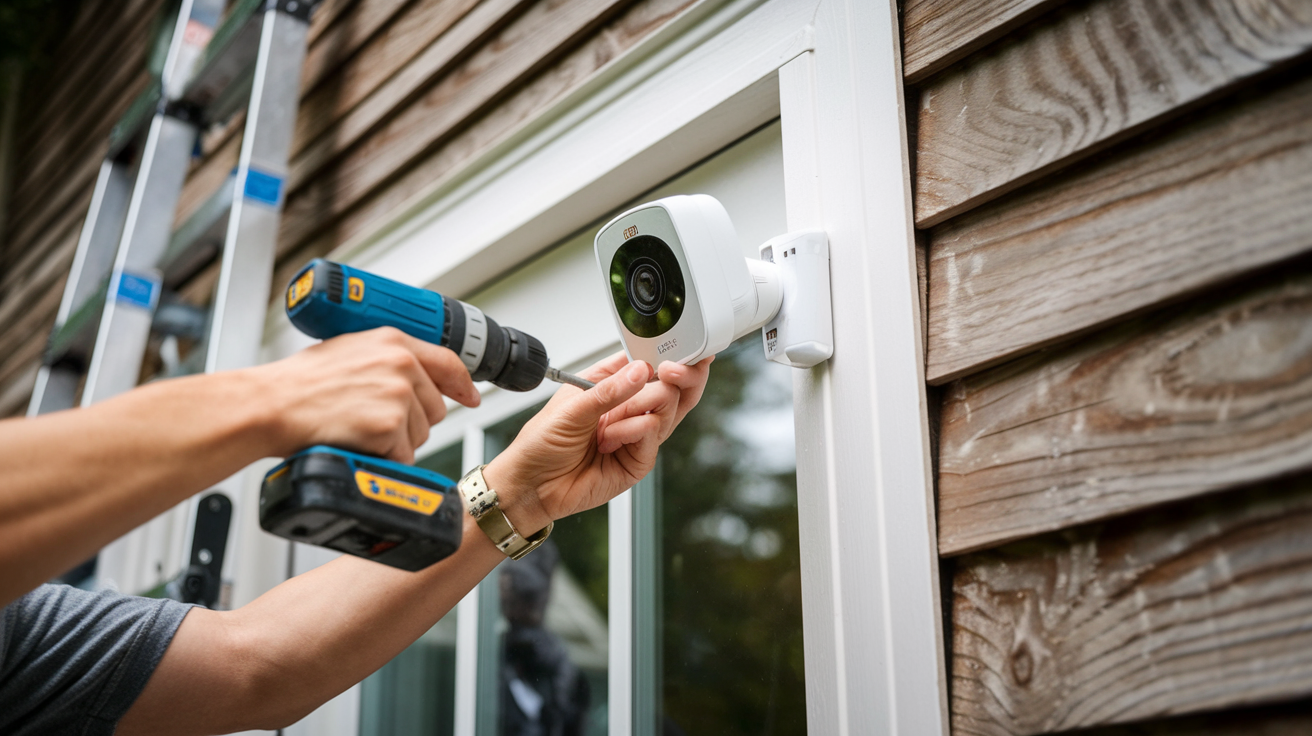
- Mount the doorbell unit. Align the new doorbell camera with the screw holes on the old doorbell’s mounting plate. Then safely fix it onto an outer wall of your home through the use of screws.
- Install the chime unit. In addition, depending on your doorbell camera, you may need a different indoor chime unit compatible with the specific brand of camera. This allows the indoor chime to connect with the camera to display the live streams. You might want to refer to the Manual of your doorbell camera to see whether there are any special instructions that you are supposed to follow as you connect the wires coming from the camera to the new chime. Then safely install the indoor chime.
- Connect to WiFi. In the WiFi settings of the camera account at the home, connect the doorbell camera with the local wireless internet network to monitor the live streams from the phone or other devices.
- Switch the power back on. Once all wires are properly connected and any extra cabling is properly contained within the wall, restore power to your home using the circuit breaker.
- Test it out! You can now test your newly installed doorbell camera or have somebody else do it. When it works, you can make any fine-tuning to the portions such as motion detection or WiFi bandwidth in your camera account to ensure that you have a clear video stream. Installation complete!
The wireless doorbell camera should be installed.
Looking for the functionality of having a doorbell camera without the wires already installed in your house? A wireless video doorbell uses batteries to power the device to make its installation simpler for the homeowner to do it themselves. Just follow these steps:
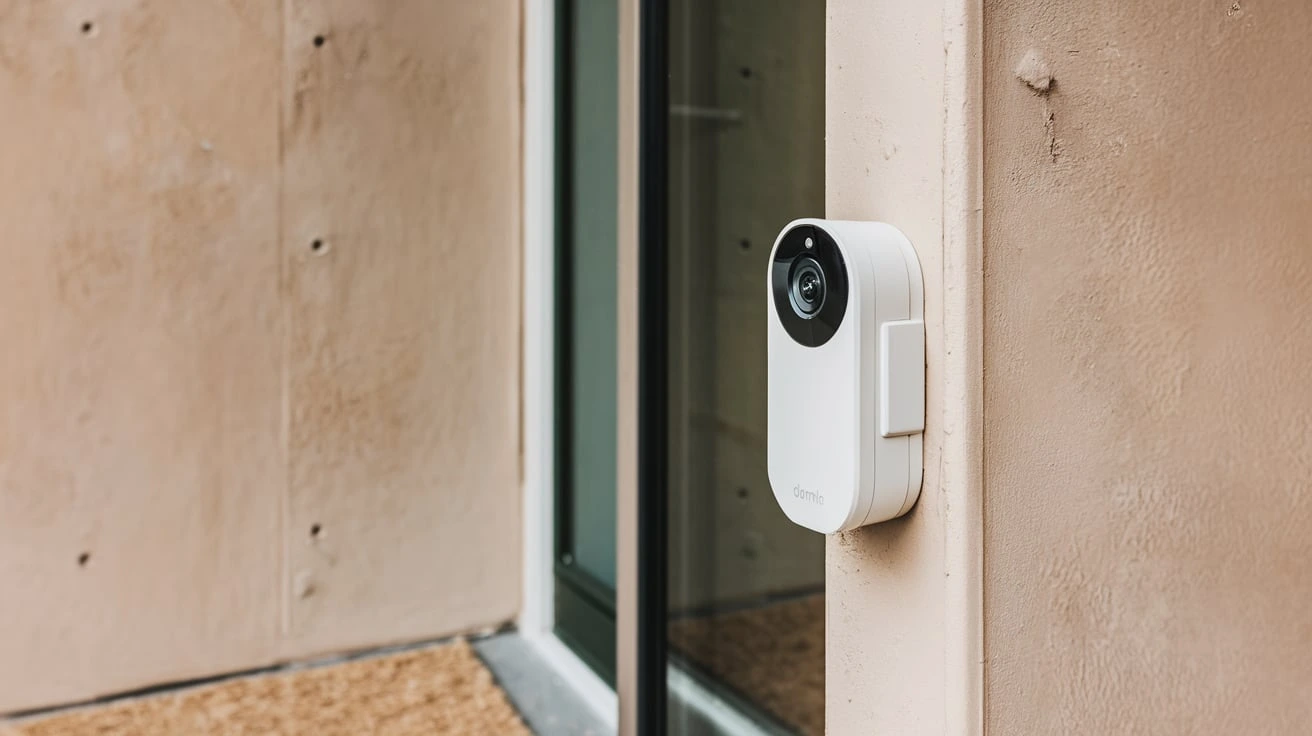
- Choose an install location. Take the wireless doorbell camera unit outside and identify where you want to install the device in your entryway area. Ensure that it is at a reasonable distance from the WiFi router to avoid interference. Also, verify whether the place gets adequate natural light during the day and at night.
- Install the mount. Wireless doorbell cameras have a mounting plate that sits over your conventional doorbell unit. Unscrew the old doorbell, wipe the area, and mount this new mount plate with the screws provided.
- Insert the batteries. Wireless units incorporate detachable batteries placed in the back of the camera. After removing the back panel, place the batteries recommended in the package with attention paid to polarity if any. Re-secure the battery housing.
- Attach to mount. Align the rear side of the doorbell camera with the slits found on the wall mount plate. Apply a little pressure until you hear a click which indicates that the connection is tight enough.
- Connect to WiFi. Like the wired solutions, open your camera account through a mobile application and plug the device into your home Wi-Fi. This connection is necessary for the doorbell to receive video feeds and notifications.
- Affix the chime unit. Almost all wireless doorbell cameras come with a battery-operated chime that generates a doorbell tone inside your home when the button is pressed. Screw this unit to any interior wall within the WiFi range using its mount kit provided.
- Test everything. Ring the doorbell button or have another person ring it for you. Your interior chime should sound, and notifications and live video feeds should show on the connected mobile device once operating properly.
- Adjust settings. Login to your doorbell account one final time to some settings you may want to change including the motion detector sensitivity, areas of the detection zone that will trigger the notification, and the video quality or the bandwidth used. Congratulations! Your wireless system is ready for use.
Wireless doorbell batteries should be checked about once per year or as notifications are given that battery power is low. As mentioned earlier, if it is not necessary to replace batteries very often, one can state that this system needs almost no maintenance at all!
Extra Tips and Tricks
To ensure you get the most security and convenience from your video doorbell system, keep these additional tips in mind:
- This means that your doorbell WiFi connection should be strong by placing routers centrally or purchasing signal-boosting mesh networks.
- I would recommend that you modify the zones and levels of motion sensitivity in a way that you receive alerts a specific times rather than receiving so many notifications.
- The lack of proper lighting directly behind persons is that their silhouettes become indistinct and barely visible to the camera. Perhaps add a small outside light directed towards your door.
- For power failures, most doorbell cameras are equipped with an internal battery so that the detection and recording go on for hours without WiFi or hardwiring.
- For those who have an Echo Show or Google Nest Hub, it can be connected to the doorbell system for monitoring from a distance.
- When aiming your camera, it is recommended to place it approximately at eye level to capture visitors at the door optimally.
Buying a video doorbell can be perhaps one of the easiest processes and cheapest means of enhancing exterior home security. Common issues that might arise include batteries, and a doorbell camera with proper maintenance might last for years without issues. Well, update your entry point and recognize who is on the other side with these few steps of installation.
Protect your home today with ADT’s top-rated security solutions!
Call now at +1 877-470-7879 to get a free consultation and find out how you can secure your home with the best in the business. Don’t wait—ensure your peace of mind with ADT!
