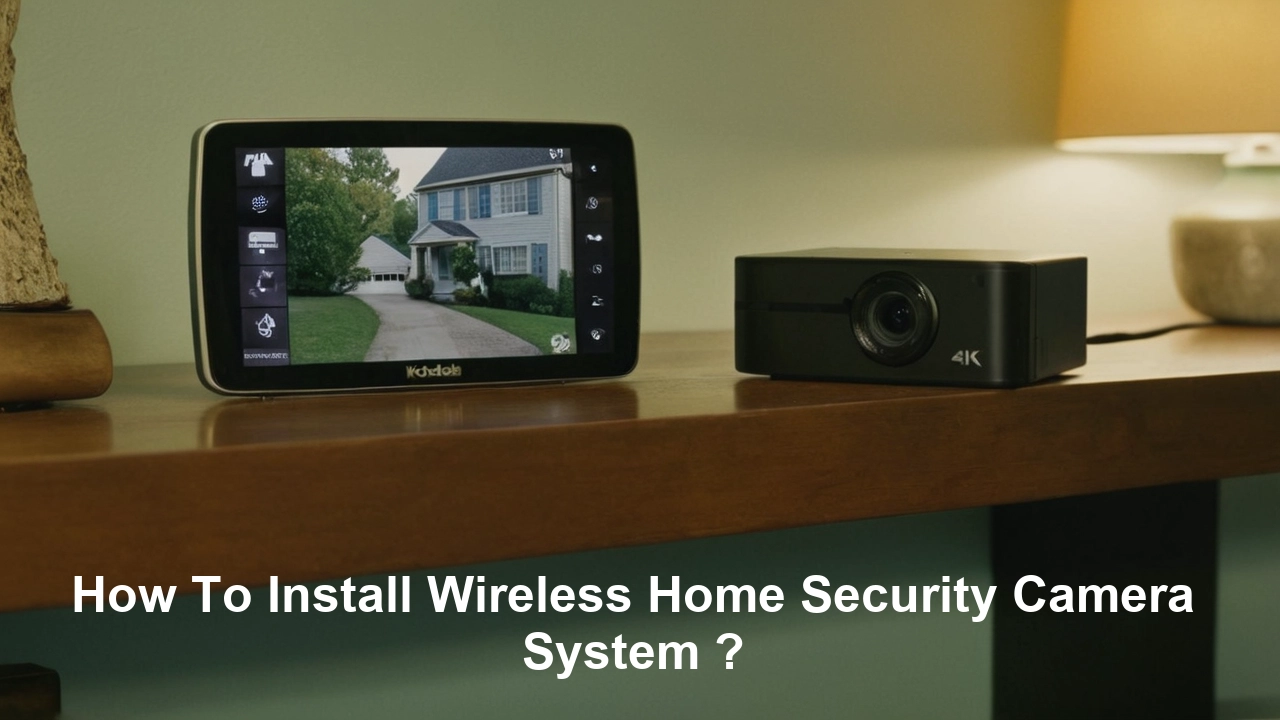
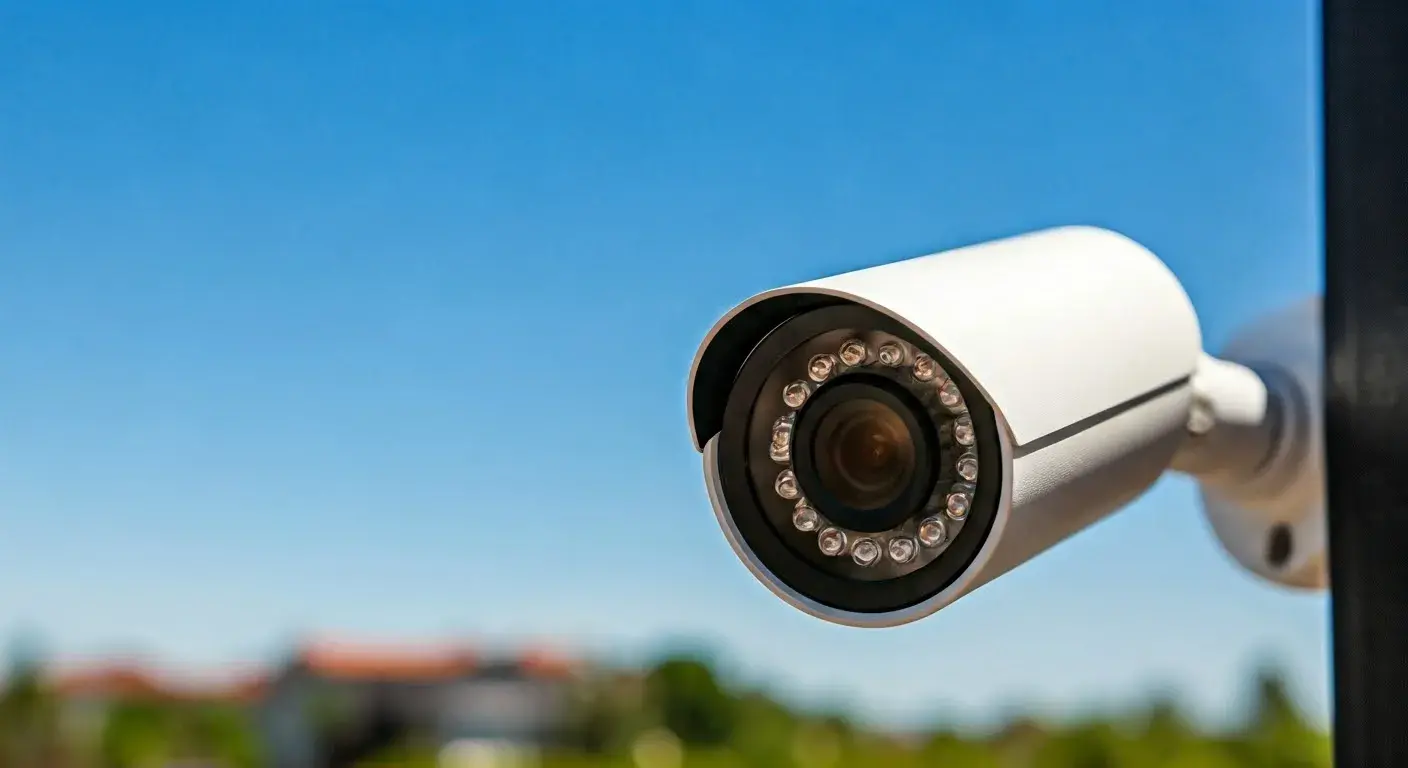
The use of a wireless Home Security System is among the best solutions that can be used to keep an eye on the house when the owner is away or to keep an eye on certain events in the house. Wireless security cameras are mobile can be moved around easily, and do not require professional installation. The following are the steps that one can follow to install a wireless security camera system in his or her home.
Some tips that can help you in planning your wireless security camera setup: If you are planning on installing wireless security cameras, first of all, spare some time to think about it. Move around your house with your mind keen on areas that need to be observed such as doors, car parking, and compounds. Be mindful of where power outlets are situated, so cords for cameras can be easily plugged in. Select areas that have good signal strength from the wireless router to avoid interruption during video streaming. Plan before and decide how many cameras you will need and their location so you will get the correct wireless camera system.
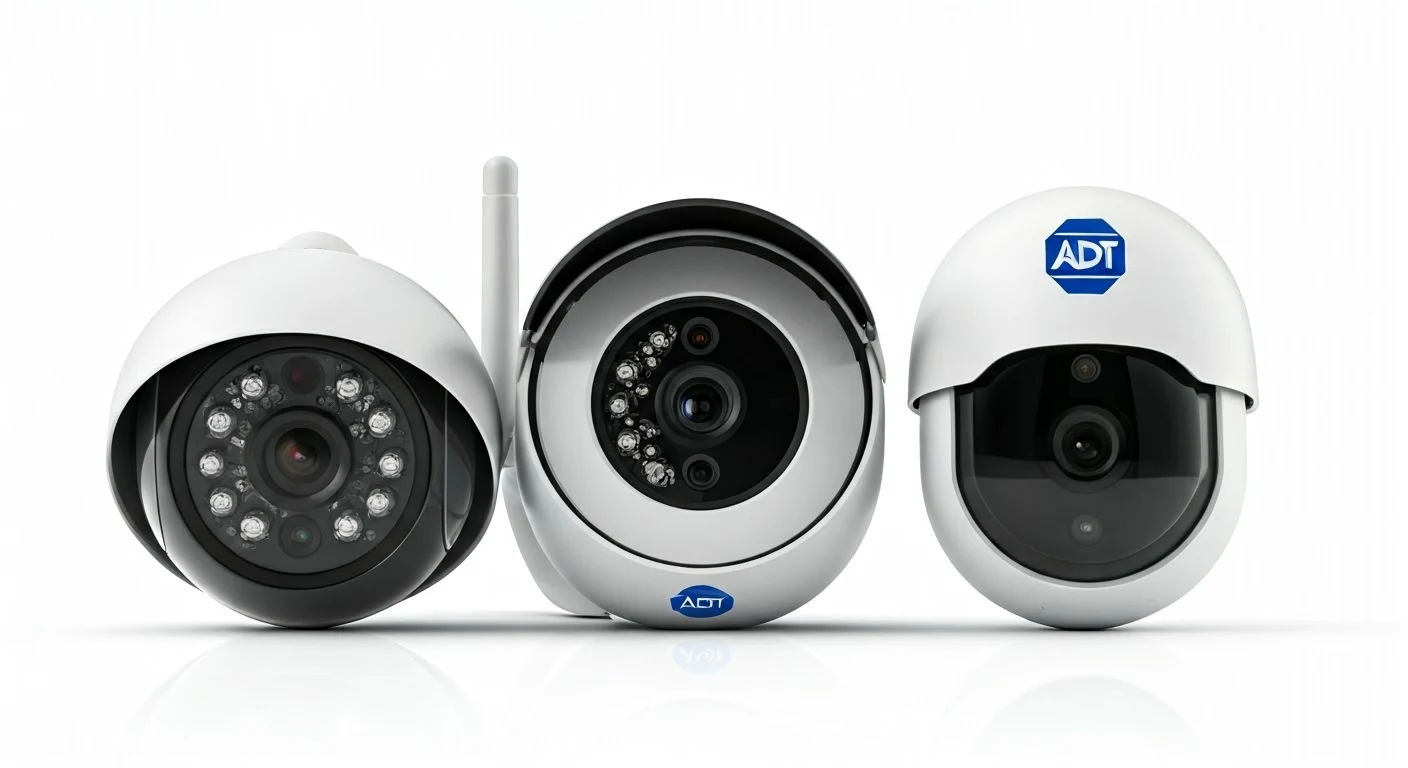
Buy Wireless Camera Security System The following are some of the factors that one has to consider when buying wireless security cameras. IP cameras integrate with your home WiFi and also can be viewed live directly through your smartphone from anywhere over the internet if you are not at home. If high-resolution cameras are used then the quality of the video recording is improved. Any activities at the premises will be captured on the cameras even during the night when the environment is poorly lit. Weatherproof cameras can be installed outdoors. You will also require a device with a large memory storage for recording and storing videos. Factors such as motion detection and sending of email notifications when there is activity should also be taken into consideration. Many wireless camera systems are offered with two or more cameras and a digital video recorder unit to ensure that you have everything you need for the purchase.
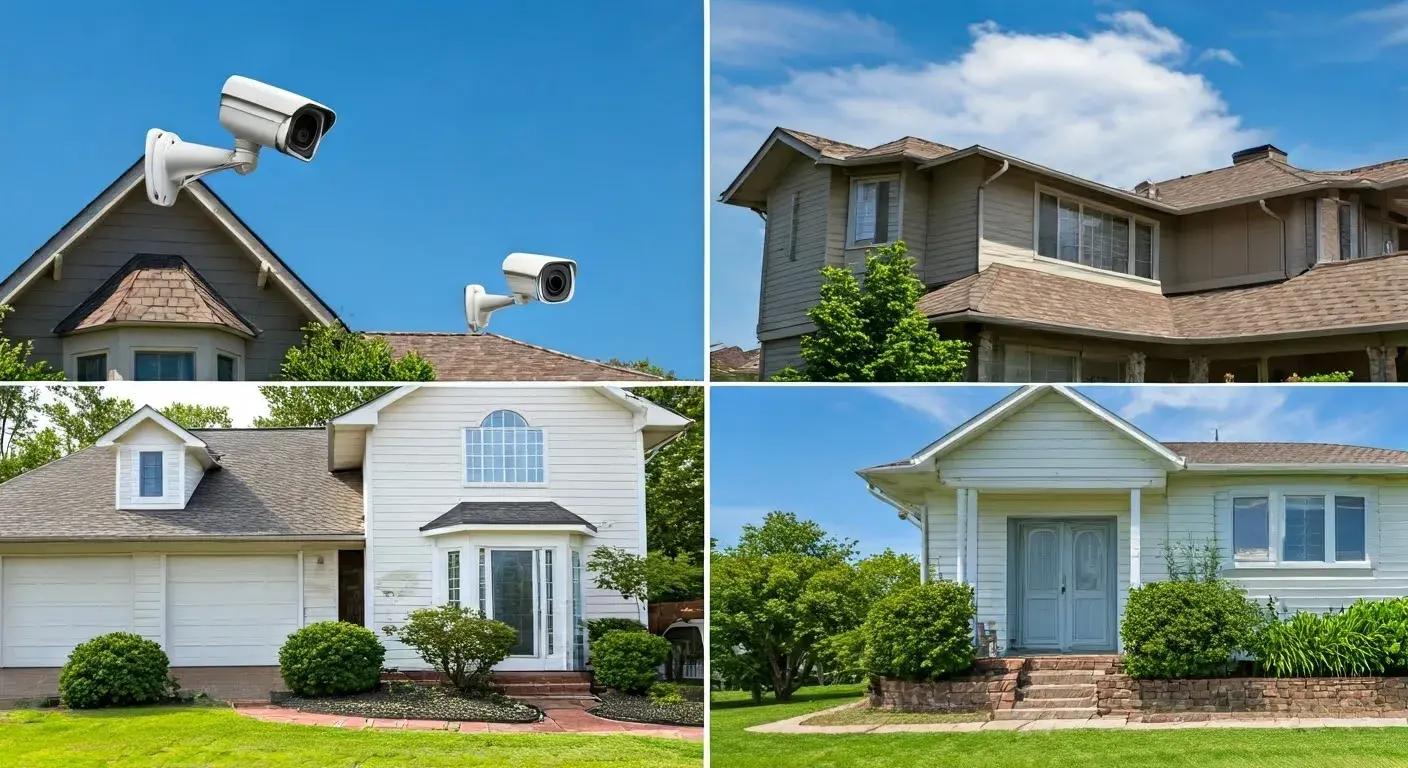
Prep Your Installation Areas Before you install the wireless cameras, preparation of the areas where the cameras will be installed is required. In exterior regions, you climb up to places on eaves and under the roof lines where you get good angles of the spaces you want to monitor. Trim back any vegetation around these zones. Regarding indoor cameras, move items away from installation areas and near electrical outlets to allow easy installation of the cameras and connection of cables. Painter’s tape is ideal for painting mounting points for drilling or labeling wires. It was suggested that work areas should be prepared well ahead of time to ensure installation goes smoothly.
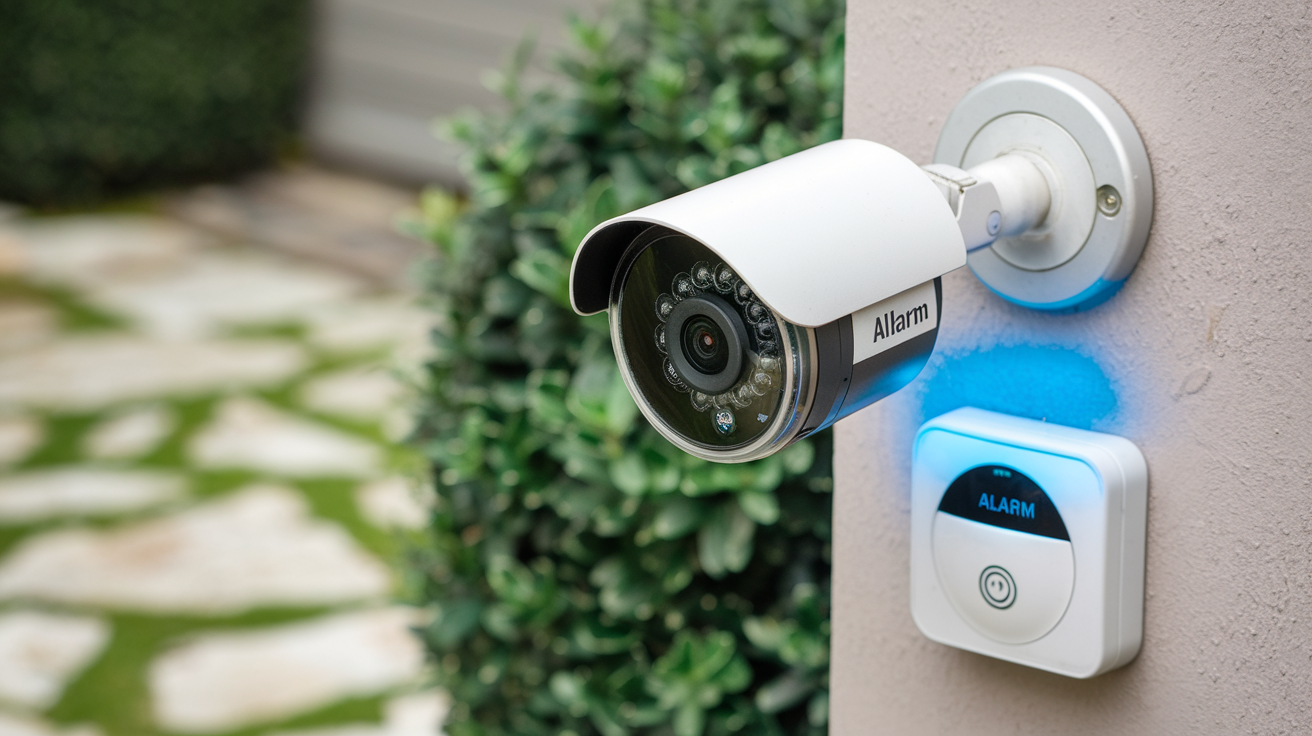
Wireless Security Cameras: How to Mount Them Wireless security cameras come with necessary accessories like screws and drywall plugs that enable the cameras to be installed on walls or ceilings. When drilling any holes for mounts refer to the manufacturer’s instructions not to drill through electrical wiring or plumbing beneath the surfaces. Ensure that the mounting surfaces are clean and free from moisture before fixing camera equipment. Rotate loosened mount brackets to the desired angle for the camera view then ensure that they are fixed properly with the drilled holes. Check that the mounts are very well fixed before screwing the camera unit baseplates on as provided. Bring bracket joints and camera bodies to the right position until the view desired is achieved.
Connect Cameras and Cables Pull out the camera cables that run through wires connecting to the digital video recorder unit (DVR). It is also desirable to design with some slack distance in the system in the off chance that adjustments are required. For additional lengths to span longer distances, carefully add and connect extra cable lengths with splitter connectors supplied by the manufacturer. Check if there are open areas around the power outlets you want to use then plug the camera power adapters close to those outlets. Attach all the cameras at their end ports to the opened inputs on the back of the DVR unit using cables that have compatible ends such as BNC connectors. Make sure that each inline cable connection is securely connected to avoid problems with video transmission.
Set Up Your Recorder and Cameras After all cameras are physically mounted, then comes the more technical part of the configuration. Switch on the DVR and monitor and then follow the instructions on the screen to create the recorder account that controls the monitoring system. Configure options such as recording schedules, motion detection notifications, and connection with other smart security systems if any. With the recorder connected to other cameras, click through the different cameras, and if any are inverted, out of focus, or framed correct them using the articulated jointed mounts and camera bodies. Assign different names to each linked camera so that the video stream has labels such as ‘front porch’ and ‘back yard’. Allow some functions such as night vision and others on individual cameras if necessary.
Connect Recorder to Your Home Network For recorded video as well as live feed access from a remote location, the DVR unit will have to be connected to your home WiFi router via an ethernet cable. The first end should be connected to the LAN port of the recorder and the second end to any available LAN jack in the router unit. In the DVR network settings, the SSID and passwords will have to be changed to match the home WiFi for the network to connect to the internet. Videos should now be streamable on smartphone viewing apps connected to WiFi for safe access anywhere with Internet service.
Check Your Wireless Cameras and Look for Issues After capturing a shot, take a walk test to examine the video footage and stability of the recorder’s monitor. Ensure that motion correctly activates recording and the sending of alert notifications to the connected phone when enabled. Record a recent event and rewind to ensure that the video was captured clearly. Ensure that remote access using an app is effective when not at home by observing the video feed over the internet connection. Any remaining problems such as repositioning the mounts for stability/range, reconnecting loose wiring/cabling, or restarting halted cameras’ streams. Carry on with the testing until total wireless security camera coverage meets the expected levels.
Check Recorded Videos and Ensure the Functionality of the System Weekly ensure you monitor at least the playback of the videos to ensure all the camera streams are well recorded. Check motion alerts for correctness to ensure that detection functions can be altered if necessary. Do walk tests periodically, check cables for signs of wear and tear, clean lenses on cameras, and do firmware upgrades so your wireless system keeps on observing your home. Remember to replace batteries in the security camera every few years or when discharged while hard-wiring the recorder unit to avoid operation interruption.
It is only advisable to follow the guidelines in this wireless home security camera installation guide to get your new monitoring system functioning properly. Having cameras placed near doors and windows, patios, and large yard areas ensures that the whole property is covered. There is always that guarantee of the safety of your home when you properly mount all the required equipment. And taking advantage of remote access, you can always check in, no matter where you are. Although it takes some time and effort to put in wireless security cameras, the benefits that one will derive from them are very enormous as they enhance home security and awareness.
Protect your home today with ADT’s top-rated security solutions!
Call now at +1 877-470-7879 to get a free consultation and find out how you can secure your home with the best in the business. Don’t wait—ensure your peace of mind with ADT!
