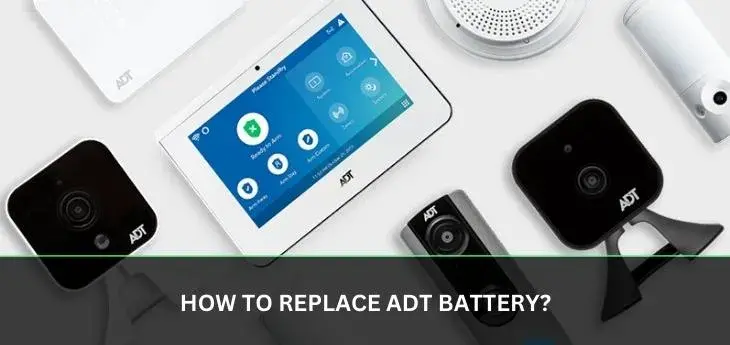
ADT security systems are crucial for safeguarding your home. However, to keep them functioning optimally, you need to know how to replace the ADT battery. In this comprehensive guide, we'll walk you through the process step by step, ensuring your security system stays effective in protecting what matters most to you.
Understanding the Importance of Battery Replacement
Ensuring your ADT security system operates efficiently is vital for your peace of mind. Here's why understanding how to replace the ADT battery is crucial:
1. Maintaining Optimal Functionality: A well-functioning battery ensures your security system functions at its best, providing continuous protection.
2. Avoiding Interruptions: Regular battery replacement prevents unexpected interruptions in your security coverage.
3. Prolonging Device Lifespan: Properly replacing the battery can extend the life of your ADT devices, saving you money in the long run.
How to Replace ADT Battery: A Step-by-Step Guide
Follow these simple steps to replace the battery in your ADT security system effectively:
1. Gather the Necessary Supplies
• ADT security system manual
• New ADT-compatible battery
Begin by collecting the items needed for the battery replacement process.
2. Power Off the Security System
• Go to your security system's control panel.
• Power it down by following the instructions in the manual.
Ensure the security system is completely powered off before proceeding.
3. Access the Battery Compartment
• Locate the battery compartment on the control panel.
• Use the manual to guide you in opening the compartment.
Familiarize yourself with the battery compartment and its components.
4. Remove the Ol
Camera
5. d Battery
• Carefully disconnect the old battery from its connectors.
• Remove the old battery from the compartment.
Safely remove the old battery without damaging any parts of the system.
6. Install the New Battery
• Connect the new battery to the appropriate connectors.
• Place the new battery securely in the compartment.
Ensure the new battery is properly connected and securely positioned.
7. Power On the Security System
• Power on the security system following the manual's instructions.
• Confirm that the system is functioning correctly.
Turn on the security system and verify its functionality with the new battery.
8. Test the System
• Conduct a test to ensure all components are working as expected.
• Check for any alerts or issues related to the battery.
Run a comprehensive test to confirm the successful replacement of the battery.