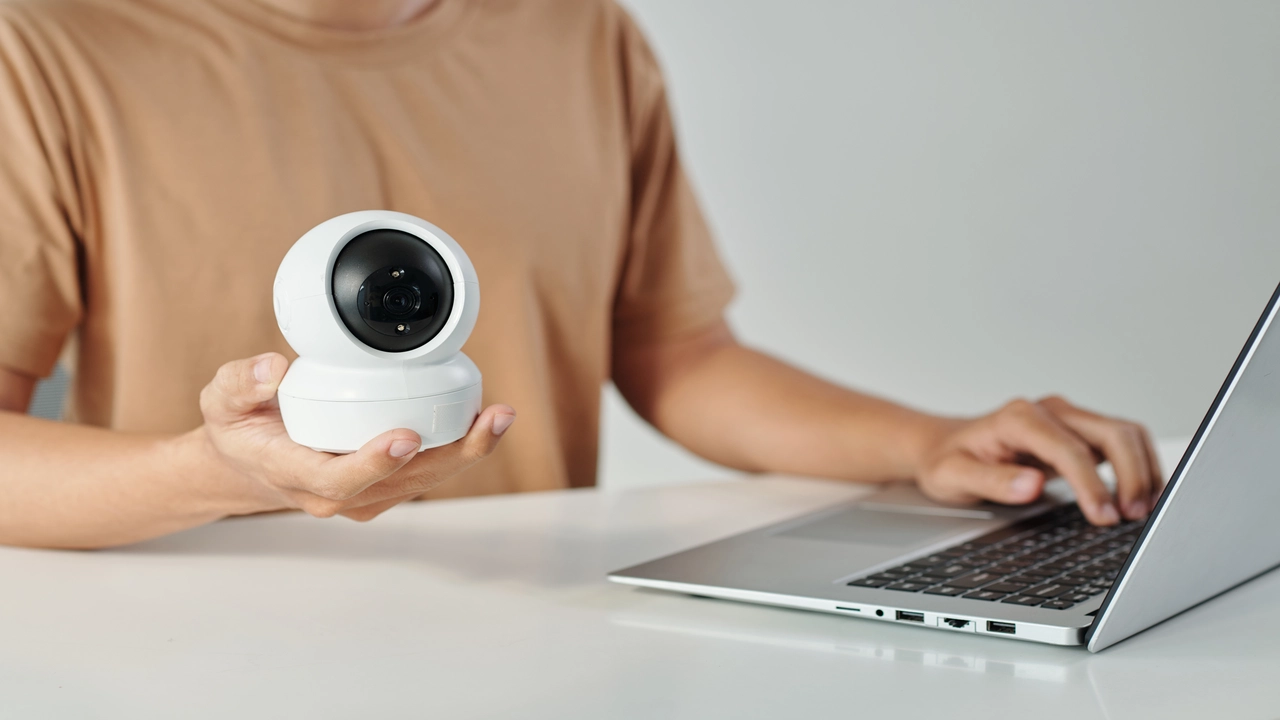
Having a Home Security System would be the added security that you would need in your house. Blink is a wireless home camera system that is small, inexpensive, and quick to install. Will offer a comprehensive guide on how to proceed and ensure that you have your new Blink camera system up and running, and ready to keep an eye on your home.
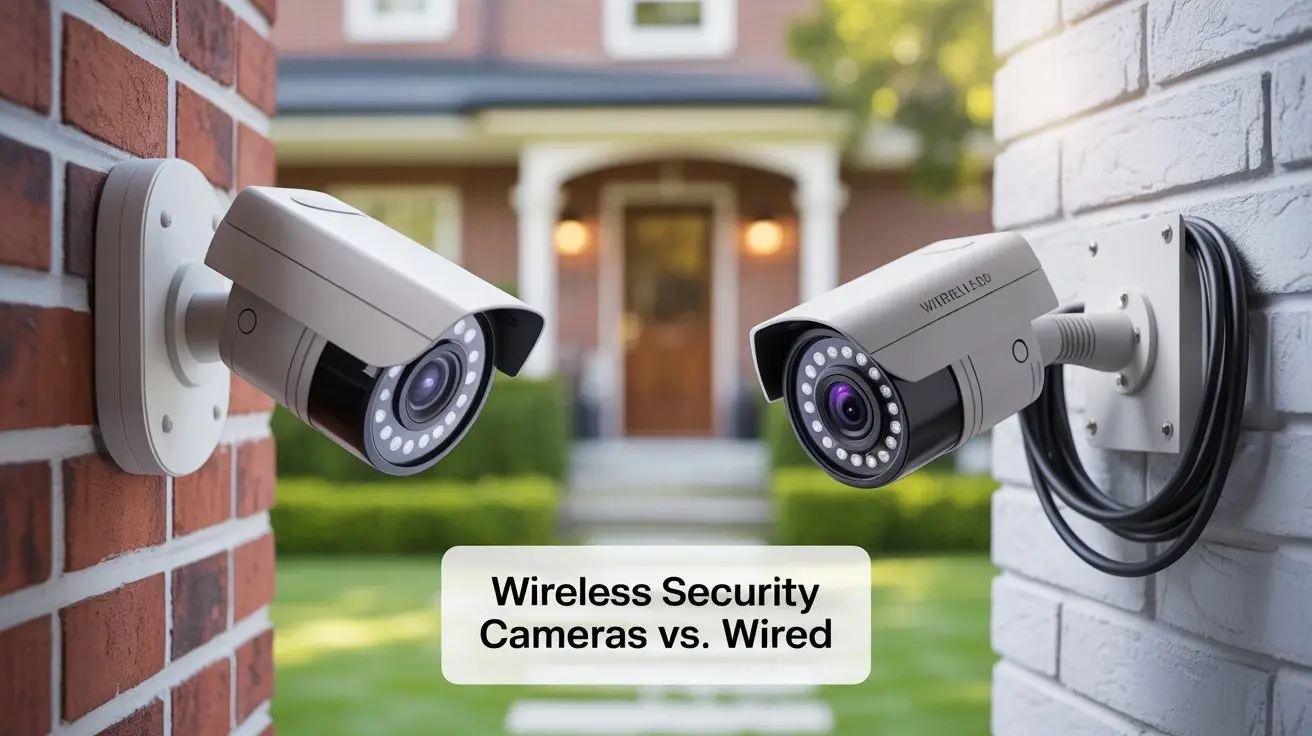
Selecting A Blink Camera System Blink describes both indoor and outdoor wireless Best Security Cameras. When selecting your system, first determine whether you require interior or exterior cameras.
The Blink Indoor camera gives HD video capture in the indoor environment. This makes it easily portable since it is small in size and can be moved around to different areas if required. The Indoor camera needs a power source hence it must be connected to a power outlet.
The Blink Outdoor camera is designed to be placed outside thus it is weather-resistant. The device is powered by two AA lithium batteries and they can last for about two years. The Outdoor camera is wireless and portable This means that it can be easily moved from one location to another depending on where it is needed most.
Blink also has packages that come with several cameras to provide coverage of the entire house. Think about what number of cameras you require and select the best set for you. Nearly all the kits also have the Blink Sync Module for integrating the system without the need for wires.
Blink has the Blink Sync Module, which is used to set up the camera and its connection to the internet. The Blink Sync Module helps the Blink cameras connect to WiFi and enables users to monitor recorded footage through their smartphones.
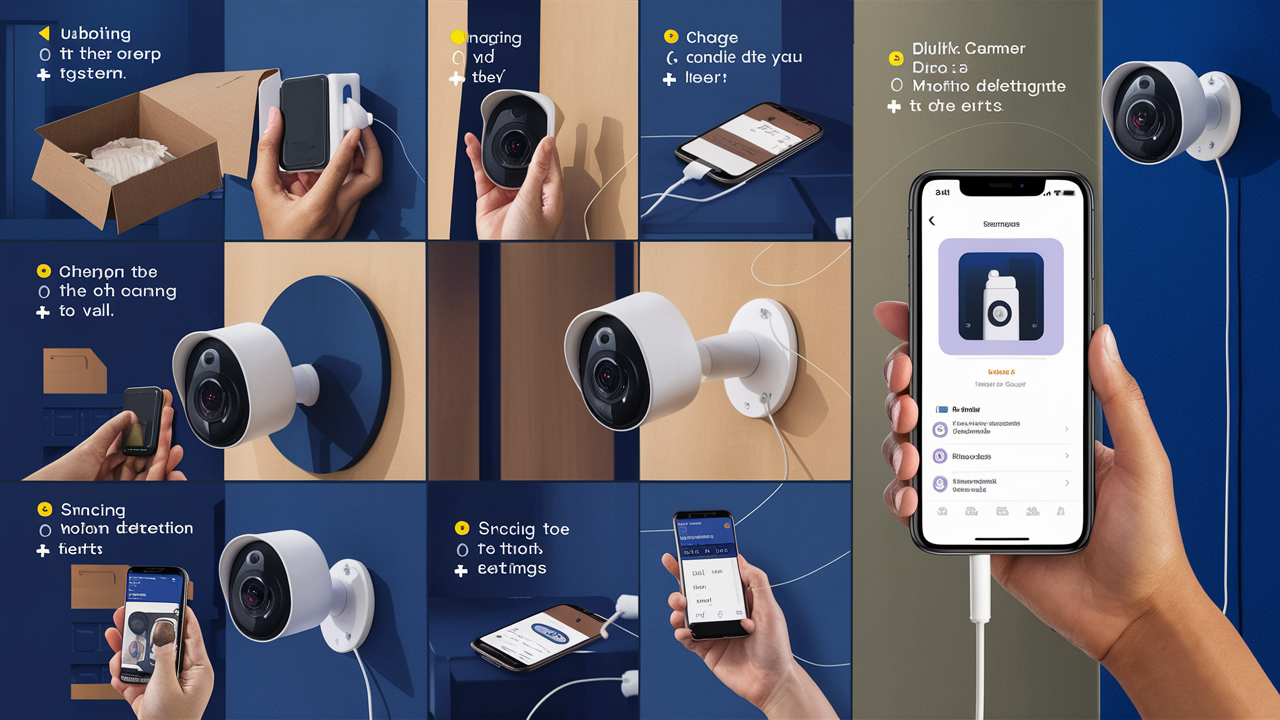
First, connect the Sync Module to an outlet near your WiFi router using the provided cable. The green light on the front will blink to show that it has power.
Secondly, get the Blink Home Monitor app on your iPhone, iPad, Android, or other iOS/Android devices. This particular app enables the user to monitor, as well as control the various Blink cameras connected to it.
To add a new system within the Blink app, first, click on the ‘+Add New System’. After that, go through the prompts on the screen to set up the Sync Module and link it to your Wi-Fi network. Here you will have to select a name for your system and also your WiFi network name and password.
After connecting, the small blue light located at the front part of the Sync Module should be blinking. You can now proceed with the camera setup on your system.
Connecting Blink Cameras With the Sync Module fully set up, you can now add your Blink cameras:
- Removal of the battery compartment in each of the cameras. For Indoor cameras, insert the included battery pack. The outdoor cameras use two AA lithium batteries.
- When using the Blink app, go to Add New Camera and then follow the steps provided to set up each of the cameras. The next instruction is to hold the camera near the Sync Module during the setup process.
- To pair this device with the Sync Module, you will be required to press the round silver button on each camera.
- Touch the screen to name each camera then wait for the connection status to reveal 100%. The camera status light will begin blinking white if it is fully paired.
Ladies and gentlemen, your cameras are now linked wirelessly to the system. This is because there are no wires that limit the positioning of the devices, so you can reposition them in whichever way you prefer.
Mounting Blink Cameras Now that your cameras are communicating with the system, proper mounting is important:
Indoor Camera Mounting Tips:
- Position the camera on a flat plane such as a shelf, on a table, or on the wall where the wall-mounted TV is placed.
- Make sure that the motion sensor on the front side of the camera has an unobstructed view.
- Plug the power cable into the micro USB port of the indoor camera
Outdoor Camera Mounting:
- Included outdoor mounts to place the camera under an eave or porch ceiling
- Face camera where you need exterior coverage with the motion sensor facing outwards
- This device is best mounted at least 3 feet above the ground with space around the camera.
Make sure that any mounted cameras have their lenses parallel to the ground for accurate motion detection and video recording.
Using Your Blink System Now you have a wireless home camera system that is ready for you to use! Utilize these tips for getting the most from your Blink cameras:
- Open the Blink app to immediately access the camera streams and get motion detection alerts in real-time.
- It is possible to adjust the motion detection sensitivity zones and the camera settings directly from the application.
- Record videos and take photos with cameras and save them in the phone’s camera roll.
- Turn on activity alerts so that you get a notification when motion events happen.
- Adjust the time duration of recording and detection by the motion sensor of the security camera.
- More features such as geofencing and two-way voice communication with the indoor cameras.
- You can add more Blink devices at a later point to cover the entire circumference of your house.
- Some of the things to do outdoors include; Changing the batteries of the outdoor cameras from time to time.
Blink wireless security camera system will automatically update through a WiFi connection for new features and enhancements in the future. It is advised that there should be no obstruction between routers and cameras for a stable WiFi connection.
Now you can keep tabs on activity around the home from your smartphone and enjoy the added benefit of knowing that your Blink security system is hard at work! Setting up your cameras appropriately, tweaking preferences, and adjusting settings where necessary will guarantee the best performance. Blink home and camera kits are easy to install and are ready to protect your home and belongings wirelessly.
Protect your home today with ADT’s top-rated security solutions!
Call now at +1 877-470-7879 to get a free consultation and find out how you can secure your home with the best in the business. Don’t wait—ensure your peace of mind with ADT!
