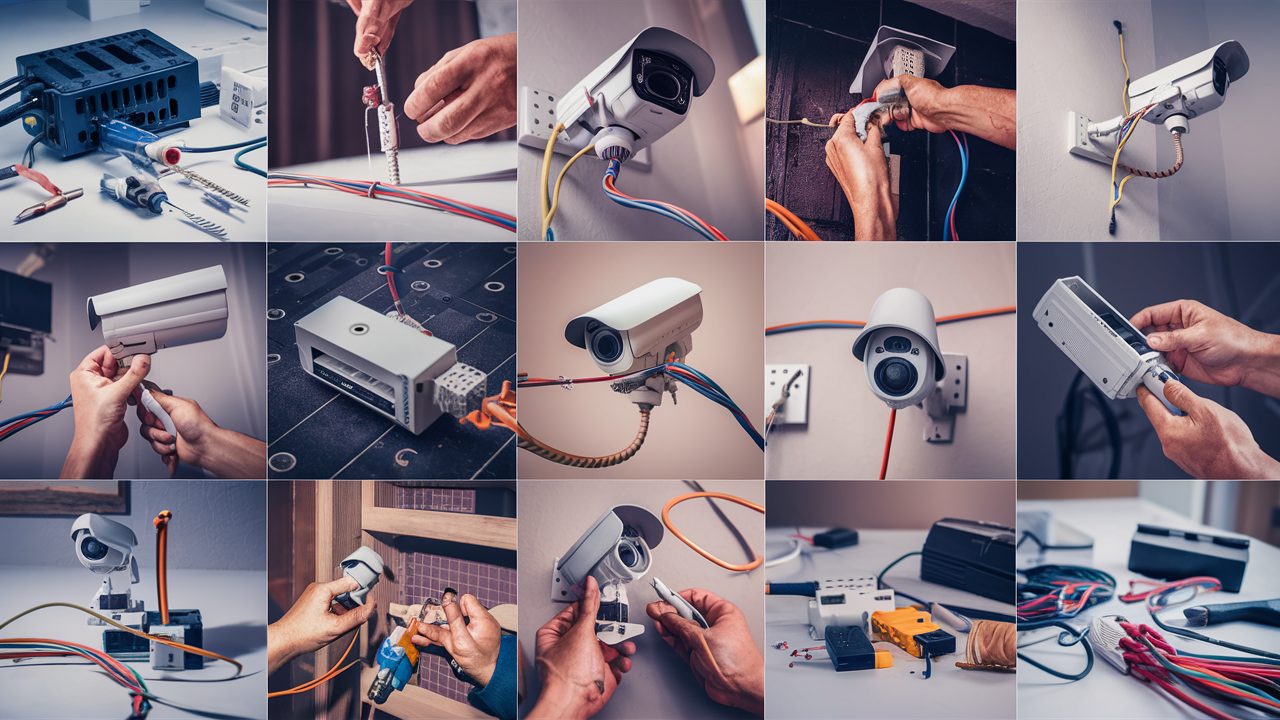
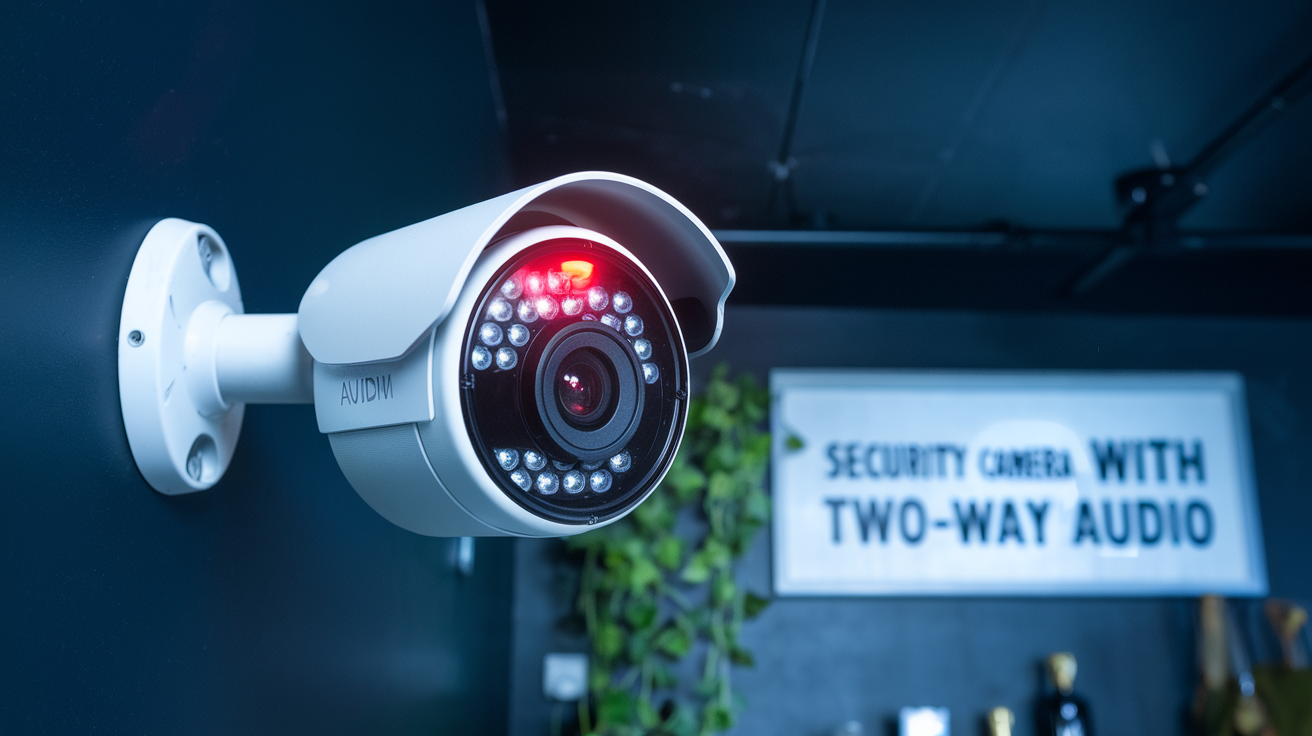
Best Security Cameras can be installed to monitor homes or business premises as a result it is a good idea. It is also possible to monitor live or recorded surveillance streams through cameras and set up at any time from anywhere. Wiring is among the most crucial factors when it comes to the installation of security cameras. If wrongly done, it is possible to get problems such as poor connectivity, poor video quality, and the like This page expounds on the right ways of wiring analog, IP, and POE security cameras.
Things You Will Need
- Security camera
- Coaxial cables for analog cameras; Cat5e cable for IP cameras
- Equipment like a DVR or NVR video recorder
- Tools: Wire stripper, crimper, ladder, drywall saw, stud finder, drill, screwdrivers and so on.
- Power supply such as wall socket or power over Ethernet switch/injector
Analog Security Camera Wiring
Step 1 Assess the Camera Features First, refer to the technical features of the analog camera you want to install to determine if it requires a power source or not. Some models incorporate a power supply and function over the video cable, and some models need an external power supply. This determines the wiring arrangement.
Step 2 is to connect the BNC cable. Twisted pair cables or coaxial cables are normally used to relay video signals from the analog camera to the recorder. These cables should be RG59 or RG6 shielded coax cables. Connect the cable to the location where you want to place the camera and do not cut the cable in the process. In the case of outside runs, protect the connections with silicone sealant.
Step 3 Connect Power If your camera requires an external power source, Connect a 2-conductor power cable to the nearest power source to the camera’s position. Screw the appropriate power cables to the cam with wire nuts while paying attention to the polarity. After the wiring is complete, secure the power supply unit to the outlet.
Step 4: Connect the BNC cables In this stage one has to connect the BNC T pins to both ends of these cables. Then connect one T pin to the camera and the other T pin to the input video interface on the back of the DVR. Ensure that the port matches each camera. Repeat with additional cameras.
Step 5: test the system Switch on the DVR and cameras to check if there is a video signal coming from the cameras. Before installing the cameras, adjust the camera and recorder settings to the desired specifications.
Connecting an IP Security Camera
Step 1 Select the Ethernet Cable While using analog cameras, one has to use Category 5e or Category 6 Ethernet cable for video, audio, and control signaling. Outdoor-rated cables can only be used for outdoor wiring runs.
Step 2 Decide the Powering Technique IP cameras can come with POE, where the cameras are powered through their Ethernet cables or with an external power source. POE facilitates the flow of both power and data through a single Ethernet cable. Based on your setup, decide on the powering method.
Step 3 Run the Ethernet Cables When installing outdoor cameras, you should bore holes in the wall/ceiling to pass the Ethernet cable inside. Bury cables from each camera location to the NVR without trimming the cables. Use a cable tester to test the cables between the NVR and switch panel. Then, if necessary, put on RJ45 connectors to both of the open ends.
Step 4 Turn on Power to the Cameras If using POE, connect the Ethernet cables from the cameras to a POE switch or injector. Plug the switch/injector into a power source. If cameras are externally powered, it is advisable to pull power cables near electric outlets to the nearest convenience. It is very important to ensure that polarity and voltage are always correctly aligned.
Step 5 Connect the Data Cables Attach the other end of the Ethernet cable to the NVR port or network switch that the recorder is connected to. Most IP cameras have a direct connection port or connect to a switch panel in some way. Refer to device manuals.
Step 6: Configure Camera Networks To do this, you have to log into each of the IP camera interfaces and set the static IPs. To ensure that the newly acquired device is not easily compromised, it is advisable to change its default usernames and passwords. Then reboot cameras and add them to the NVR through the setup wizard menu or add them manually if necessary. Cameras feeds should be tested on NVR.
The installation of a POE Security Camera
POE security cameras draw their power directly from the Ethernet cable to reduce installation complexity. Follow these steps:
Step 1 Identify the location of the POE Camera Decide which area you wish to mount the POE security camera and how the wire will be run to the NVR. Mark the cable path. See the optimal position for the artwork and accessibility.
Step 2 Install Conduits If Needed When laying cables between floors or along the wall, fix the protective cable channels at first according to the marked path. Then connect the other end of the Ethernet cable to the conduit, towards the NVR area. For outdoor runs, use a weatherproof conduit.
Step 3 Pull the Ethernet cable Ensure the cable running from the camera location to the NVR location is a Category 5e or better. Leaving extra working cable at both ends is preferable for termination and testing. Outdoor cables have to be filled with gel and must be protected from moisture and UV light.
Step 4 is required to terminate both cable ends. On both ends of the Ethernet cable, connect corresponding 8P8C RJ45 connectors according to the T568B wiring configuration. It is advisable to test cable continuity before connecting devices or instruments you want to use.
Step 5 Connect Camera and NVR Plug one end of the Ethernet cable into the RJ45 in the back of the POE camera. Connect the other end to the POE ports on the NVR or POE injector/switch that is connected to the recorder.
Step 6 Test Setup Connect the power supply to the POE switch/injector and NVR and momentarily activate all cameras to check for proper functionality. Cameras should turn on as soon as they are plugged in. Then set more of the camera properties if required before fixing it in its rightful place.
It is crucial to adhere to simple norms of cabling structures for running and termination of the cables for dependability. Check your cable runs after installing them to ensure you detect any issues that may have been left behind. Ensure that IP addresses, intrusion detection, motion sensors, and other features of the cameras are properly configured. For larger or more complicated installations, a surveillance technician may be useful to consider hiring. It is important to note that the wiring approach will depend on the camera of your choice and with the correct wiring, you will have a good surveillance system for your home or business.
Protect your home today with ADT’s top-rated security solutions!
Call now at +1 877-470-7879 to get a free consultation and find out how you can secure your home with the best in the business. Don’t wait—ensure your peace of mind with ADT!
