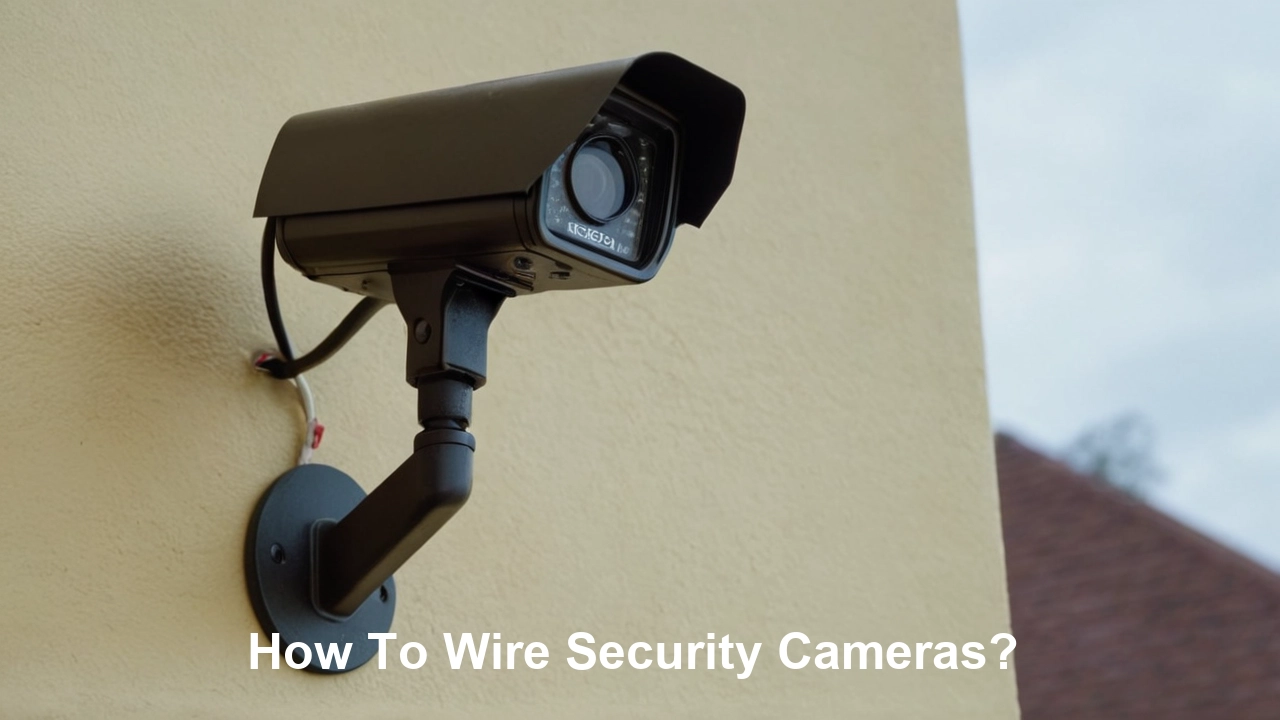
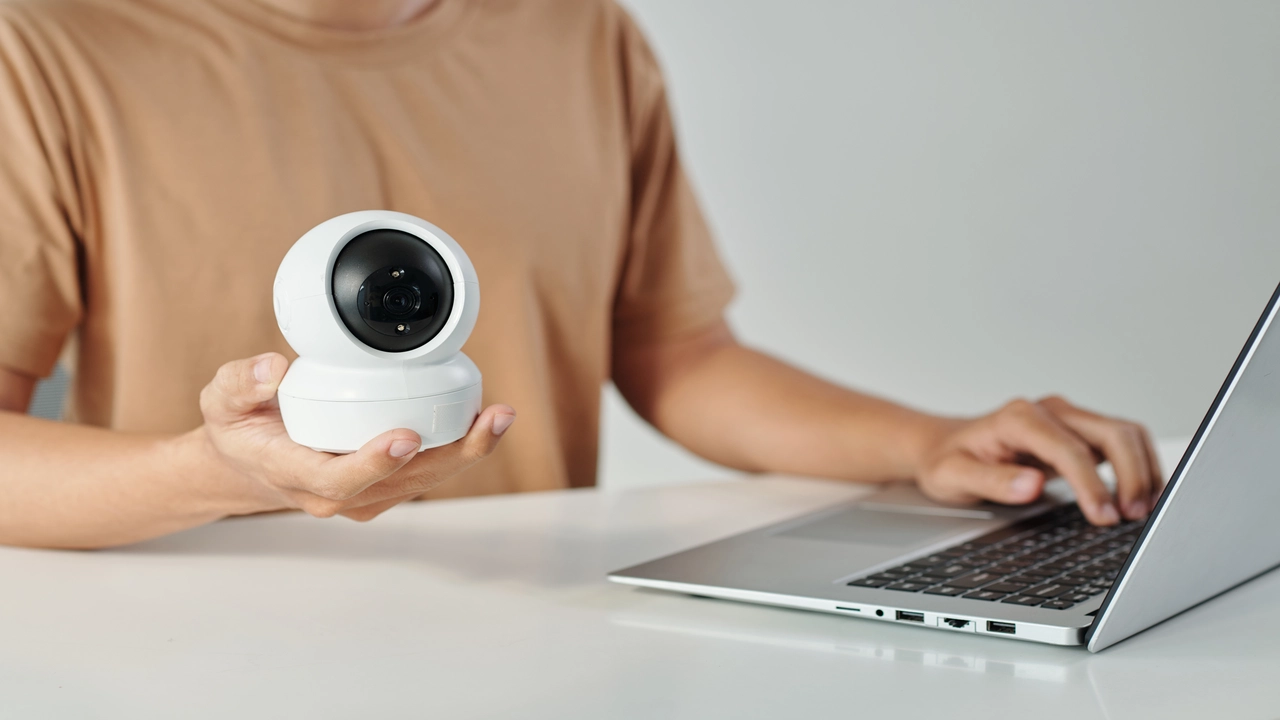
Having the Best Security Cameras around your property is a good investment because it adds security and protection to your home. But for cameras to work effectively, they require setting up, which includes wiring. In this guide, you will learn the steps involved in connecting analog and IP cameras, where the cables should be placed, and how to install a video recording system for the new system.
Assessing Your Needs It is crucial to evaluate your security needs before investing in security cameras and other related equipment. Important factors include:
- The size of the area that you wish to cover. This will define the required number of cameras.
- The categories of cameras – are analog IP or digital. DVRs offer more features such as better video resolution, accessibility from a distance, and compatibility with other devices compared to analog cameras. However, there are some downsides to using analog cameras; they are relatively cheaper to purchase as compared to their digital counterparts.
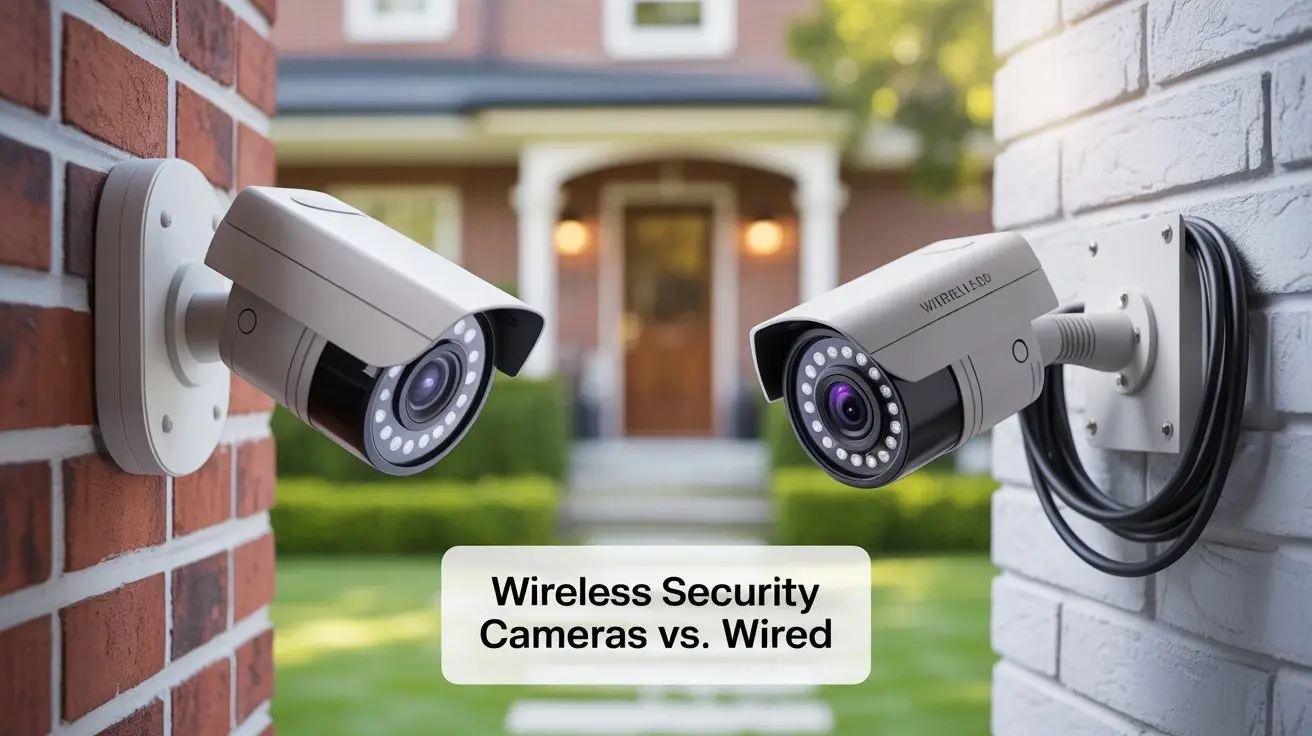
- Cabled or non-cabled installation. Wireless cameras are easier to install and set up, but they may experience interference, have less range of operation from the recorder, and even have security risks regarding the signal. Wire systems tend to be slower to install but are more durable and less prone to security breaches.
- Mounted on a wall inside a house as opposed to a camera mounted on a pole outside a house. Indoor and outdoor cameras require different housing to shield from the environment as mentioned in the next point.
- Night vision needs. Cameras need IR LEDs or better low-light performance in such an environment.
- Remote viewing capability. IP cameras can be accessed by applications for real-time video surveillance, whereas analog cameras cannot.
Having a budget and an idea of which features you require will assist in eliminating options that will not work. It is also important to learn some of the local laws that may address the use of security cameras for home use before going forward.
Choosing Security Camera Placement In an ideal world, cameras should be positioned in such a manner that they capture the face of the individuals who are coming in or going out of regions of interest around the house while simultaneously not recording anything beyond the homeowner’s property. People recommend using cameras mounted at an angle of approximately eight to ten feet high pointing slightly downwards. Suggested placement areas include:
- Steps towards the front door to allow one to monitor who is approaching the compound.
- Patios, car parks, and paths to and from the home
- Backyard or patio doors for other entries
- Garage doors if now standing independently of the home
- Perimeter fence lines situated at the back or to the sides
Make sure the field of view for each camera affords the coverage that is required. Overlapping of view from two different cameras is also added security because if one camera is not working or is covered, the other camera can capture the view (for instance a front door camera and a front yard camera).
Running Cables For wired cameras, the correct low-voltage cables must be pulled from the security camera locations back to the recorder.
- RG59 coax or CAT5e cables for analog and IP video runs respectively
- Pulling wires on the walls and ceiling back to the location of the recorder.
- Drilling neat holes through which wires may be passed in the required direction
- This involves the use of wire staples, clips, or cable channels to organize the wires and run them along surfaces.
Outside the house, the wires can be channeled through conduits or hidden along walls to avoid being noticed. The run length of the video should not go beyond three hundred feet if the desired display is crystal clear analog video or up to three hundred meters in the case of digital IP video when using CAT5 or CAT6 Ethernet cables. Above this, a video balun that transmits Ethernet to coax can allow analog CCTV camera wiring beyond five hundred feet.
Terminating Cables Cables should end neatly in wall boxes, panels, or jacks to join the recorders. Coax cable runs are terminated with a BNC jack if analog cameras are used, or an RJ45 jack if IP cameras are used. Neatly strip and connect the wires with all the cable ends identified using a punch-down tool. It is important to leave twelve to eighteen inches of service loop at the recorder end for equipment connections and additional length for repositioning the camera in the future.
CCTV Power Considerations
Security cameras and recorders require sufficient and continuous power supplies for effective functioning. It is connected through a surge protector, and even better an uninterruptible power supply (UPS), to have clean power and battery backup during a power outage.
If you have outdoor cameras or long cables where voltage drop may be an issue, use a separate plug-in power supply to increase the voltage at the camera end rather than using the recorder’s DC terminals. This ensures that there is constant voltage to prevent operational problems. Make sure all equipment is properly grounded to prevent accidents.
Cameras Linking and Settings
According to the recorder and camera manufacturer manuals, connect all of the equipment. In the case of IP cameras, use the lens focus, set up the IP address of the camera, and configure parameters such as the resolution, frame rate, etc. using the web interface of the camera. Analog cameras are connected to the recorder inputs with resolution and frame rate set on the recorder.
Reposition and zoom in or out if necessary while observing the video streams in real-time on the recorder. Attach the camera in a camcorder manner, using mounts, brackets, or adjustable anchors for a better viewing angle.
To control the cameras via the internet, special settings on the router are needed known as port forwarding. It is also advisable to configure appropriate firewall settings that should allow only the video monitoring applications to receive inbound connections.
Recording Video
Current security DVRs and NVRs have built-in hard drives for storing videos from the connected cameras. Some key settings include:
- Capacity required for storage – this depends on the number of cameras and whether the recording needs to go back to a few days, weeks, or even months.
- Recording schedule - continuous or desired time intervals that correspond to certain parts of the day
- Recording options – events only or continuous video
- Number of days for which recordings can be stored before deletion.
For high reliability, it is recommended that one should use PVR usage in enterprise-grade drives in recorders. Check motion detection and other features like scheduling to ensure that the surveillance operates efficiently.
That will do for now on how to install and connect wired analog and IP security cameras. Considering your needs, properly placing equipment according to guidelines, and testing the system make the goals of providing peace-of-mind operation achievable. Modify the position, setup, and quality of the cameras and videos after using the system for some time. Other enhancements such as extra cameras, better recorders, or the ability to monitor from a distance can be made based on prior investments as the requirements increase in the future.
Protect your home today with ADT’s top-rated security solutions!
Call now at +1 877-470-7879 to get a free consultation and find out how you can secure your home with the best in the business. Don’t wait—ensure your peace of mind with ADT!
